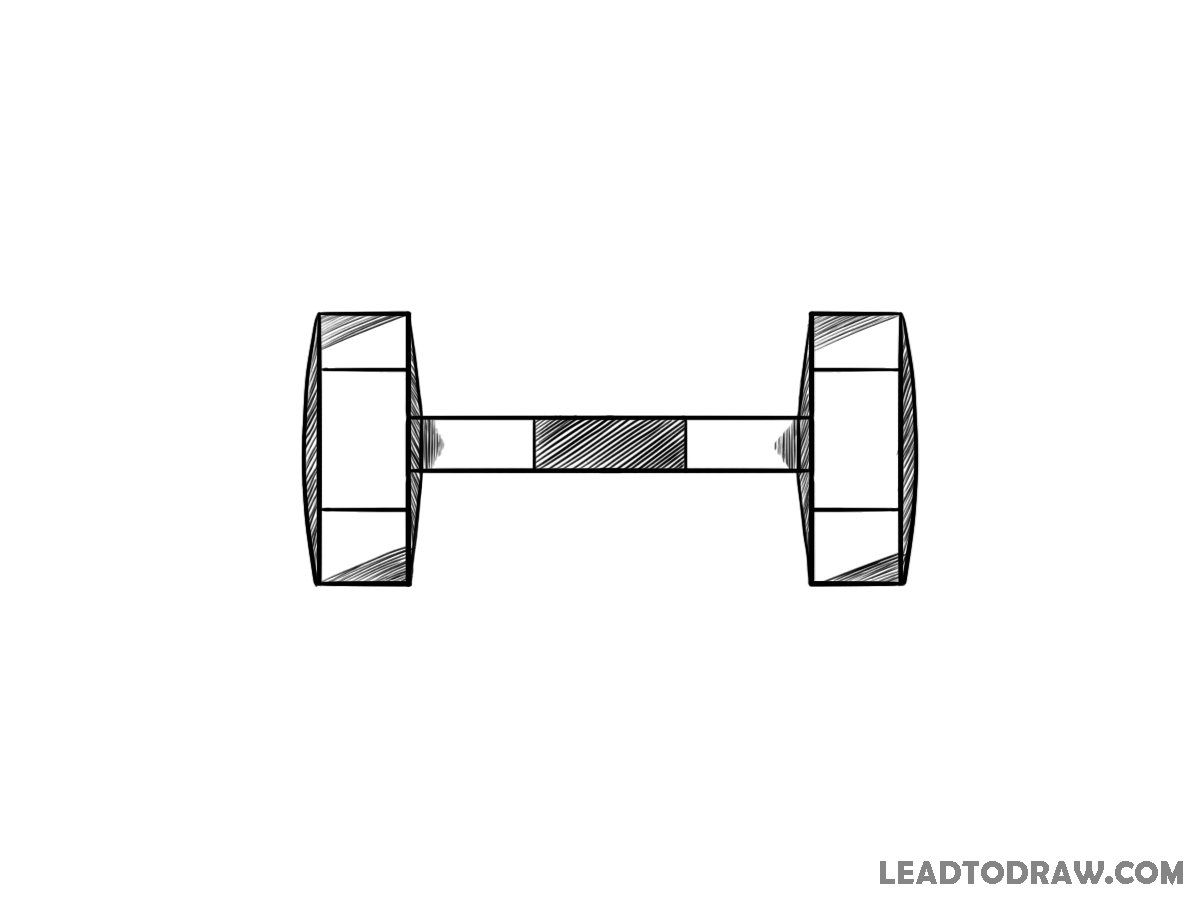
In this guide, learn how to draw a dumbbell using simple lines and shapes. The red marks in images show the new parts added in each step for quick understanding. Follow the same order and draw each part carefully to build the full dumbbell illustration step by step.
Lets Begin
Step 1: Draw the Base Bar
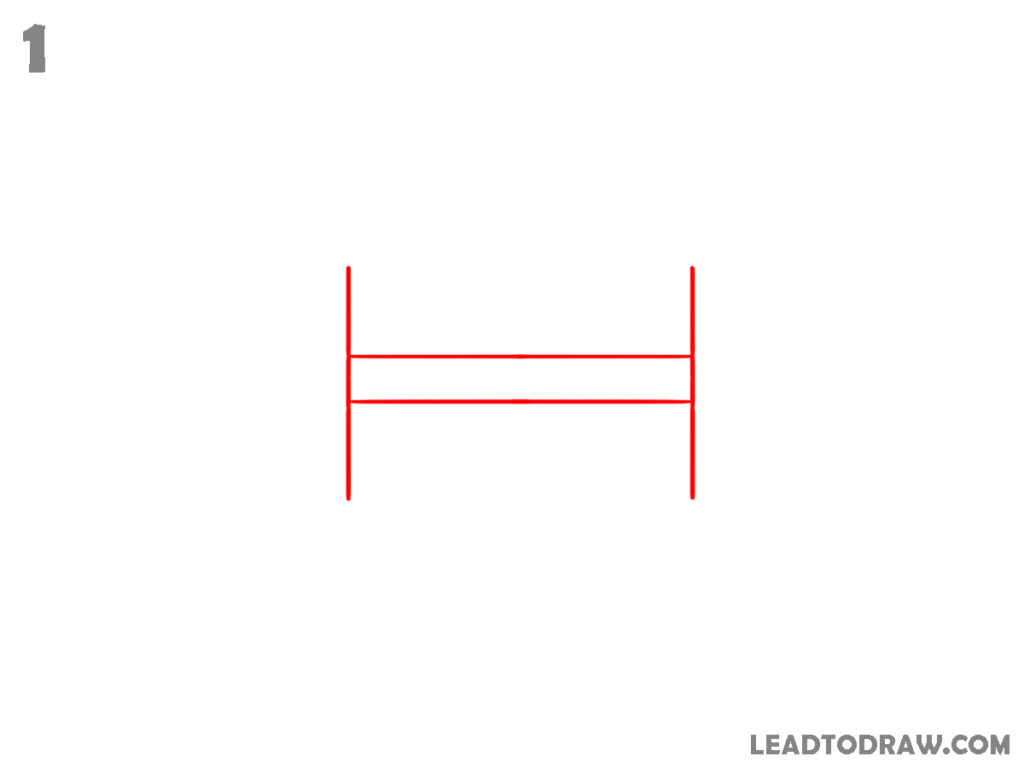
Draw two short vertical lines facing each other. Keep some distance between them. Connect these vertical lines using two straight horizontal lines, one near the top and one near the bottom. Extend small horizontal lines slightly past each vertical edge so both sides show a short bar section forming the base handle.
Step 2: Add the Weight Blocks
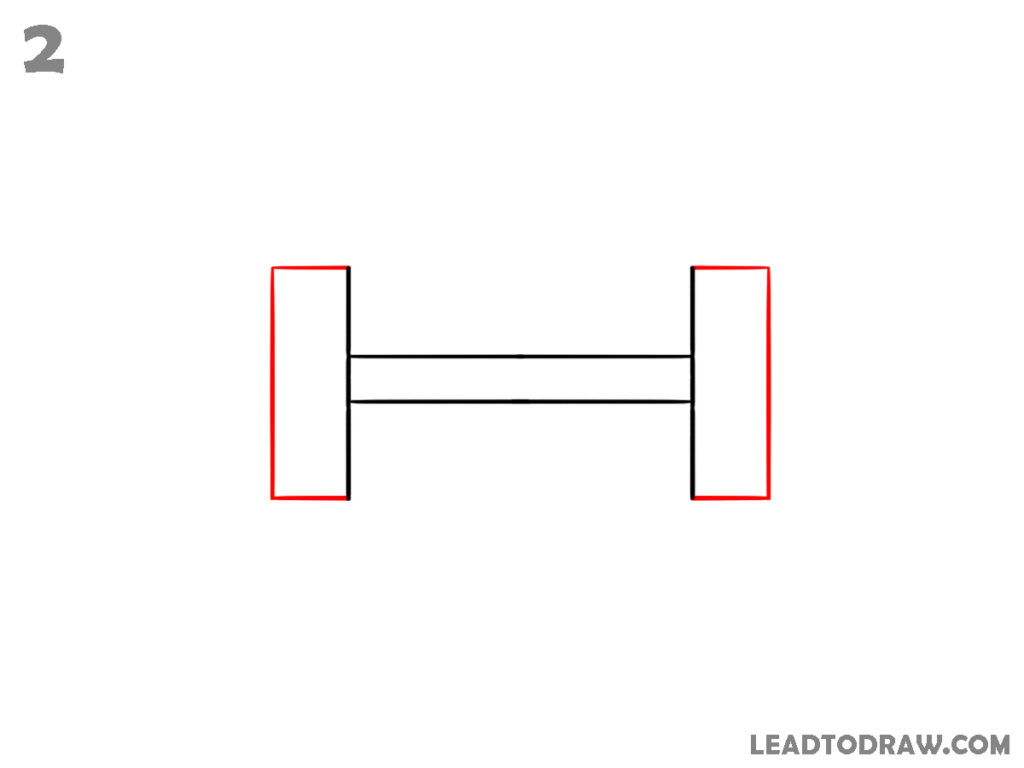
Draw a tall rectangle around the left vertical edge and another around the right vertical edge to form the weight blocks. Keep the bar passing through their centers. Maintain equal height on both sides. The earlier horizontal bar lines stay visible between the two blocks as the dumbbell handle section in the middle.
Step 3: Shape the Weight Plates

Round the outer sides of both weight blocks by drawing curved lines on their left and right edges. These curves change the flat rectangles into circular plate shapes. Keep the inner vertical sides straight where the bar enters. The center bar remains unchanged and continues connecting both sides across the middle area evenly.
Step 4: Add Plate Thickness and Grip Sections
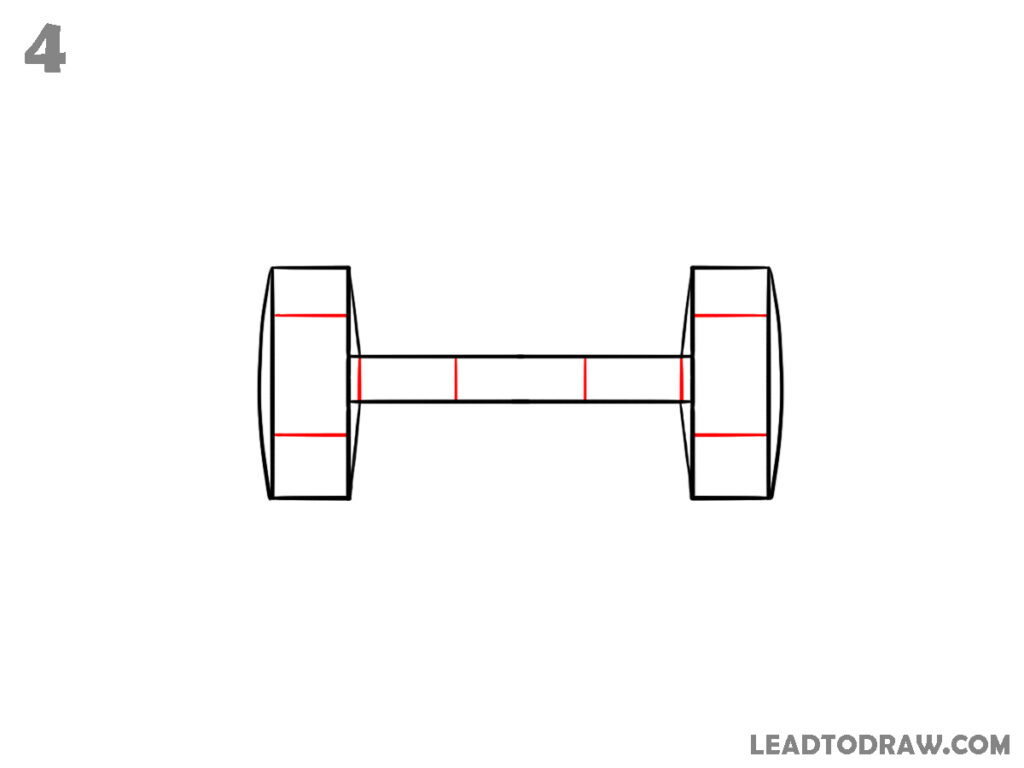
Inside each circular plate, draw a vertical inner line slightly away from the edge to show plate thickness. Add short horizontal marks across the center bar to divide the handle into small grip sections. Keep these marks spaced along the bar while the outer plate shapes.
Step 5: Shade the Center Grip and Plate Sides
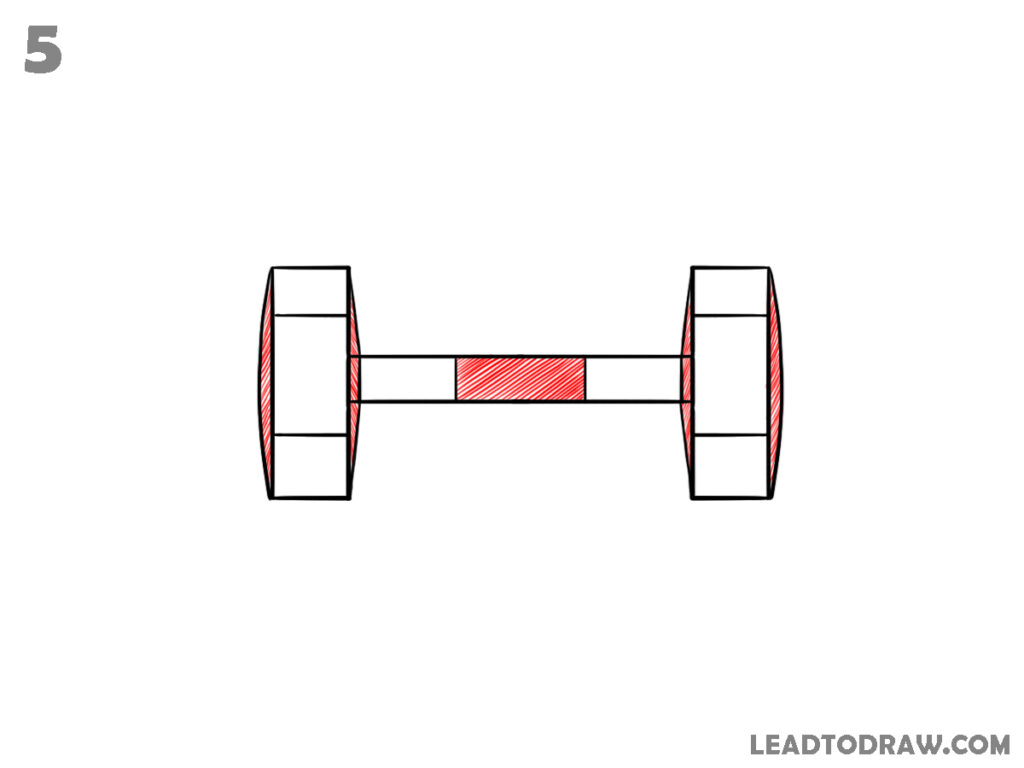
Shade the middle grip section on the bar using close diagonal strokes. Add light shading on the outer side faces of both weight plates. Leave the inner plate areas plain. Keep the plate edges and handle lines clear while the shaded parts appear darker than the surrounding empty spaces around the dumbbell shape now.
Step 6: Darken Plate Corners and Joints
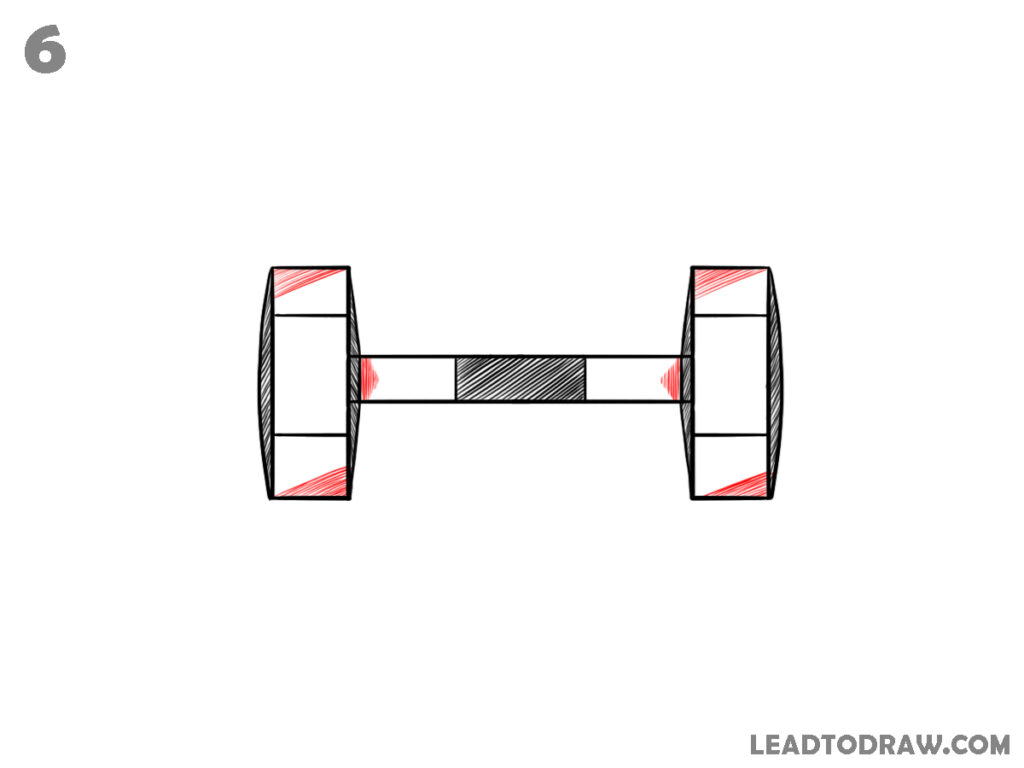
Add darker shading on the top and bottom corners of each weight plate. Place small shaded areas where the bar meets the plates on both sides. Keep the middle grip shading from the previous step. Maintain the plate outlines and handle edges while filling only the shown sections on the dumbbell body now.
Step 7: Check the Drawing

Look at the whole dumbbell drawing carefully. Check that both weight plates are equal in size and placed evenly on both sides of the bar. Adjust any uneven lines. Make sure the handle stays straight across the center. Observe the shading areas on the plates and the middle grip. Confirm that all lines match the previous steps and remain balanced.
For more drawing tutorials, explore the guides below.
- how to draw a handbag in easy way
- how to draw boots step by step easily
- how to draw a thumbs up in easy way
Conclusion
Now the dumbbell drawing is complete. Review the outline and shading areas once again. Adjust any uneven lines and keep the plate edges balanced on both sides. This simple method shows how straight lines and small shading sections form a clear dumbbell illustration for practice and drawing study, and steady hand control during sketch practice time.