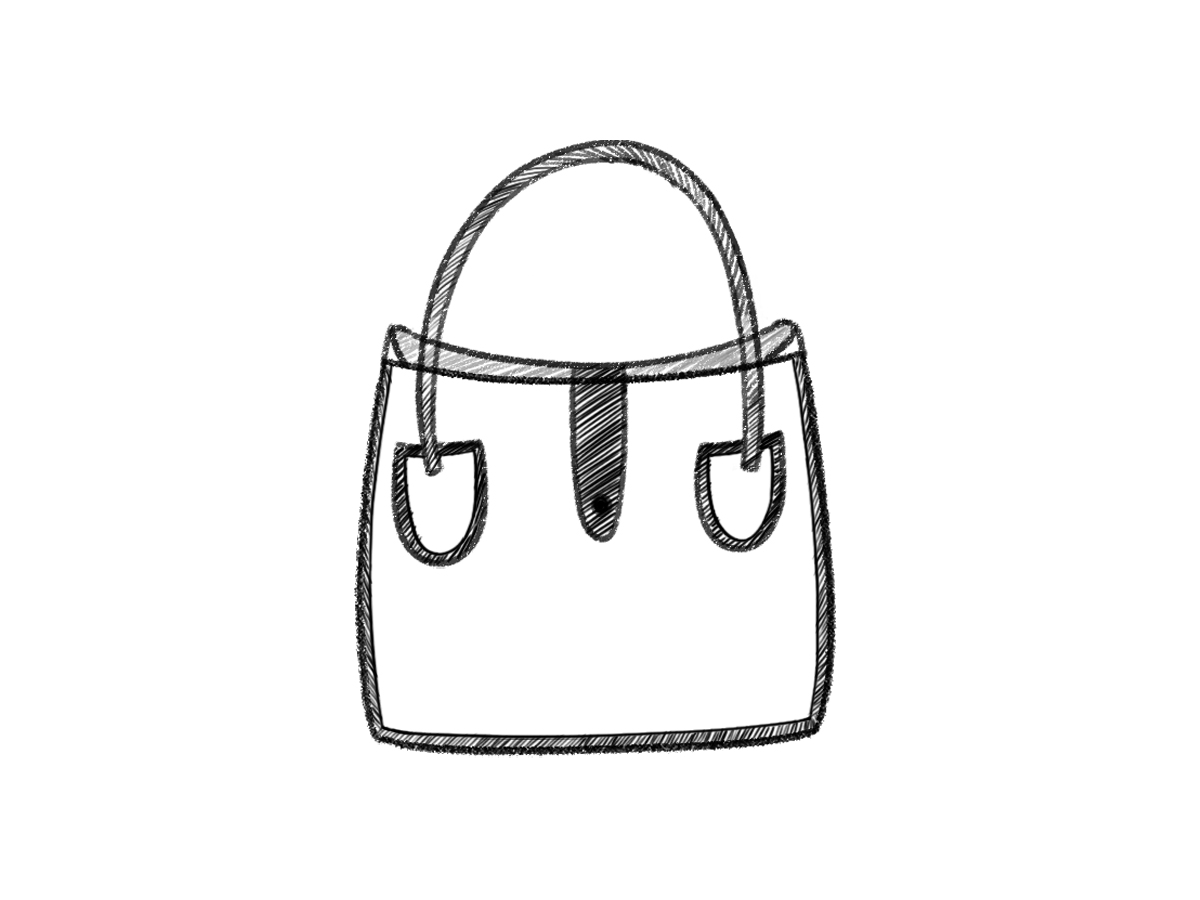
In this blog post, you will learn how to draw a handbag step by step in a simple way. Each new step is shown clearly in the image. Follow the drawing carefully and make the shape slowly. This guide is easy to understand and good for regular practice.
Lets begin
Step 1 – Draw the Top and Sides
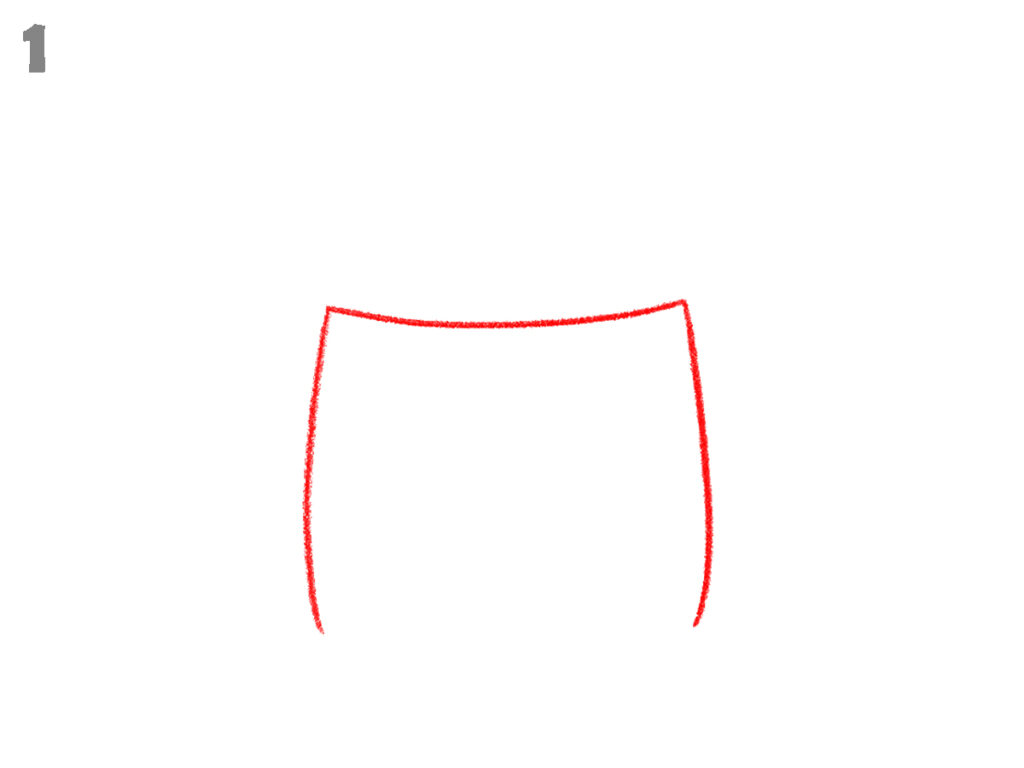
Start by drawing a slightly curved horizontal line for the top edge of the handbag. From both ends of this line, draw two long curved lines going downward. Keep both side lines slightly bent inward as shown. Do not join the bottom yet. Leave the lower area open at this stage.
Step 2 – Complete the Base Shape
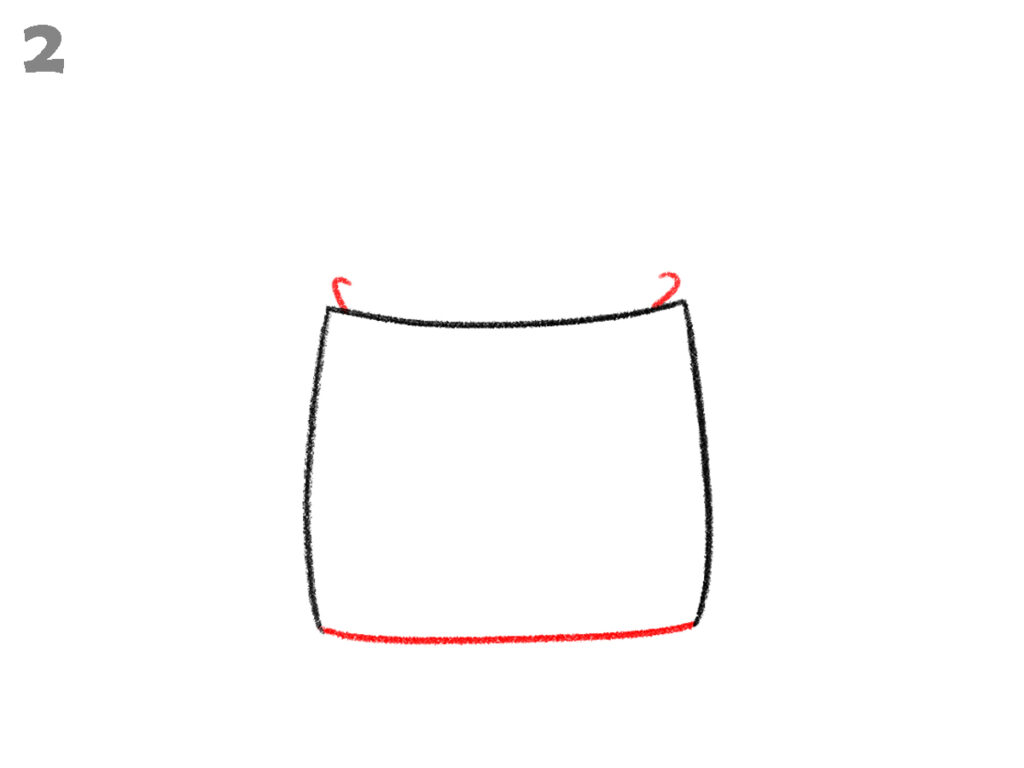
Add a curved line at the bottom to connect both side lines and close the main body shape. Draw a smooth line across the top edge to form the opening border. Make small curved edges at both top corners. The handbag body now looks complete with a slightly rounded bottom.
Step 3 – Draw the Top Fold and Side Straps
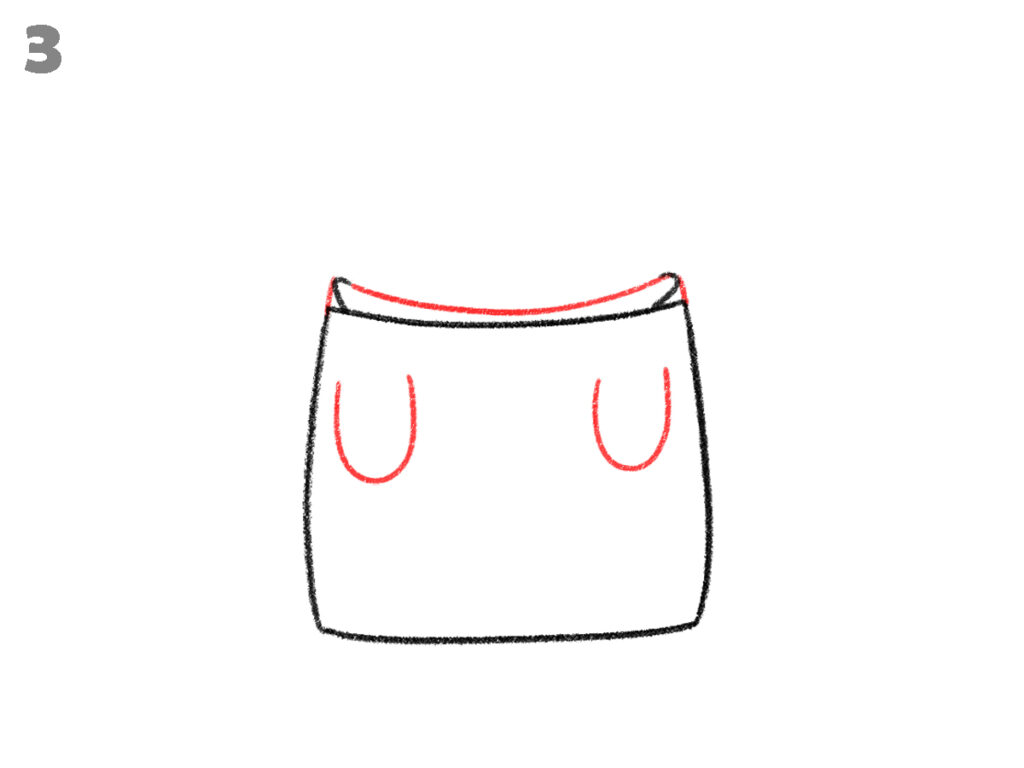
Draw a curved line just below the top edge to show the inner fold of the handbag opening. On both top sides, draw short vertical strap lines coming down from the upper border. Keep both straps equal in length and placed near the side edges as shown in the image.
Step 4 – Draw the Handle and Middle Strap
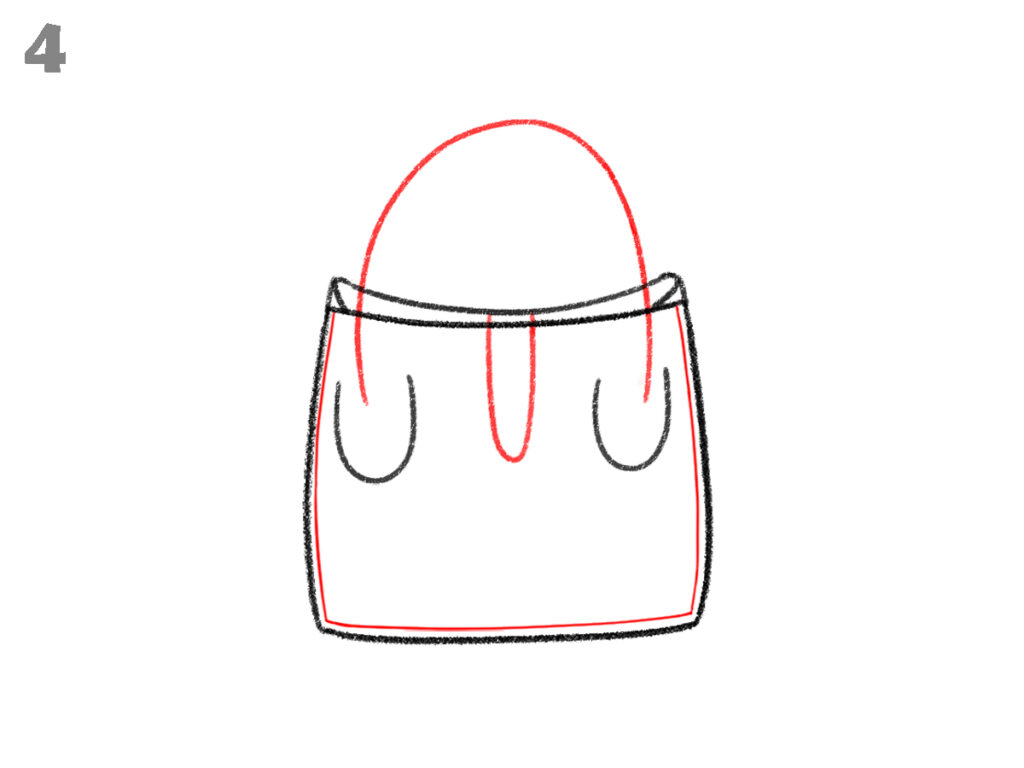
Draw a large curved arc above the top border to form the main handle. Connect both ends of this arc to the top corners of the bag. In the center, draw a long vertical strap coming down from the top border. Extend it slightly downward inside the bag area as shown.
Step 5 – Add Handle Thickness and Details
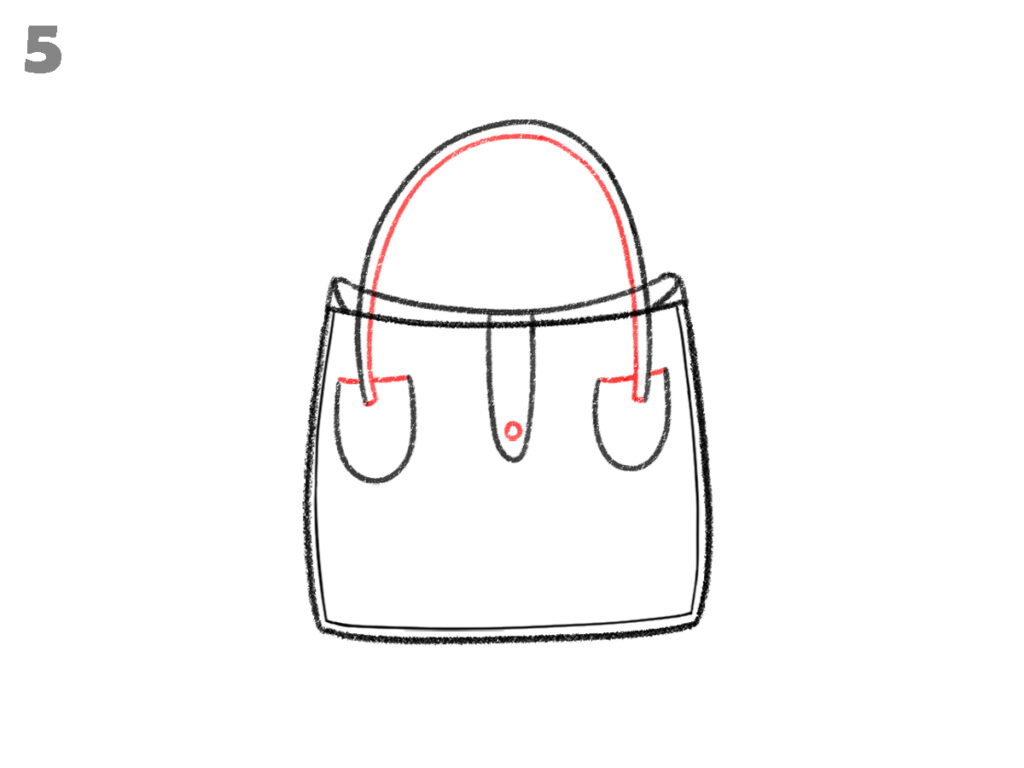
Draw another curved line parallel to the handle to show its thickness. Add small strap connectors on both sides where the handle joins the bag. Draw a small round button at the lower end of the center strap. Keep all lines neat and properly aligned with the previous shapes.
Step 6 – Shade the Center Strap
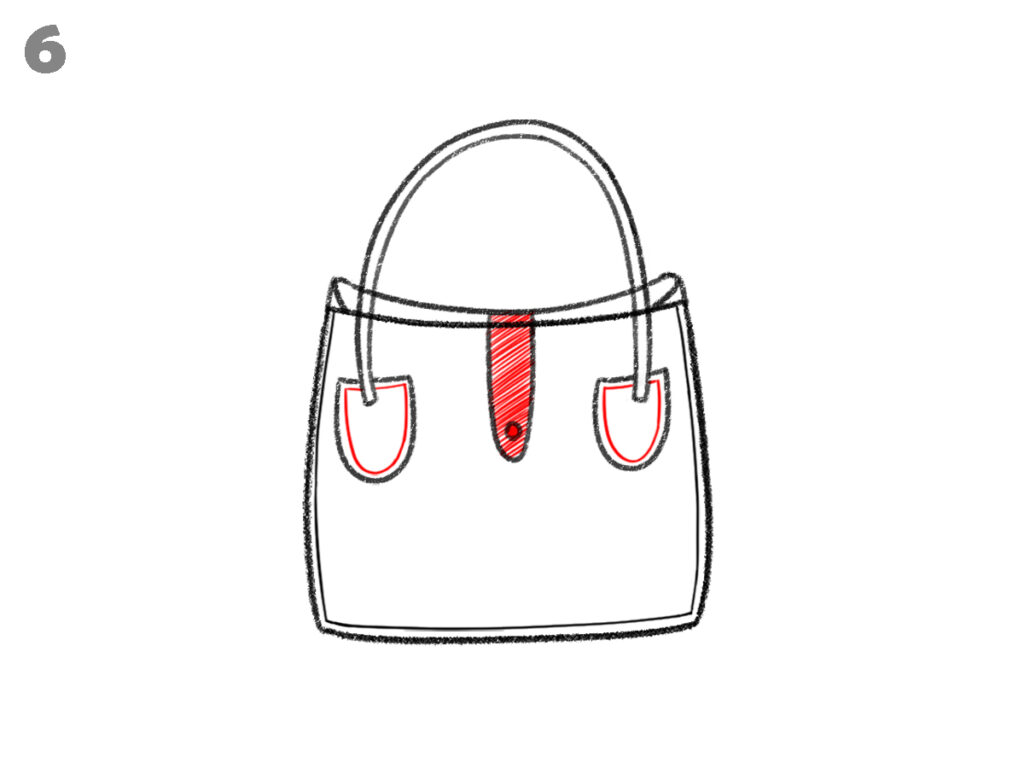
Shade the center strap evenly from top to bottom. Keep the shading inside the strap only. Do not cross the outline. Leave the small button unshaded. Make sure the shading is smooth and straight. The rest of the handbag remains unshaded at this stage.
Step 7 – Outline and Add Light Shading
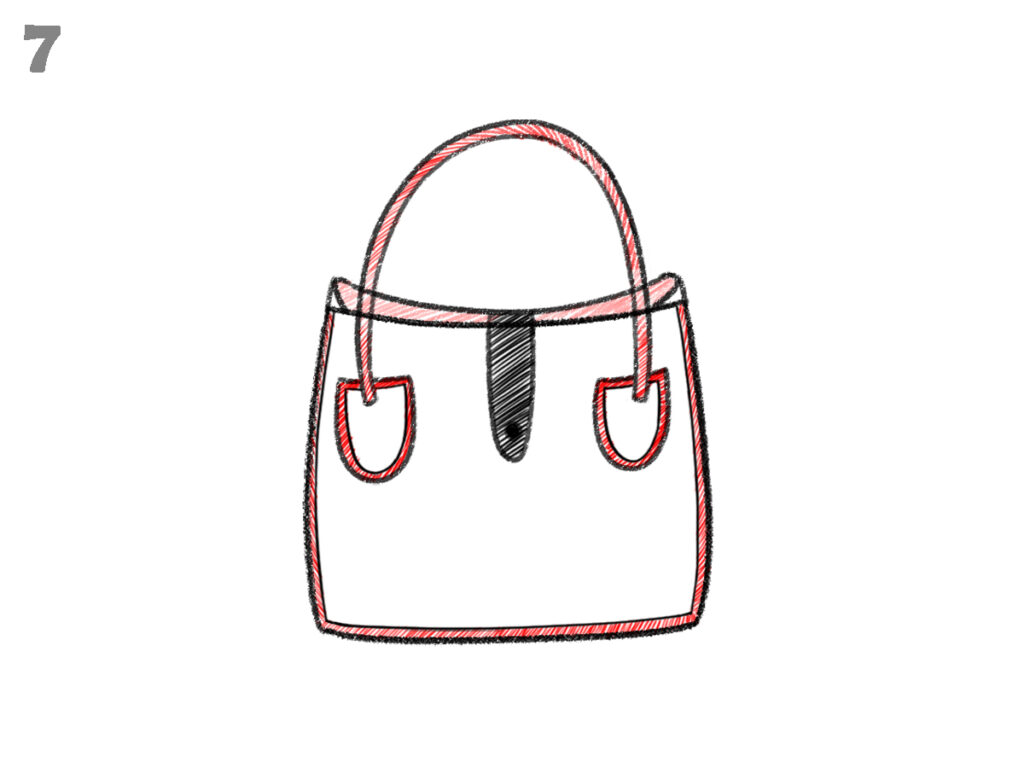
Trace the outer body, handle, and pocket edges clearly to make the drawing bold. Add light shading along the outer border and handle area. Keep the shading even. Do not shade the full body. Leave the inner areas mostly plain as shown in the image
Step 8 – Clean and Finalise
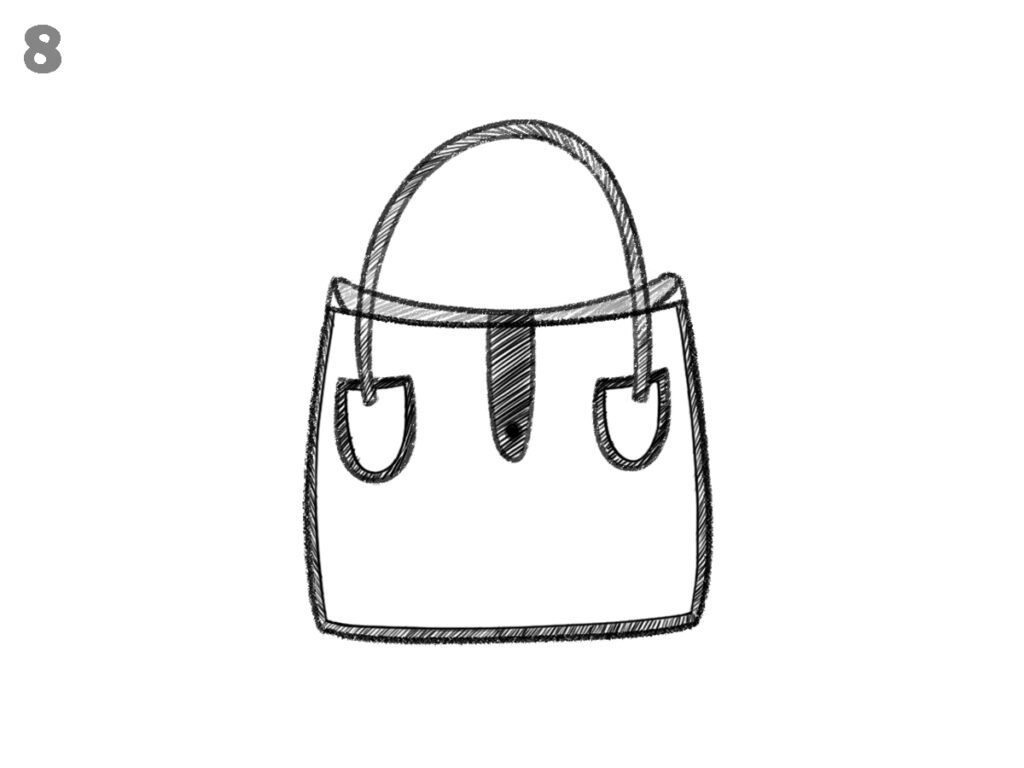
Check the entire handbag drawing carefully. Darken the final outlines smoothly. Erase any lines or extra marks that are not needed. Keep the button and strap neat. Make sure both sides look balanced. Clean the drawing properly so only the final handbag sketch remains visible.
For more drawing tutorials, explore the guides below.
- how to draw boots step by step easily
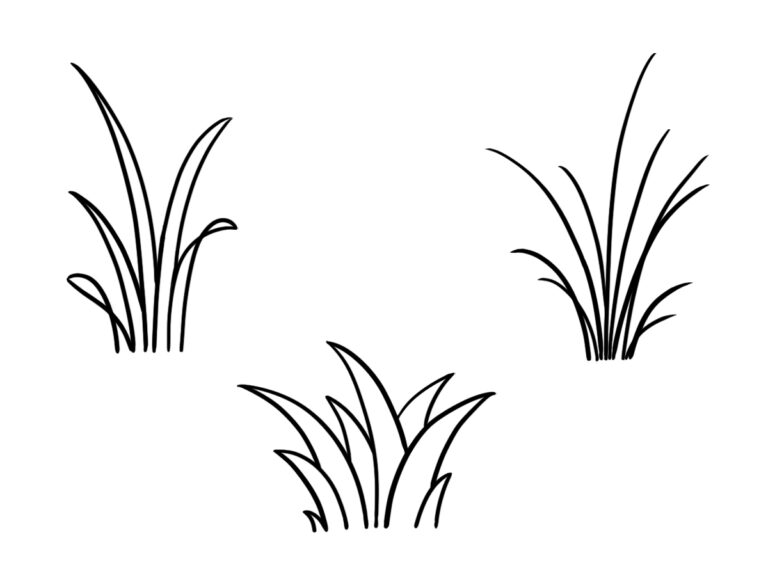
- How to draw grass easily in 3 different styles
- how to draw hibiscus flower step by step easily
Conclusion
Now you know how to draw a handbag step by step using simple shapes and clean lines. Practice the same steps again to improve hand control and shape. Keep your lines smooth and neat. With regular drawing, you can create many handbag designs using this basic structure.