
In this guide, you will learn how to draw a thumbs-up using simple shapes and clear steps. The red lines show the new parts added in each stage for easy understanding. Follow each image carefully and draw step by step to complete the full hand shape.
Lets Begins
Step 1 – Draw the Base Circle
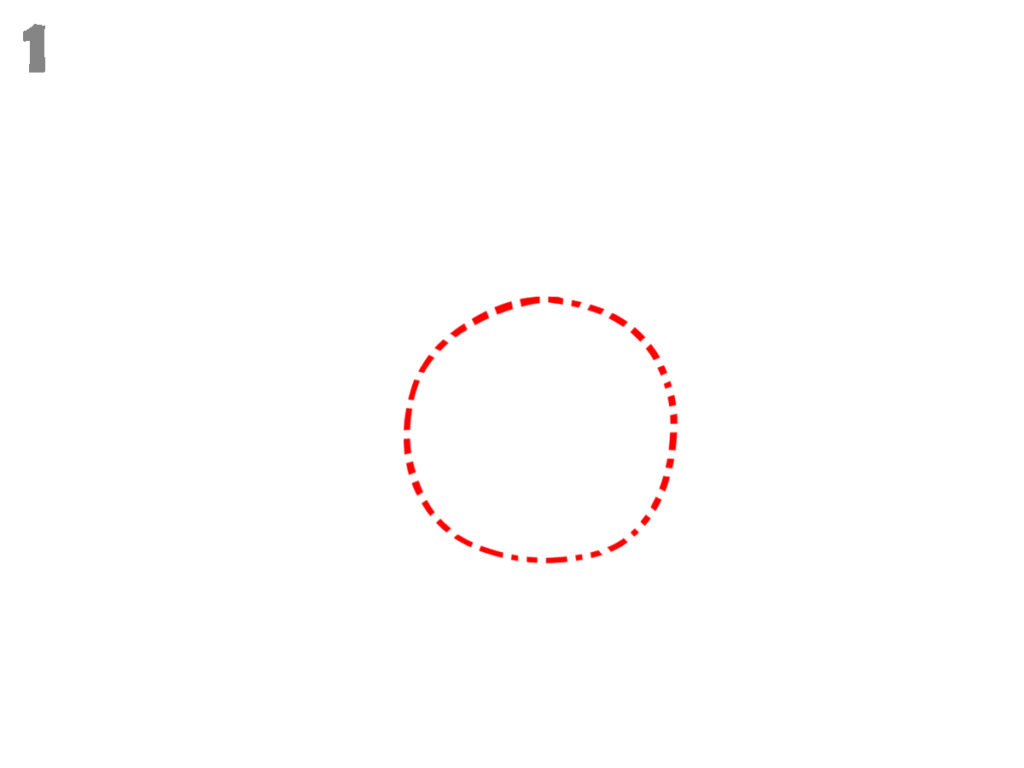
Draw a medium circle in the center of your page. Keep the shape slightly soft, not too sharp. This circle will act as the base shape for the palm area. Do not add any extra lines. Keep the outline light because it will be adjusted later. This round shape will guide the overall hand structure in the next steps.
Step 2 – Form the Palm Outline

Start shaping the palm around the circle. Draw a curved line from the upper right side and move downwards. Continue the line along the lower edge, slightly flattening the bottom. Add a small curved bump on the top right area to begin the thumb connection. Keep the left side mostly rounded, as shown in the image.
Step 3 – Add Finger Divisions
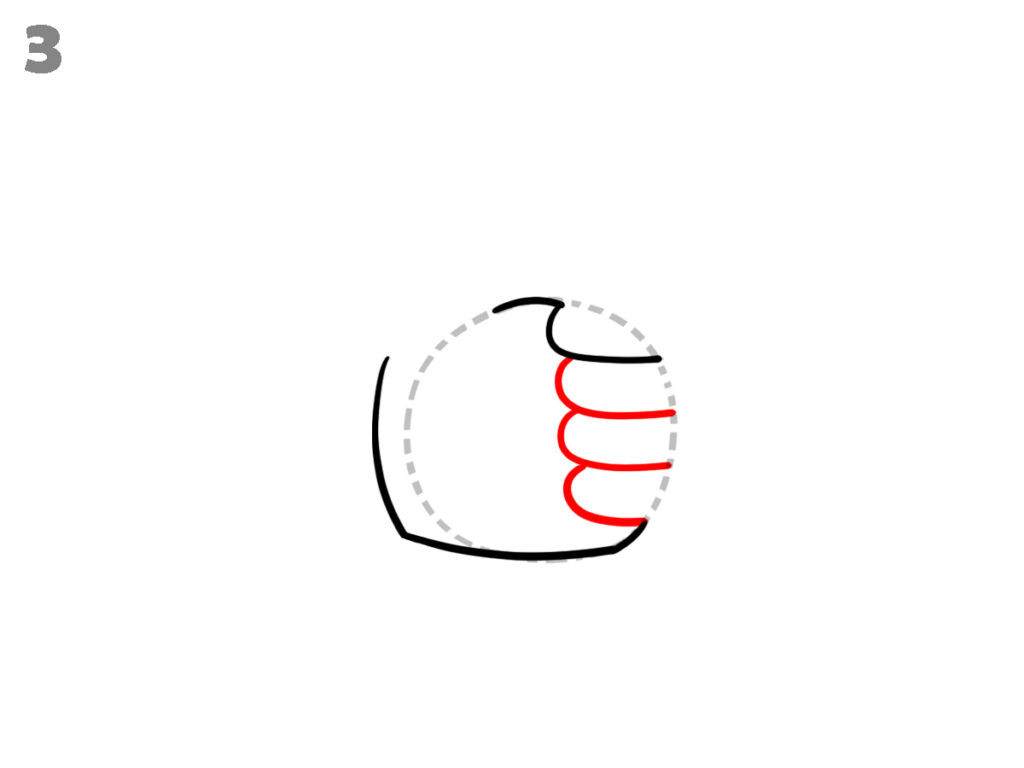
On the right side of the palm, draw three curved horizontal lines inside the boundary to form folded fingers. These curves should stack one below another. Refine the top bump slightly to shape the upper finger area. Keep the left and bottom palm outline steady.
Step 4 – Complete the Fingers and start thumb
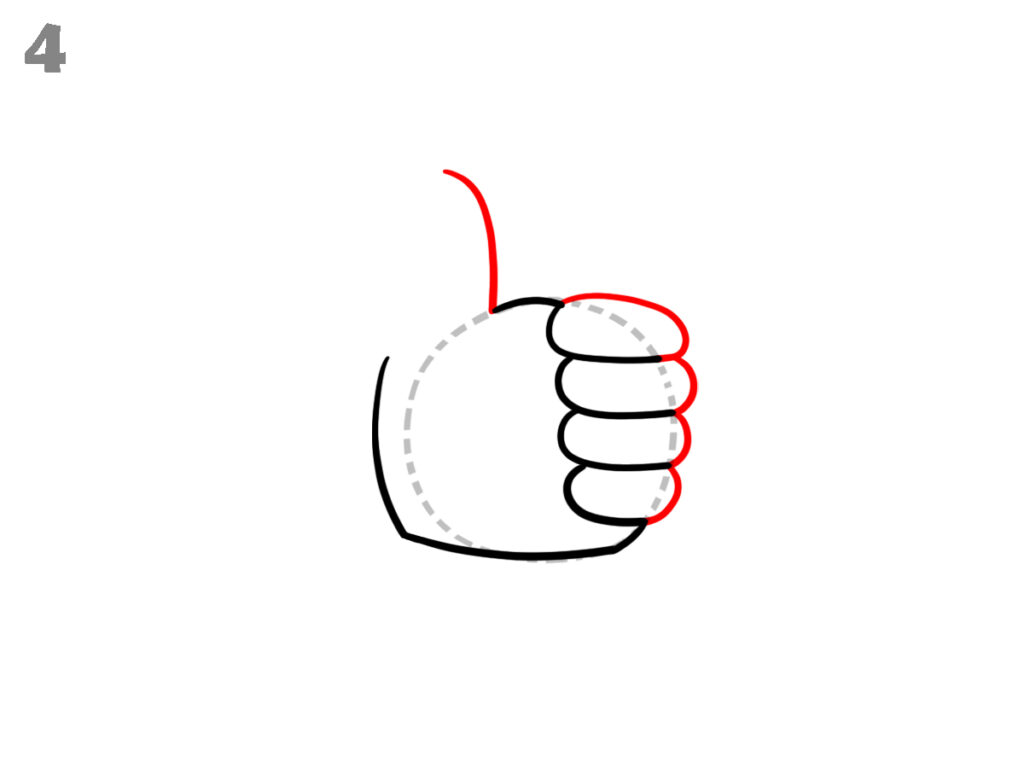
Draw rounded outer shapes around the four curved finger lines to form full fingers. Close each finger with steady, curved edges. Extend a long upward curved line from the top left area to form the outer edge of the thumb. Keep the palm base intact as shown in the image.
Step 5 – Shape the Full Thumb

Continue drawing the thumb by connecting the top curve downwards toward the palm. Form a smooth, rounded edge on the left side. Adjust the inner palm line slightly to fit the thumb base naturally. Keep the fingers closed and rounded.
Step 6 – Add Palm Details and Nail Base
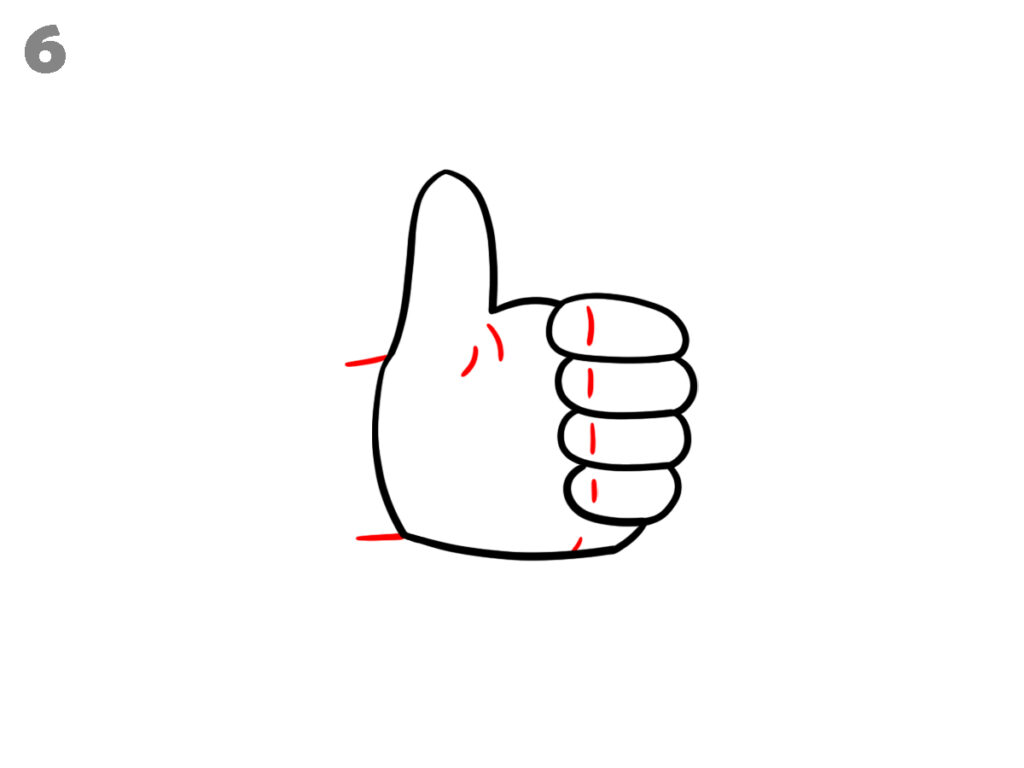
Draw small curved lines near the thumb area to show palm folds. Add short vertical curved marks on each folded finger to define finger sections. Draw small curved shapes at the top of each finger to form the base area of the nails. Extend short horizontal lines on both sides at the wrist. Remove the dotted circle guideline completely.
Step 7 – Draw Nails and Sleeve
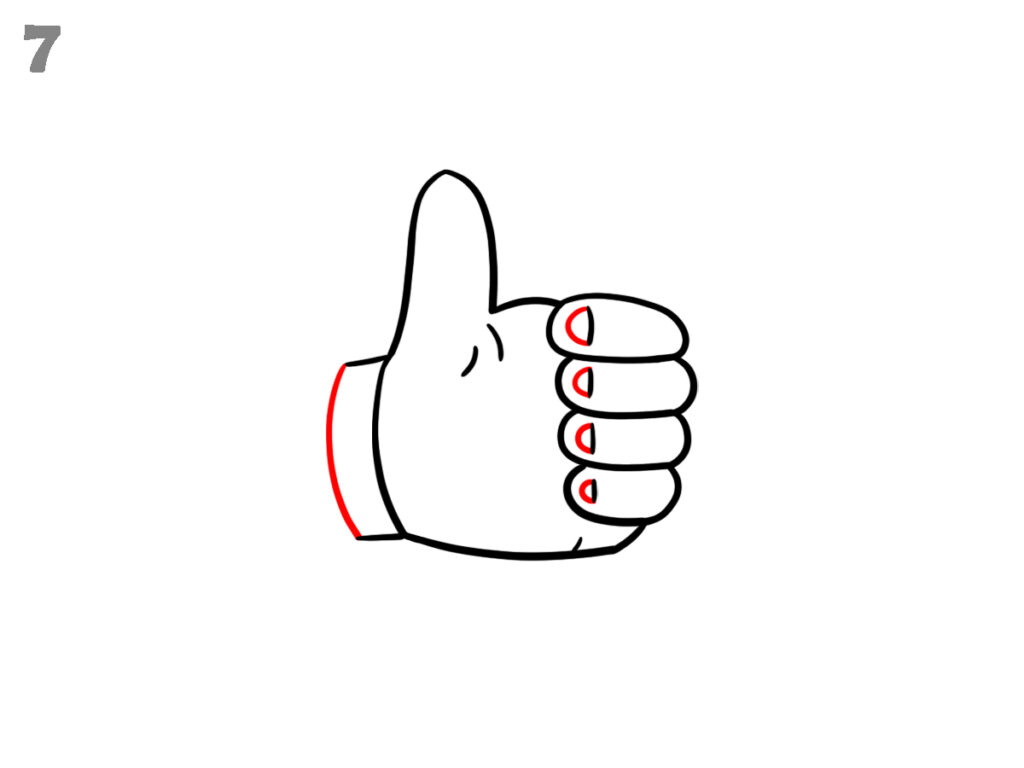
Add small oval shapes at the top of each finger to form fingernails. Place them evenly on all visible fingers. Draw a curved band shape around the wrist to create a sleeve edge. Keep all outer lines clean and connected.
Step 8 – Finalise and Clean the Drawing

Check the entire thumbs-up shape carefully. Correct uneven curves around the thumb and fingers. Darken the final outline smoothly. Remove any remaining guide marks if visible. Clean extra strokes around the palm and wrist. Fill the hand with a light skin tone and color the sleeve as shown in the image.
Conclusion
Now you know how to draw a thumbs-up using simple shapes and clear steps. Practice the hand shape again to improve line control and finger curves. You can change sleeve style or hand position for variation. Keep drawing daily to make your hand sketches neater and more perfect.