
This blog post explains how to draw a hibiscus flower using a clear step-by-step method, as shown in the above image. This hibiscus flower guide is explained here using a clear, hand-drawn step-by-step process. Each image shows what new lines are added in every stage, starting from basic lines and ending with a complete flower drawing.
Let’s begin
Step 1: Draw the Centre and Curved Base Lines
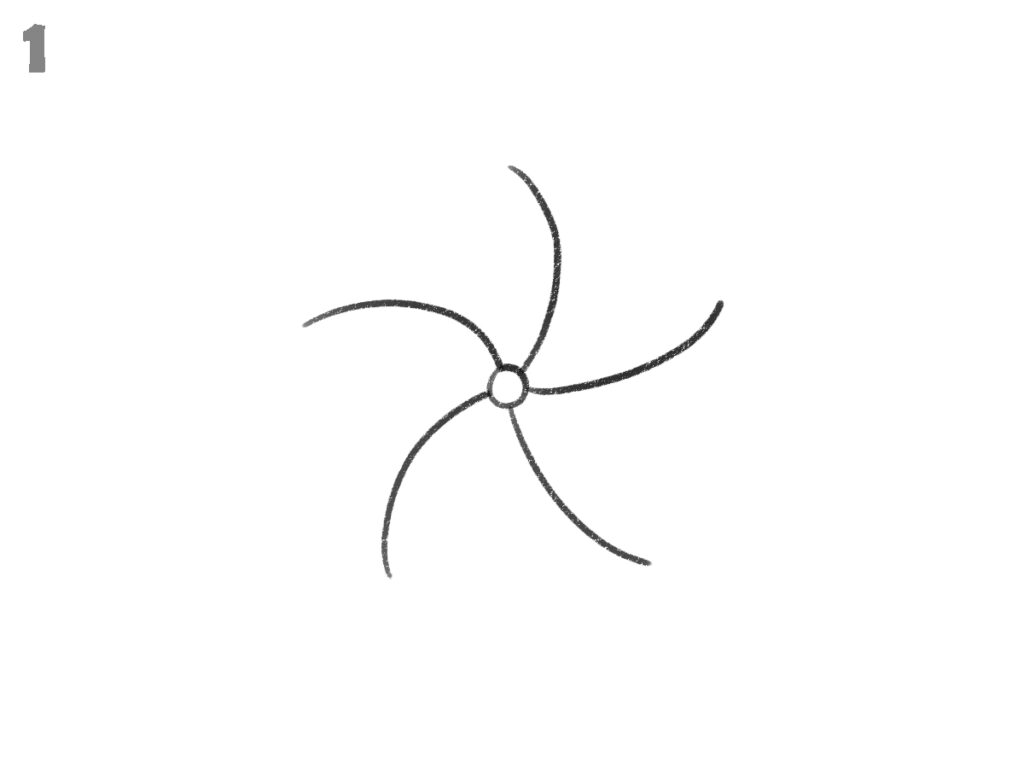
Begin by drawing a small circle at the centre of the page. From this centre, draw five curved lines spreading outward in different directions. Each line curves gently and moves away from the centre evenly. These lines are drawn as the main base structure of the hibiscus flower.
Step 2: Add Center Petal Part and Small Side Line
At the flower centre, add curved petal guidelines around the small circle, as shown in the image. These lines spread outward evenly. On the left side, draw a short curved line near one petal edge. Keep all earlier lines visible, and do not remove any previous guide marks at this stage.
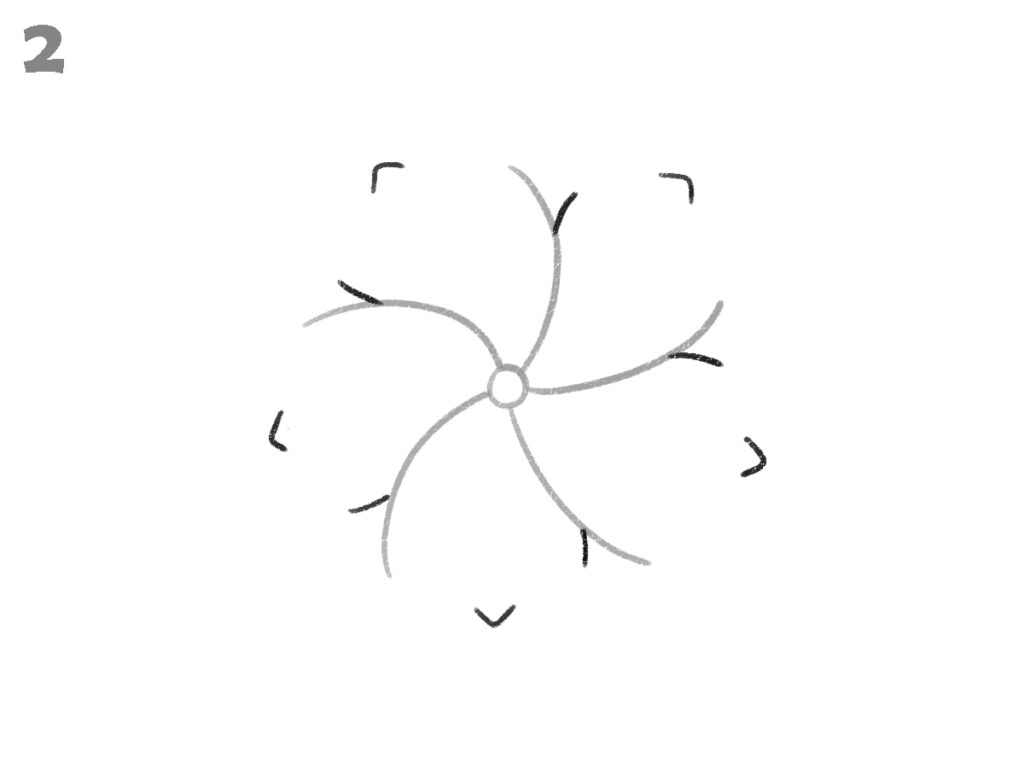
Step 3: Extend Curved Lines with Direction Marks
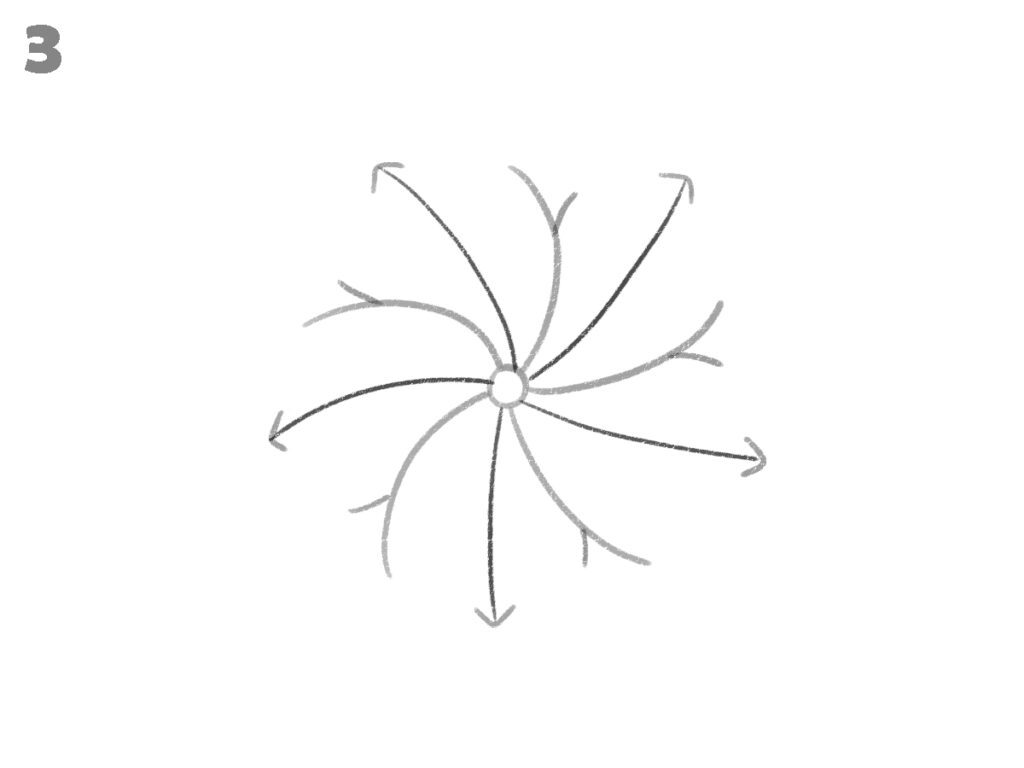
From the centre circle, extend more curved lines outward between the earlier ones. Some lines end with small arrow shapes pointing outward. These arrows show the flow direction of each line. All earlier guides remain visible, while these new lines are added carefully.
Step 4: Outline the Flower Petals
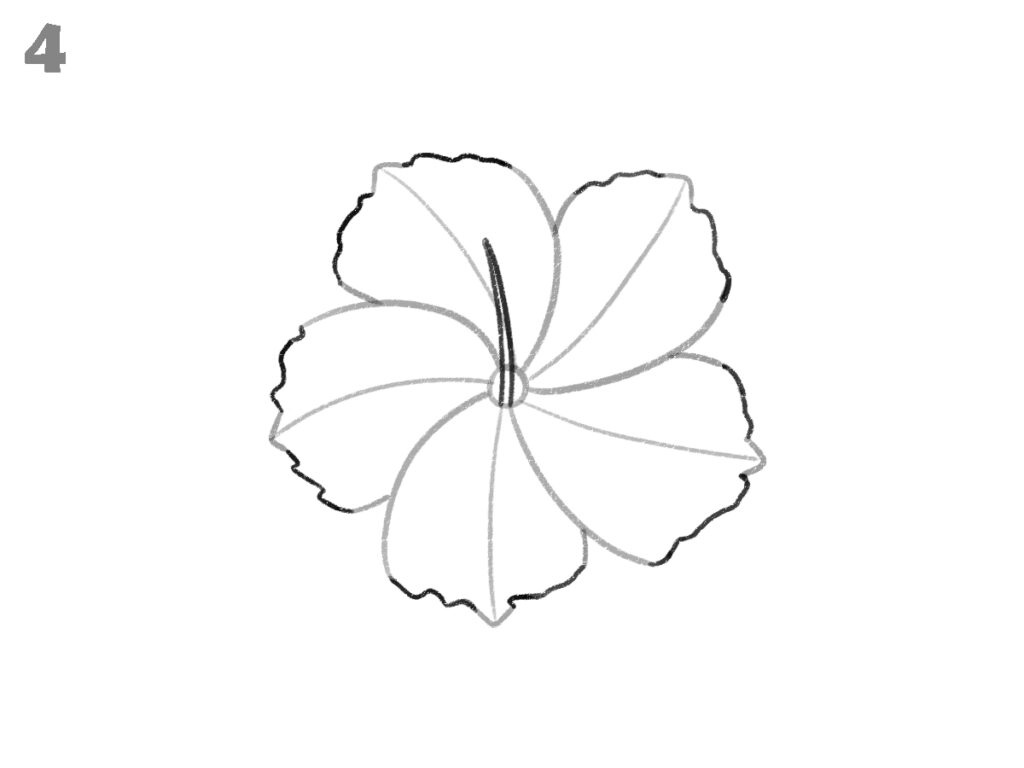
Draw the top petal using uneven outer edges, exactly as shown in the image. Each petal top looks slightly uneven. A long vertical shape appears rising from the center, forming the flower’s inner part. Light guide lines remain visible inside each petal at this stage.
Step 5: Add Petal Veins and Leaf Base Marks
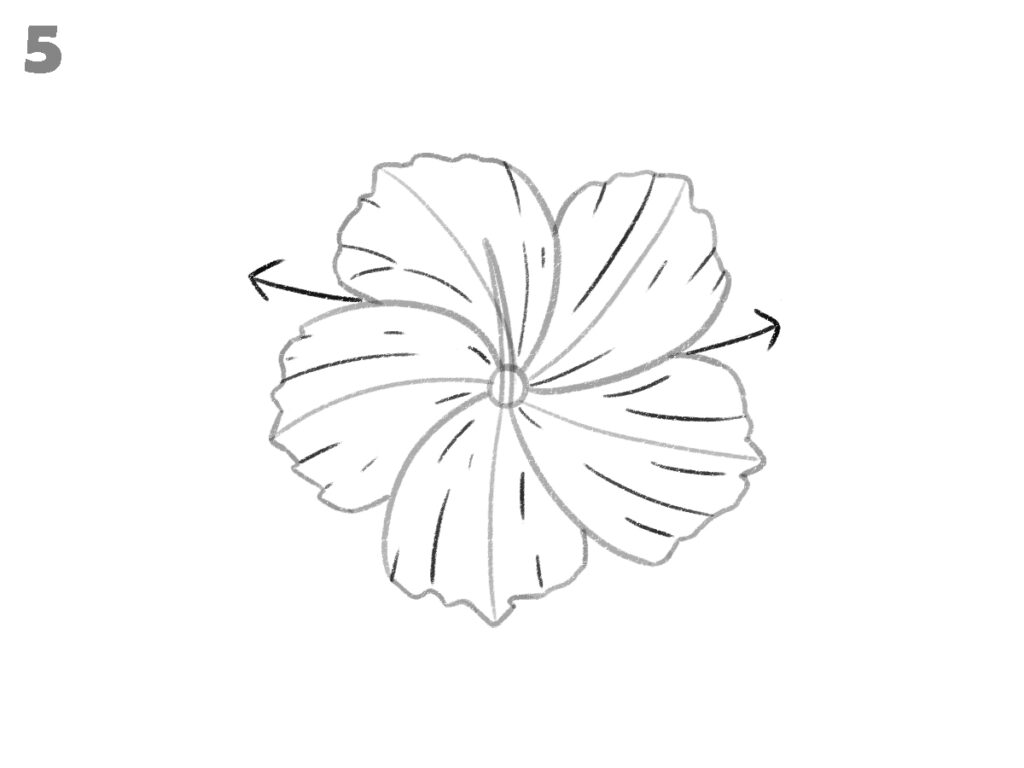
Inside each petal, draw thin vein lines starting from the centre area and moving outward, as shown in the image. On the outer side of the petals, add two short arrow-style lines for the leaf base.
Step 6: Draw Inner Stem and Side Leaves
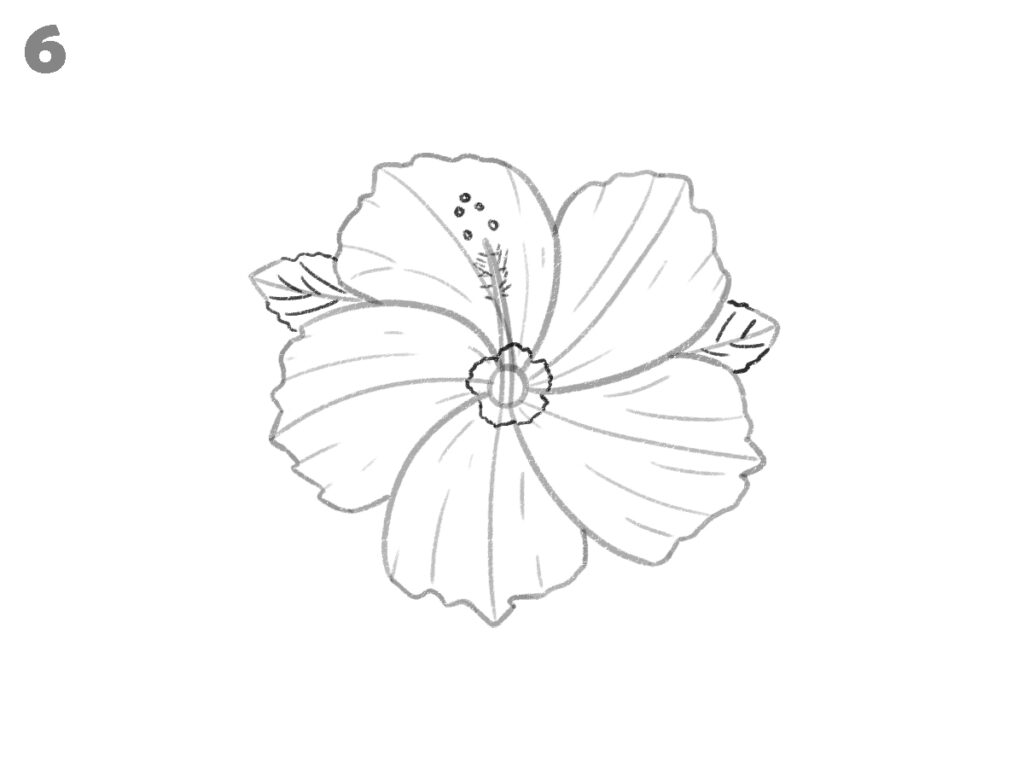
Add more detail to the centre by drawing small round shapes and a longer stem extending upward. Small dots appear along the top of the stem. On both sides of the flower, add behind the petals. Draw leaf shapes using uneven outer lines, as shown in the image.
Step 7: Refine the Centre and Stem
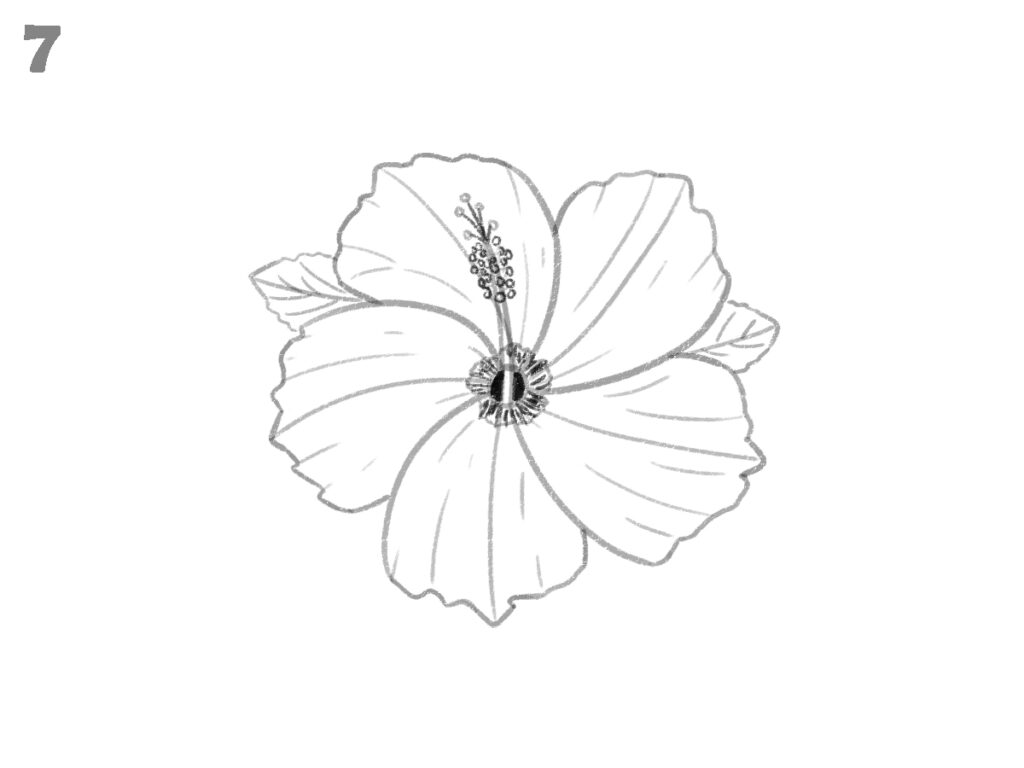
Darken the centre part of the flower. Add a small circle inside the centre. Draw clear lines for the long stem coming from the centre. Define the small round shapes at the top of the stem as shown in the image.
Step 8: Final Drawing Completion
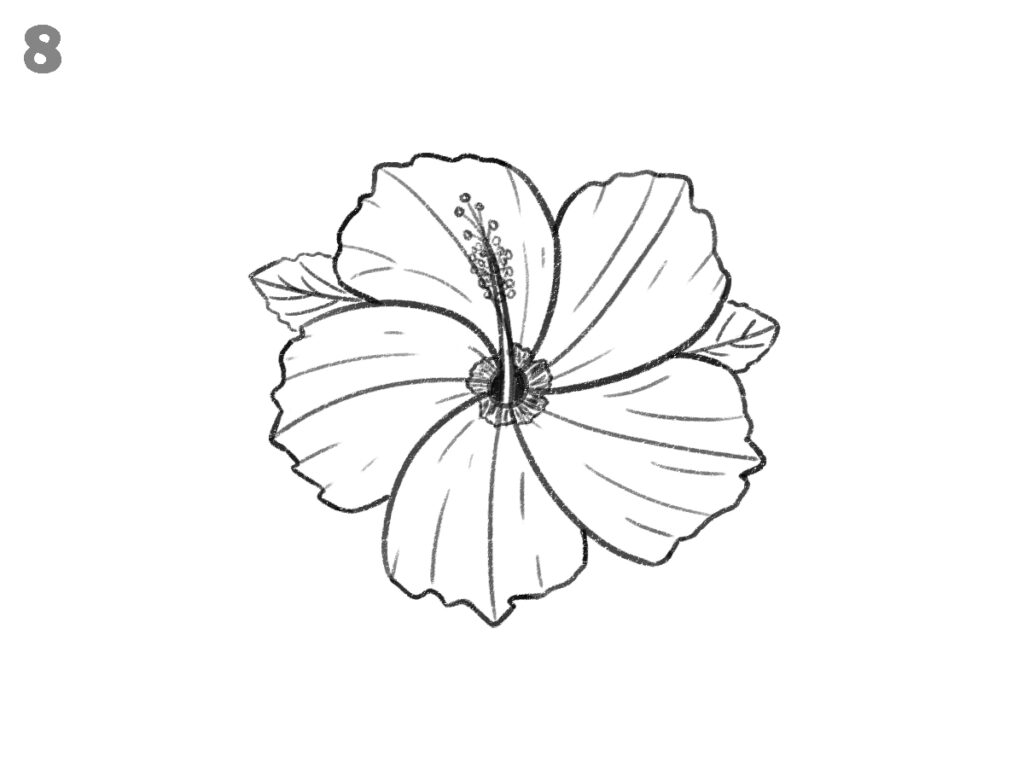
Check the full drawing carefully and correct any visible mistakes. Clean the lines where needed and complete the final drawing as shown in the image.
For more drawing tutorials, explore the guides below.
- How to draw grass easily in 3 different styles
- how to draw boots step by step easily
- Easy Way To Draw A Seahorse Step By Step
Conclusion
This step-by-step guide on how to draw a hibiscus flower shows a clear drawing process, from simple lines to a finished outline. By following each image in order, the flower shape forms slowly and neatly. The tutorial focuses only on visible progress, making it suitable for steady practice and clear understanding.