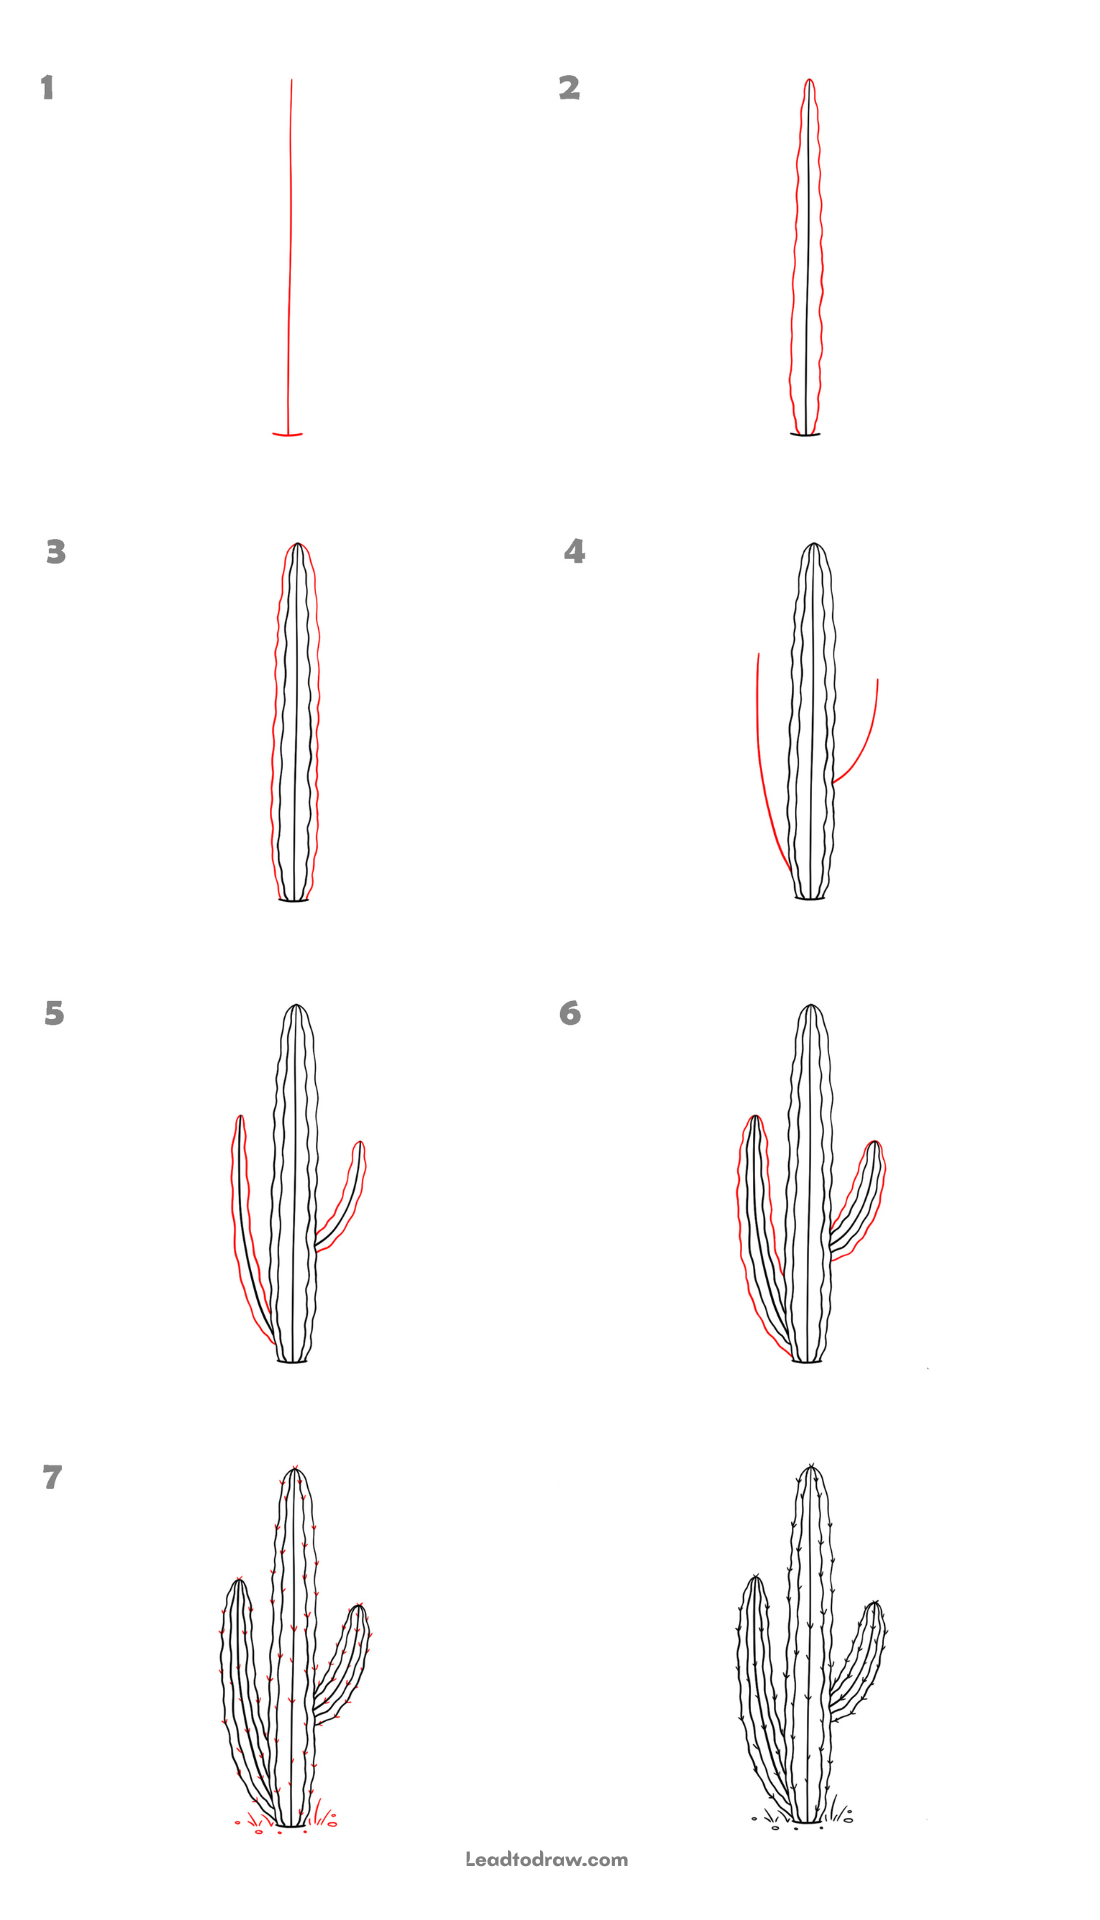
Learn how to draw a cactus with this simple step-by-step tutorial. New lines in each step are shown according to the red marks in the images, making the drawing process easier to follow. Draw every part in order until the cactus shape is finished.
Lets Start
Step 1: Draw the Main Center Line
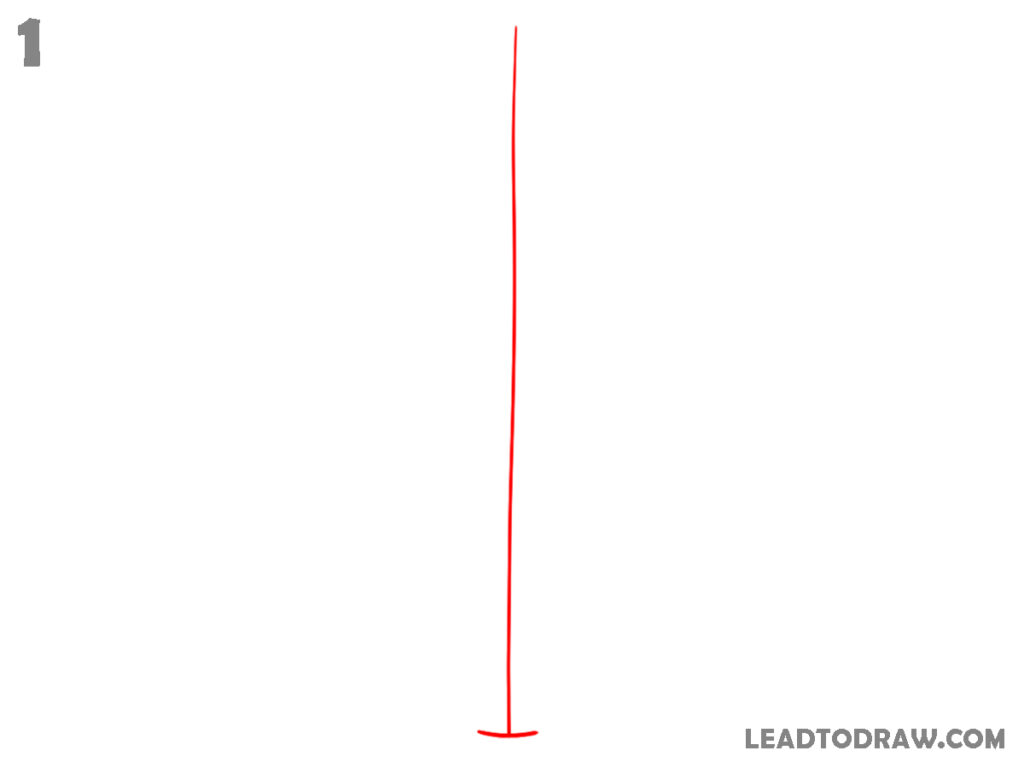
Start by drawing one long straight vertical line. Add a short curved line at the bottom to make a small base for the cactus. Keep the top end open without adding any rounded shape. Make the vertical line slightly taller than the width of the bottom curve, following the same placement shown in the image.
Step 2: Draw the Inner Ridges
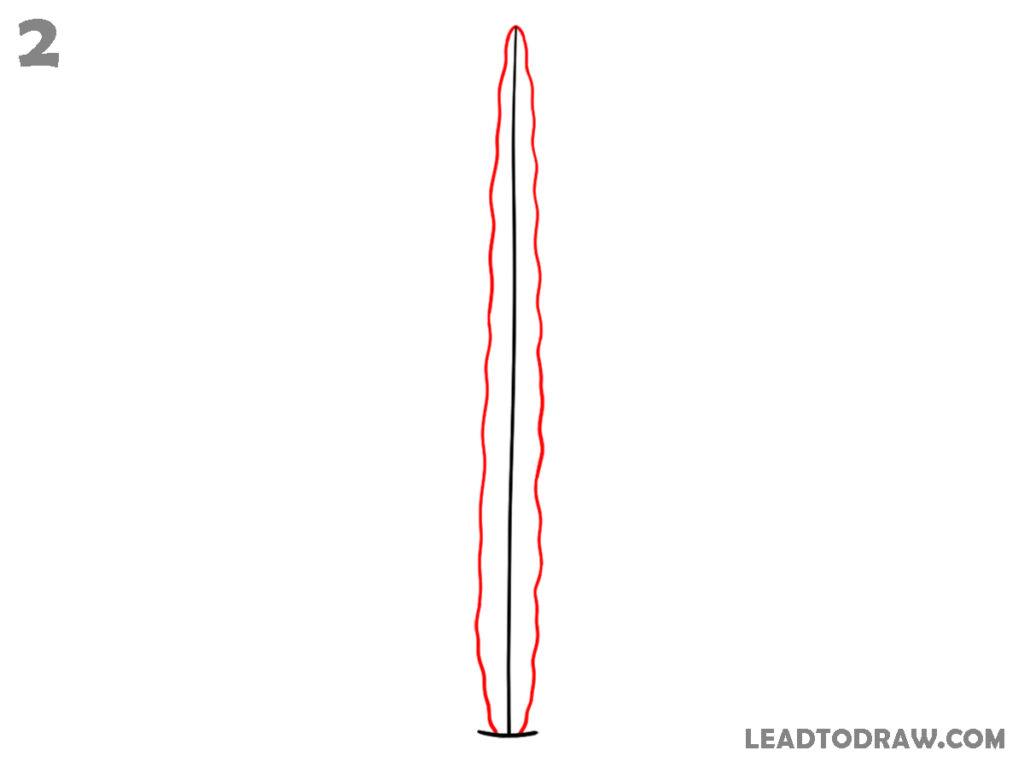
Draw two long wavy vertical lines close to the centre line, one on each side. Start both lines from the rounded top and bring them down to the small curved base. Keep the spacing equal on both sides so the centre line stays between them, matching the shape shown in the image.
Step 3: Draw the Outer Shape
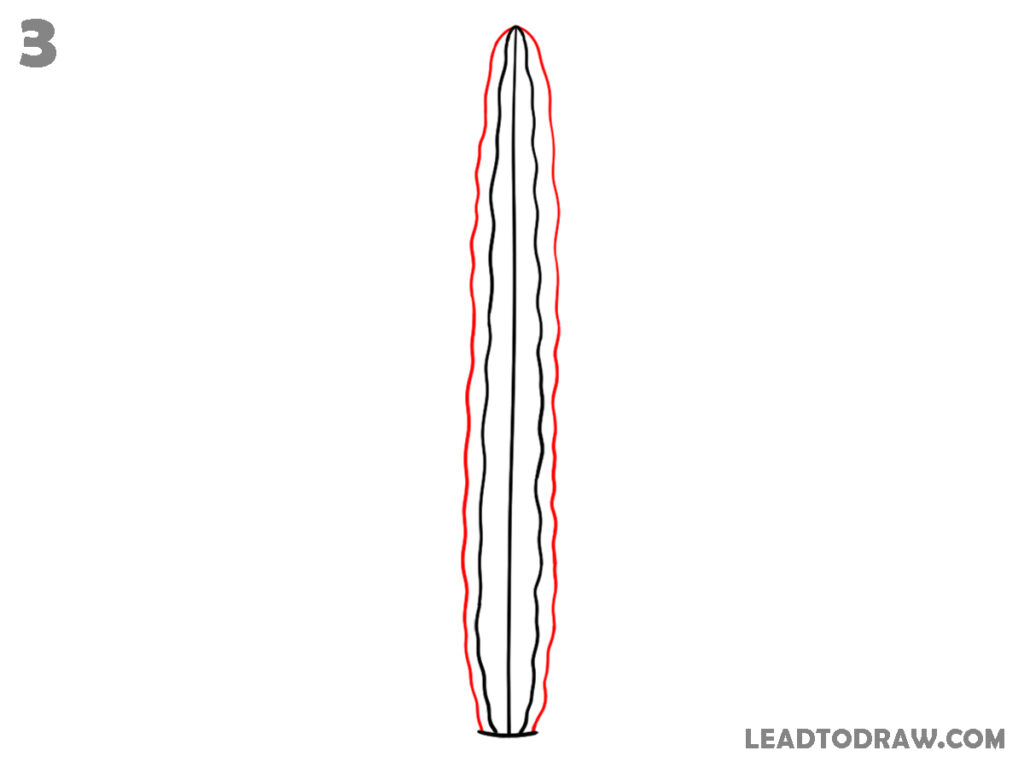
Draw one long wavy curved line along the left side of the inner ridges from the base to the top. Add another matching curved line on the right side and connect both at the rounded top. Join both sides to the bottom base, forming the full outer outline of the cactus.
Step 4: Draw the Side Arms
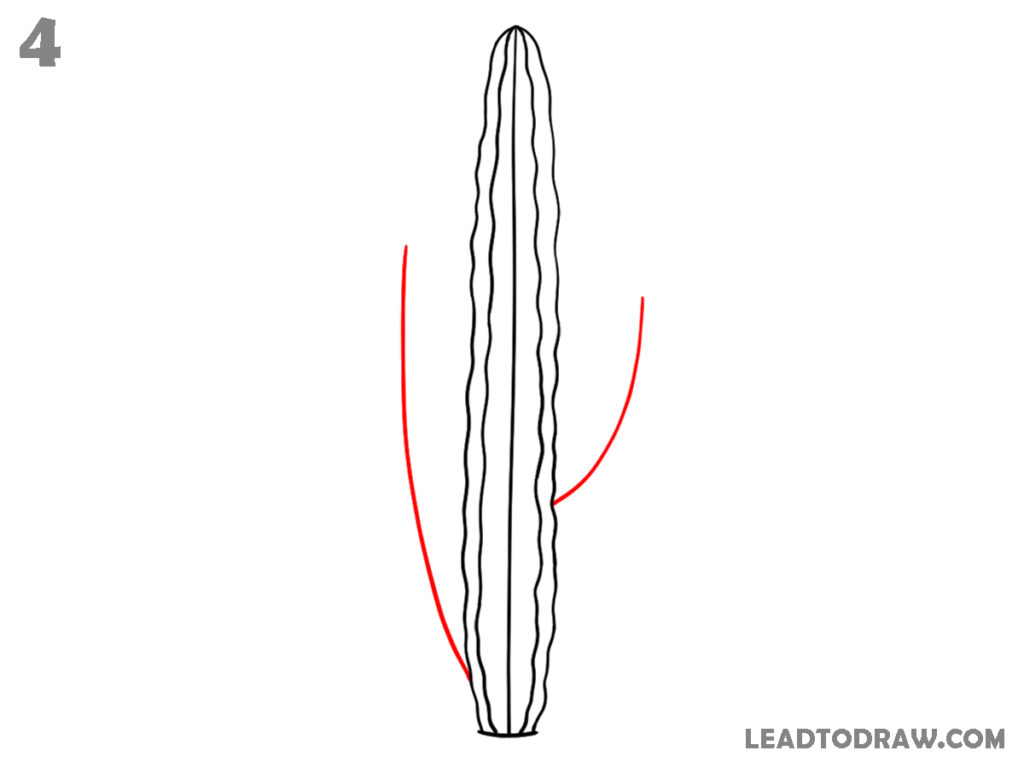
Draw one large curved arm growing from the lower left side of the cactus. Let it rise upward with a rounded top before joining the main body. Add another shorter curved arm on the right side. Keep both arms attached naturally and make the right arm smaller than the left one.
Step 5: Draw the Inner Arm Ridges
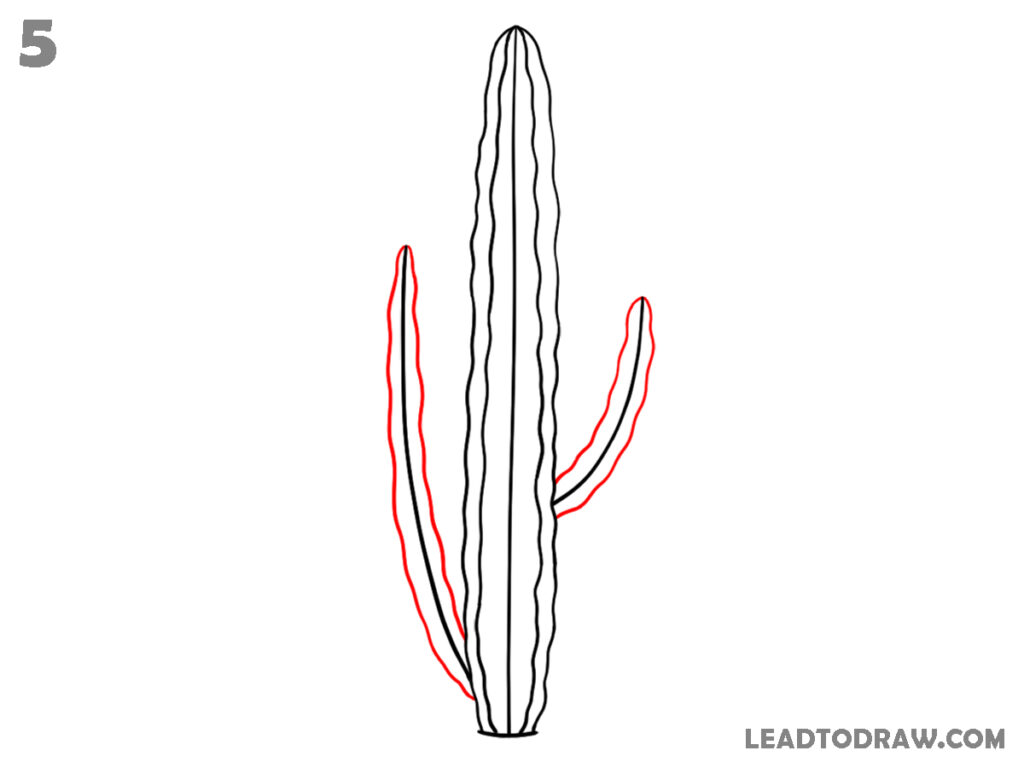
Draw long wavy vertical ridge lines inside the left arm from the rounded top to the bottom where it joins the main cactus. Add matching wavy ridge lines inside the right arm as well. Keep the ridges evenly spaced and follow the curved shape of each arm without extending beyond the outlines.
Step 6: Draw the Outer Arm Outline
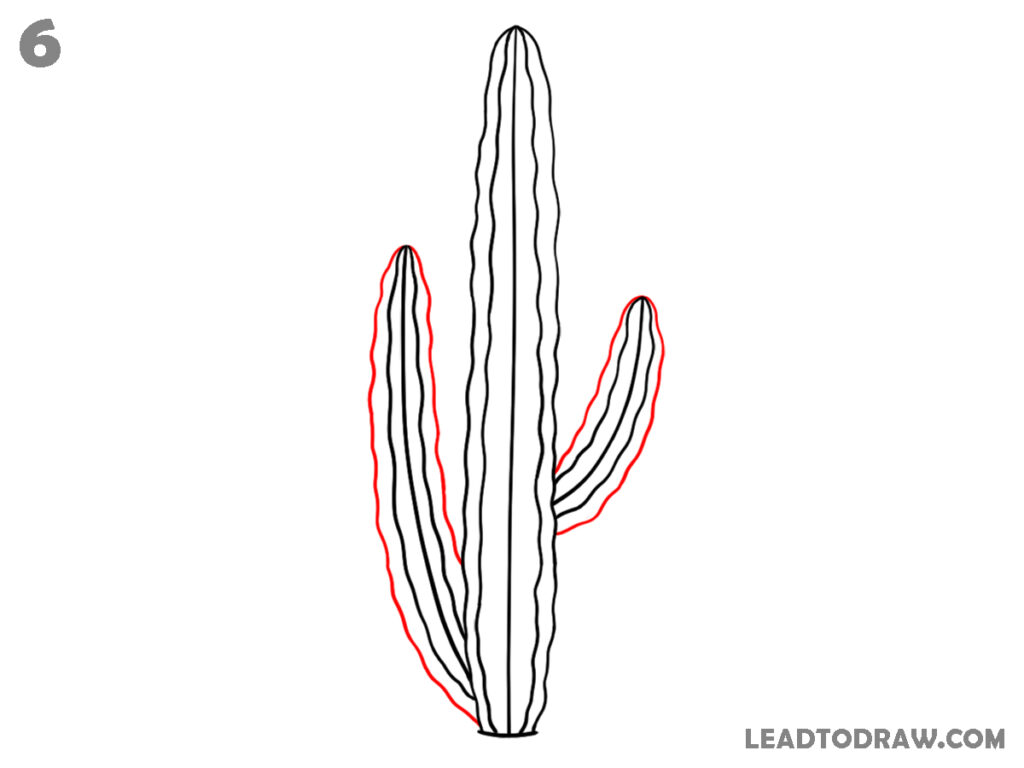
Draw the remaining outer curved edge of the left arm and connect it neatly to the main cactus near the base. Complete the right arm by drawing its remaining outer curved edge in the same way. Keep both arms rounded at the top and smoothly attached to the centre cactus body.
Step 7: Draw the Spines and Ground
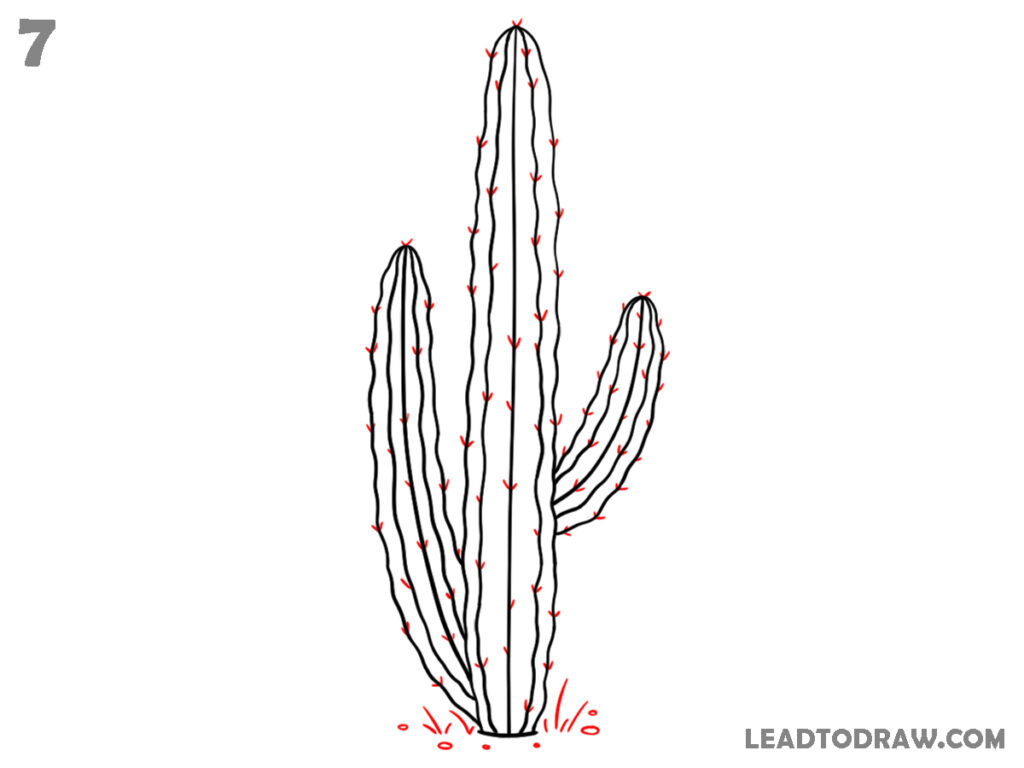
Add many small short spines along every ridge on the main cactus and both side arms. Space them evenly from top to bottom. Draw a few tiny grass-like strokes and small stones around the bottom base. Keep the spines short and point them slightly outward from each ridge.
Step 8: Check and Clean the Drawing
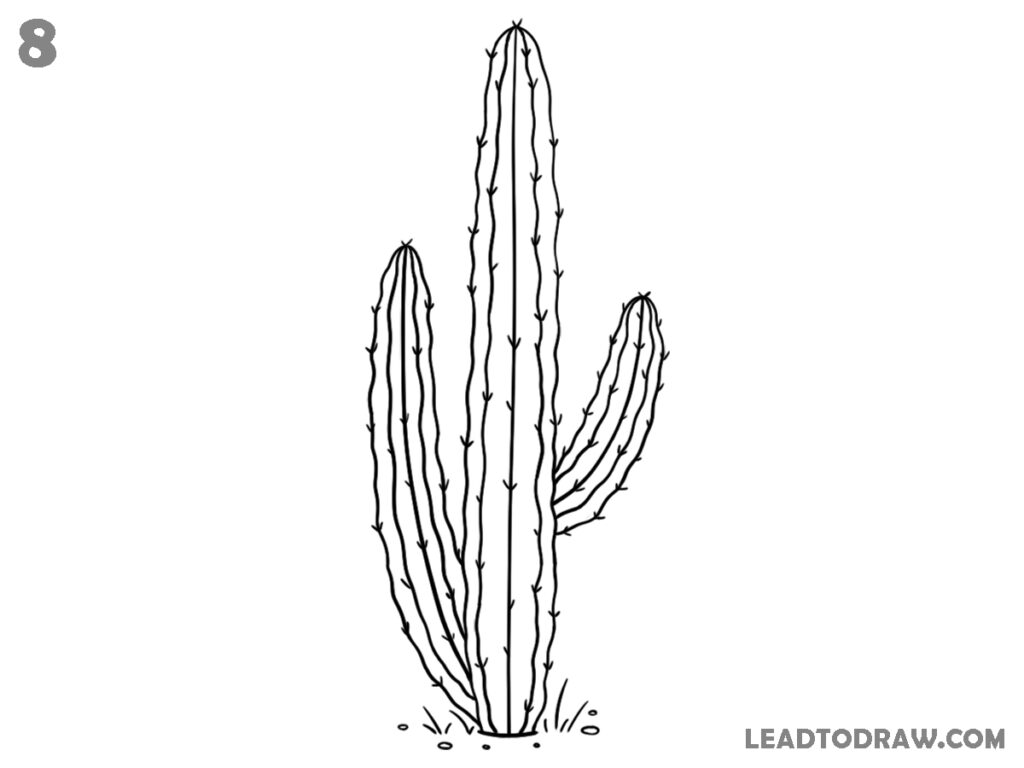
Check the entire cactus carefully and correct any uneven curves, ridge lines, or small spines where needed. Clean extra sketch marks if any are visible. Make the outline smooth, keep the ground details neat, and finish the drawing after confirming every part matches the completed cactus.
For more similar drawing tutorials, explore the guides below.
Conclusion
Now the cactus drawing is complete by following each step in order. Compare every part with the finished image, correct small mistakes if needed, and clean extra sketch marks. Keep practising the same method with different cactus shapes to improve drawing control and line accuracy every time.