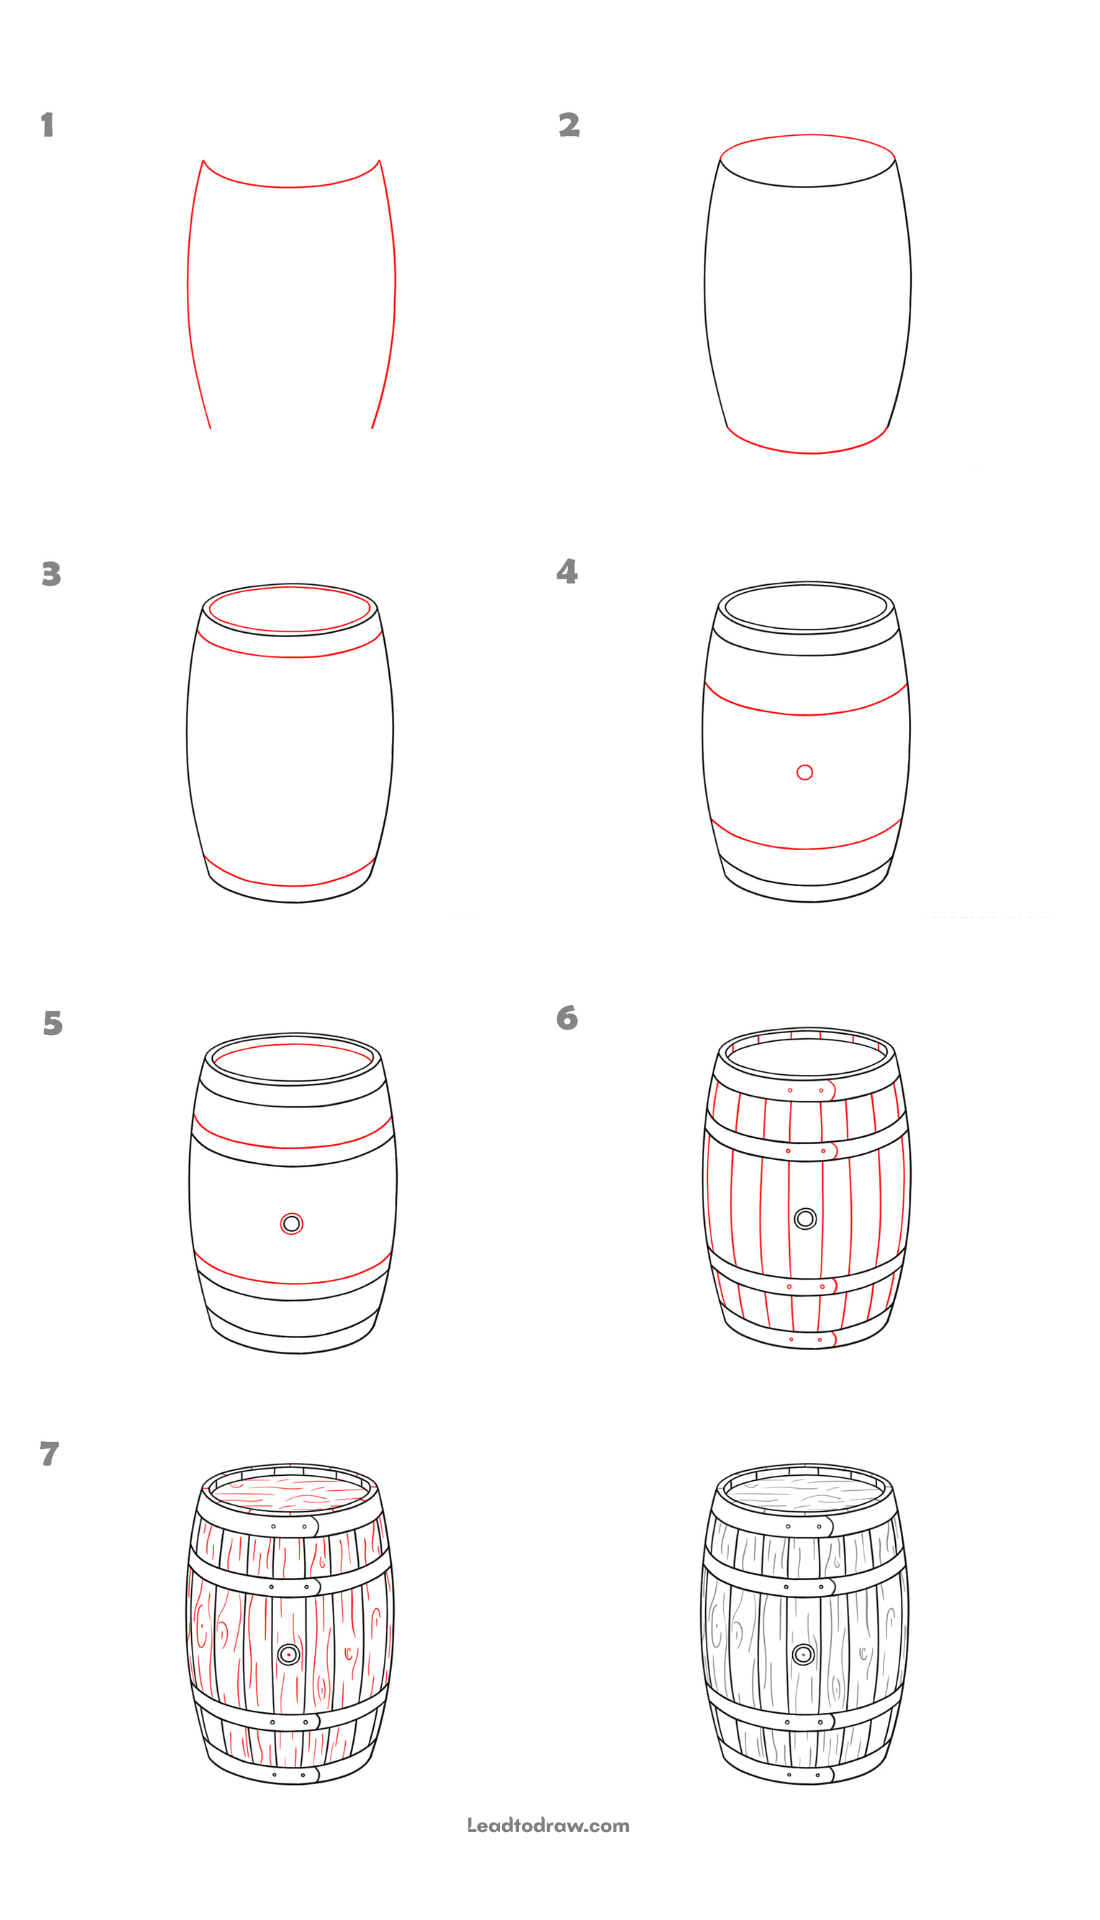
Learn how to draw a barrel step by step with simple lines and easy shapes. In the guide, red lines show the new part added at each stage. Follow each stage in order, adding the rim, bands, wooden lines, small details, and final barrel shape.
Lets Start
Step 1: Draw the Outer Shape
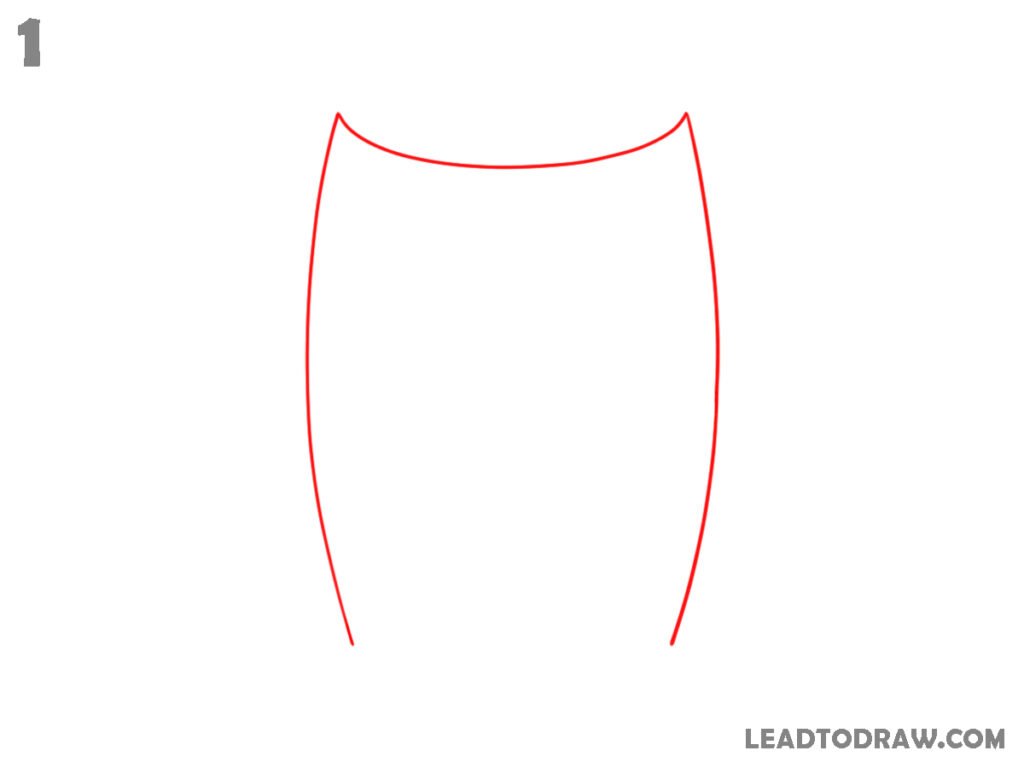
Start the barrel by drawing the upper curved edge and two long outer sides. Make the top curve dip slightly in the middle, then bring both sides downward with gentle outward curves. Stop both sides near the same lower level, leaving the bottom open for the next drawing step.
Step 2: Close the Barrel Body
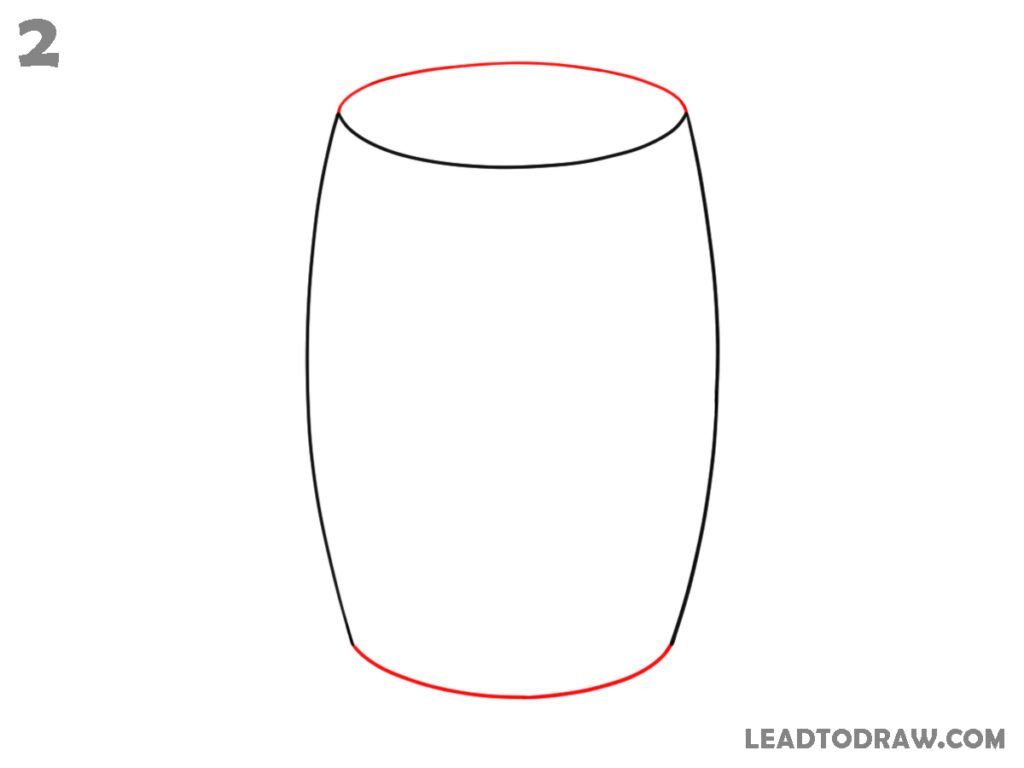
Draw the bottom curve to close the barrel body. Start from the lower end of one side and make a smooth curved line toward the other side. Keep the curve slightly rounded upward at the middle. Add the top oval line inside the upper edge to show the opening of the barrel.
Step 3: Add the Rims
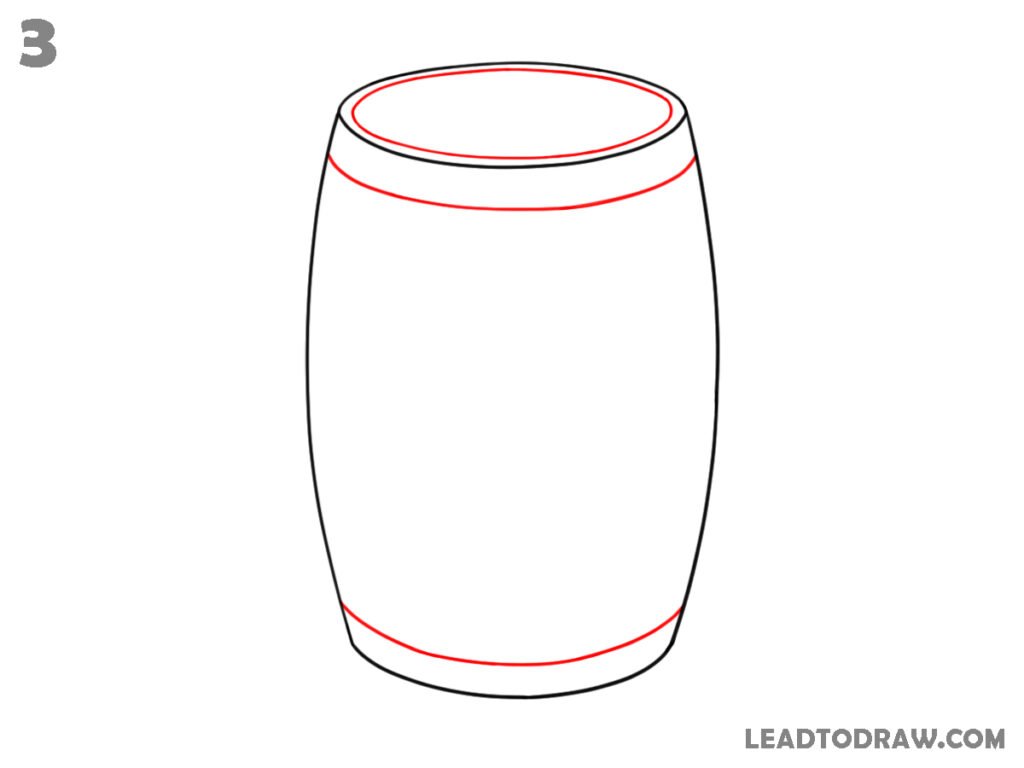
Add the thick rim around the top opening by drawing another curved oval inside the top. Then add the lower rim with curved lines near the bottom of the barrel. Follow the body shape so the lower lines curve gently across the width and connect naturally with both outer sides. Keep each curve close.
Step 4: Draw the Barrel Bands
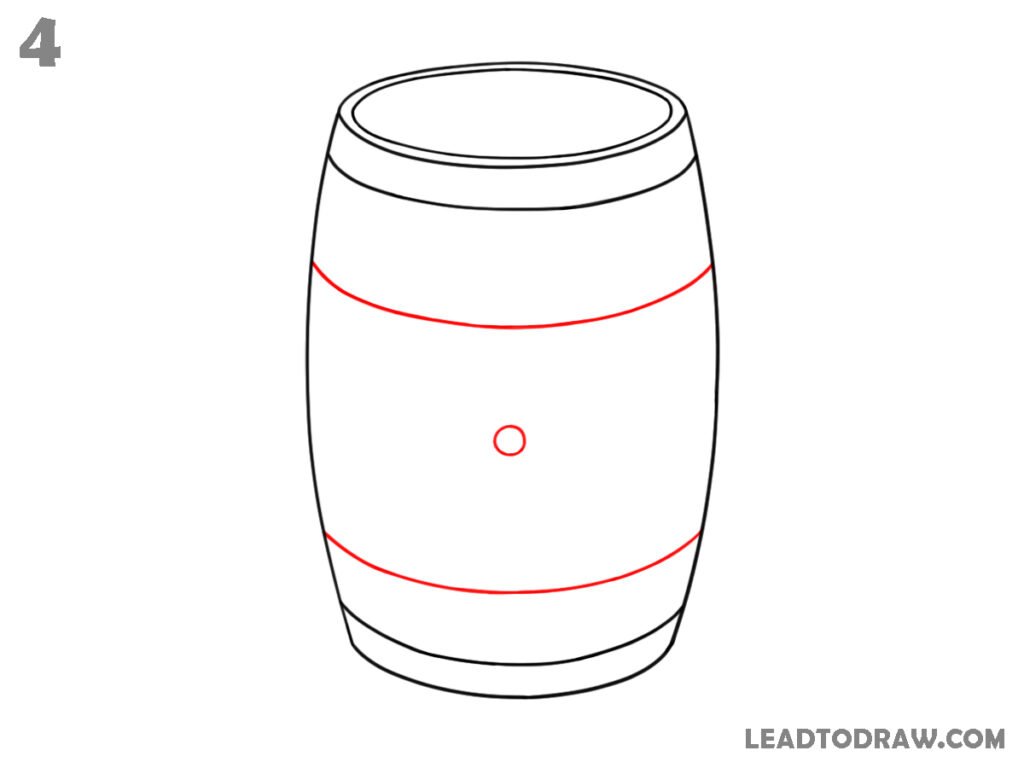
Draw two curved bands across the barrel body. Place one band below the top rim and another above the lower rim. Curve both bands to follow the rounded body. Add a small circle near the middle of the barrel for the central fitting, keeping it between the two bands. Keep the circle centered.
Step 5: Add Band Details
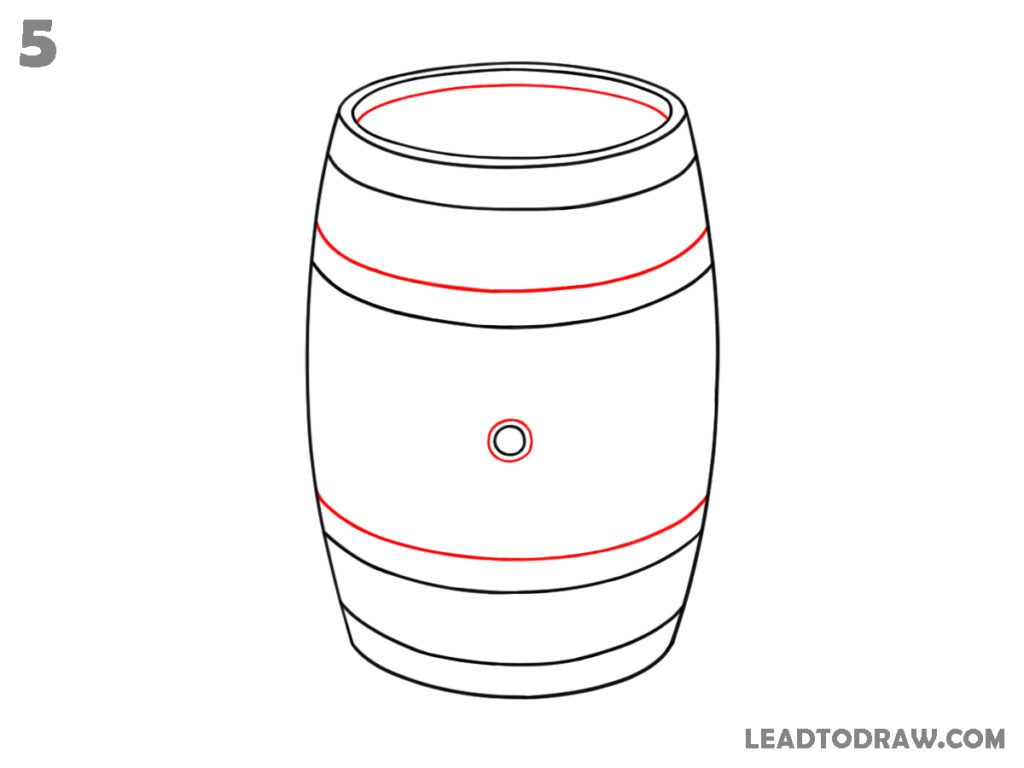
Add another curved line around each band to give the wooden bands more shape. Draw a small inner circle around the central fitting. Add the lower band details with curved lines that follow the bottom edge of the barrel, keeping the lines close to the existing rim and band shapes. Follow the rounded form carefully.
Step 6: Draw the Wooden Planks
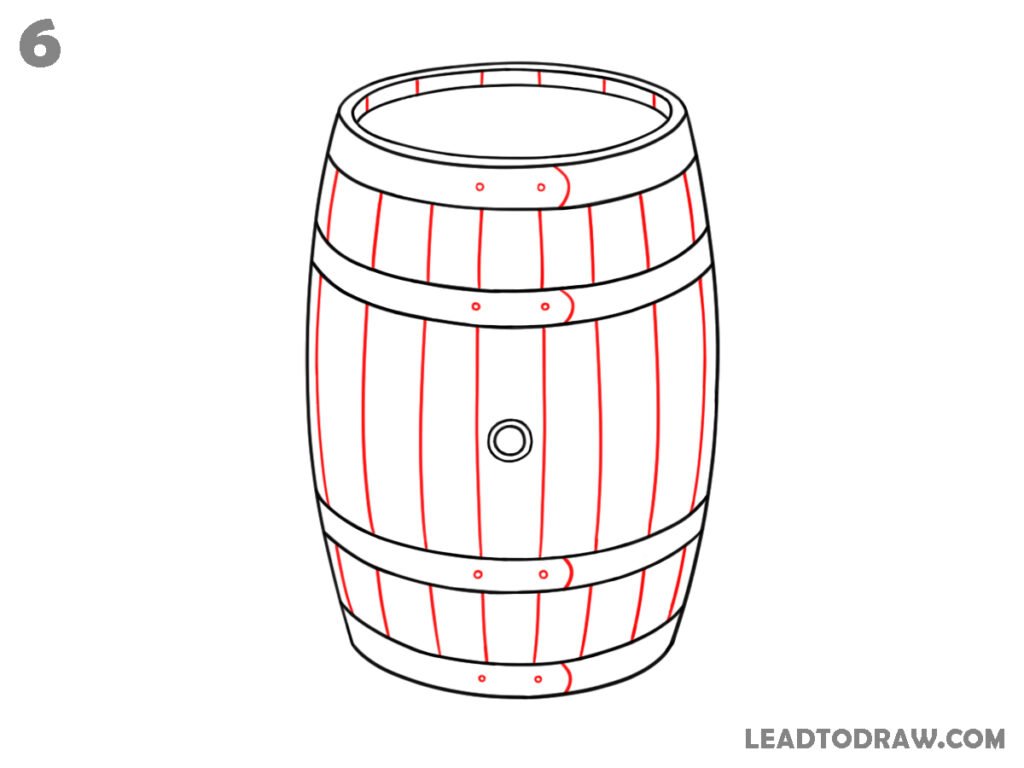
Add the vertical wooden plank lines from the top rim toward the bottom rim. Curve each line slightly to follow the rounded barrel body. Continue the lines through the spaces between the metal bands, stopping them at each band. Add small round marks along the bands and around the central fitting. Keep them small.
Step 7: Add Wood Grain
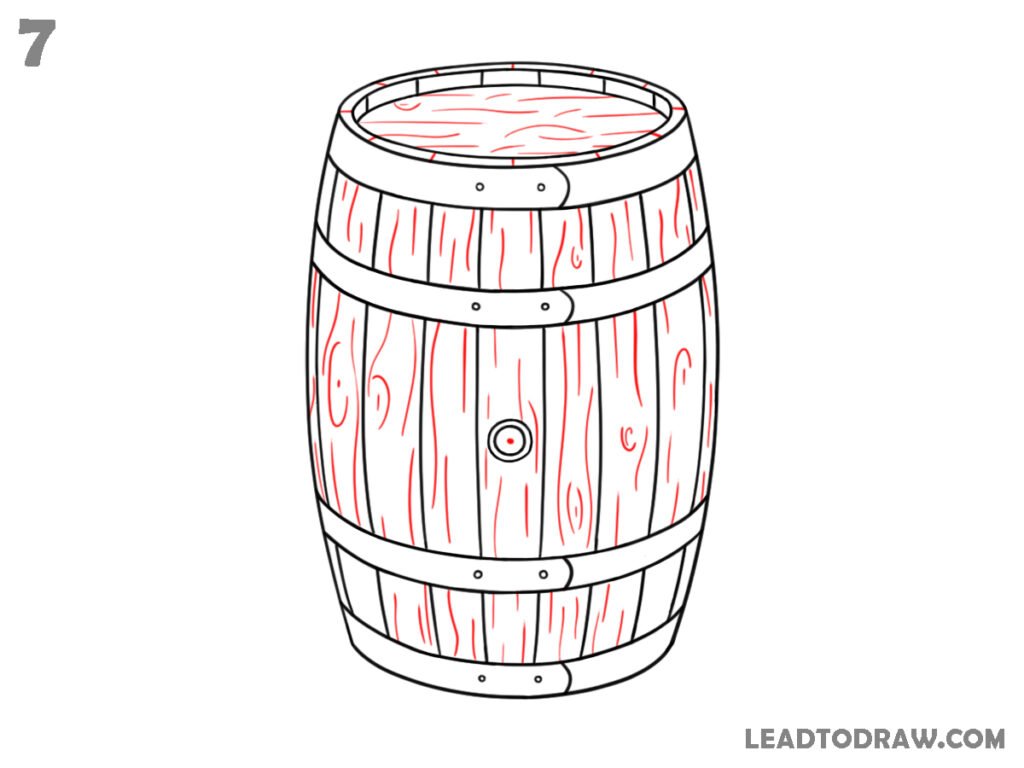
Add the wood grain details across the barrel. Draw short, uneven curved strokes and small irregular marks inside the wooden sections. Place a few simple grain shapes near the sides and middle areas. Add more small marks on the upper and lower wooden sections while keeping the metal bands mostly free of grain lines.
Step 8: Check and Clean the Drawing
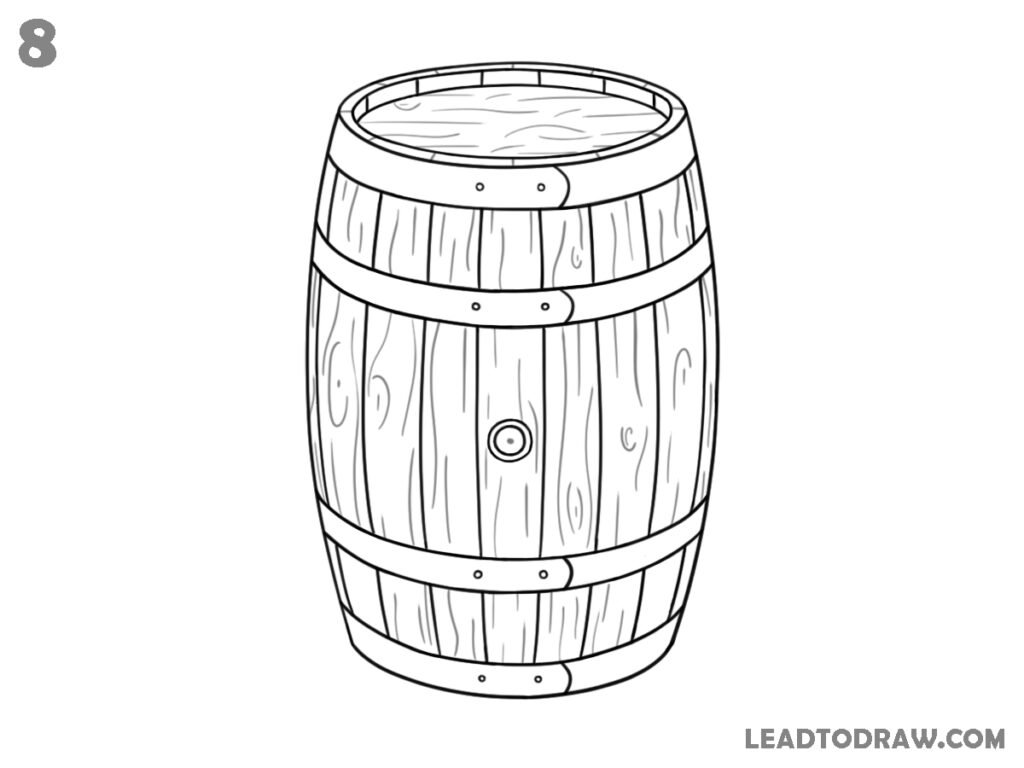
Check the barrel drawing from top to bottom. Look at the outer sides, curved top and bottom, rim, bands, central fitting, vertical plank lines, and wood grain marks. Correct any line that looks uneven or disconnected. Remove any unwanted marks and clean the drawing so the final barrel contains only the needed lines.
For more similar drawing tutorials, explore the guides below.
- How to Draw an Axe Step by Step
- How to Draw a Cassette Tape Easily Step by Step
- How to Draw a Mailbox in 8 Easy Steps
Conclusion
Now the barrel drawing is ready after checking the main outline, top opening, lower rim, bands, central fitting, wooden plank lines, and grain marks. Use a clean line for the final drawing and remove any unwanted marks. Keep the curved parts smooth and make sure the small details stay inside the barrel shape before finishing it.