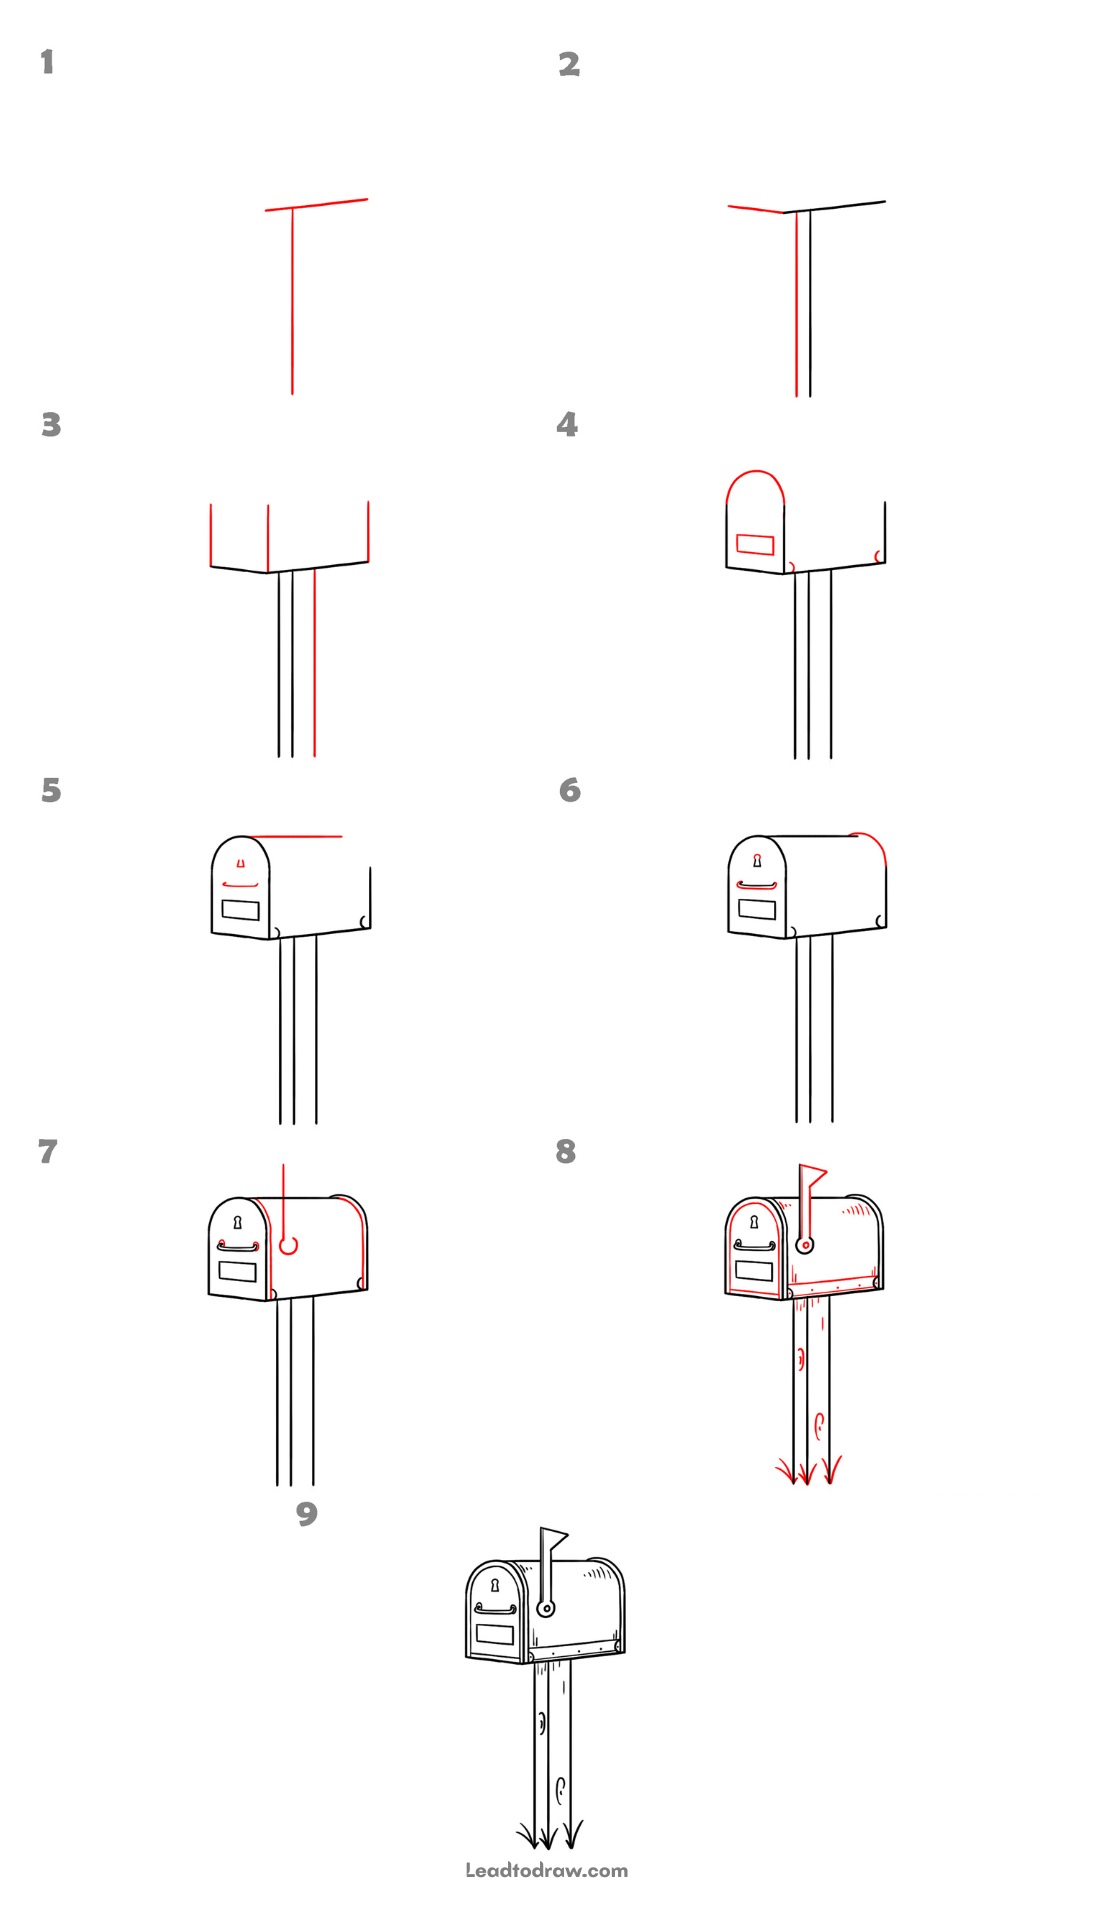
Learn how to draw a mailbox by following this simple step-by-step tutorial. In every image, the newly added lines are highlighted to make each stage easy to follow, while earlier lines remain in place. Draw each part in the same order until the mailbox is complete.
Lets start
Step 1: Draw the Top and Post
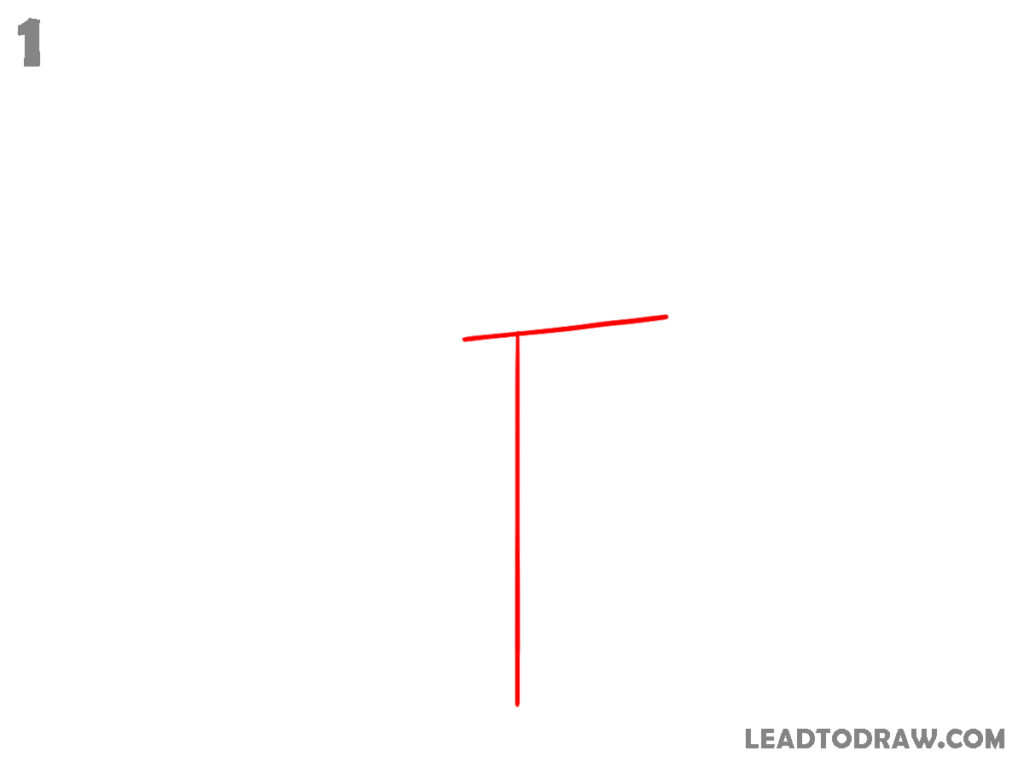
Start with a slightly slanted horizontal line for the top edge. From its left end, draw one long vertical line straight downward to create the mailbox post. Keep both lines connected at the corner exactly as shown. Leave enough empty space around the shape for the mailbox body added later.
Step 2: Add the Front Edge
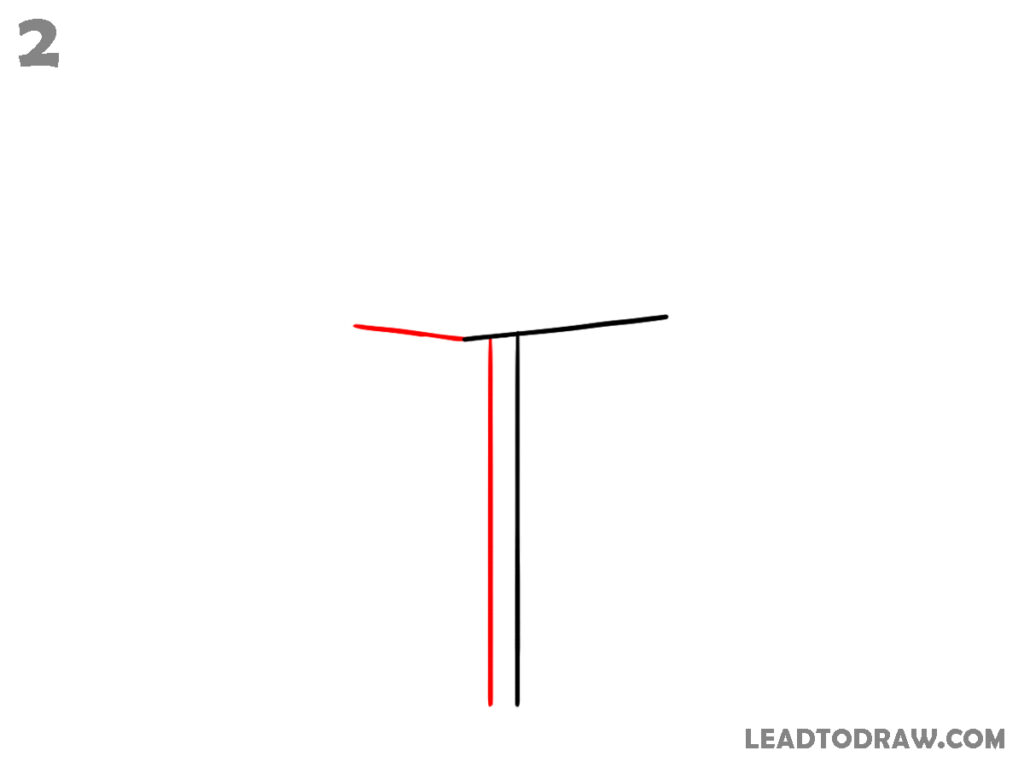
Draw a short slanted line from the left side of the top edge to extend it slightly. Next, draw a second long vertical line from the right side of the top edge, keeping it parallel to the first post line. Both vertical lines should extend downward to form the mailbox support.
Step 3: Draw the Box Shape
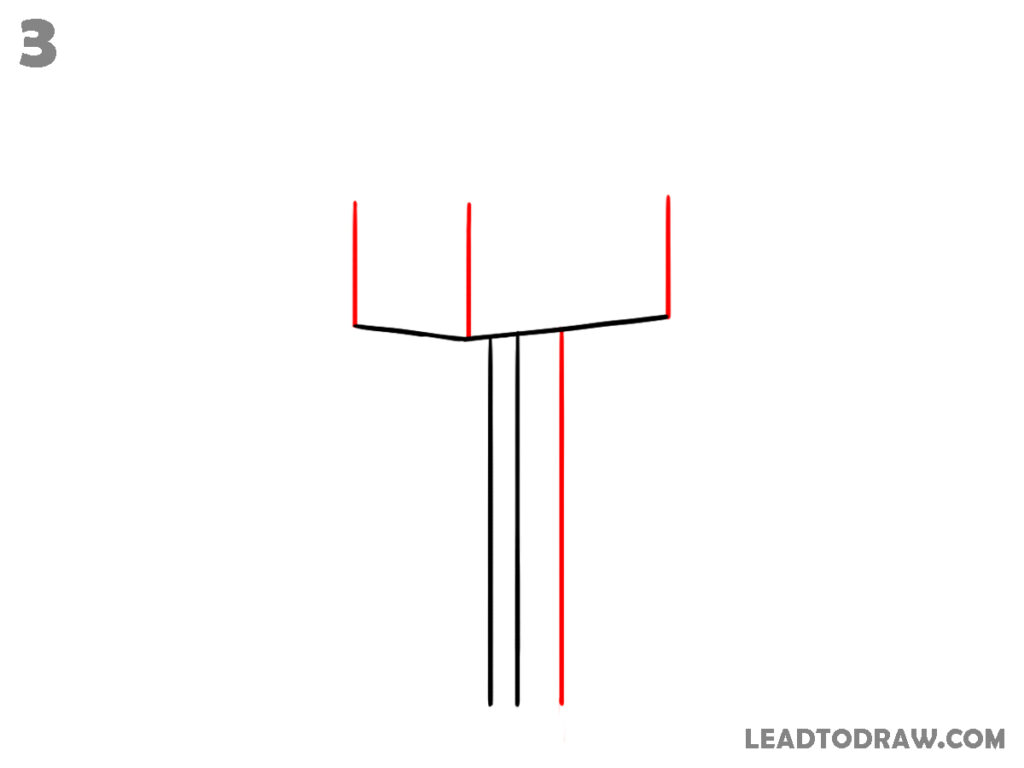
Add three short vertical lines rising upward from the front left corner, the middle, and the right end of the top edge. Join the front left and right sides with slightly slanted top edges to create the open box shape. Extend one more long vertical line downward through the middle.
Step 4: Draw the Front Cover
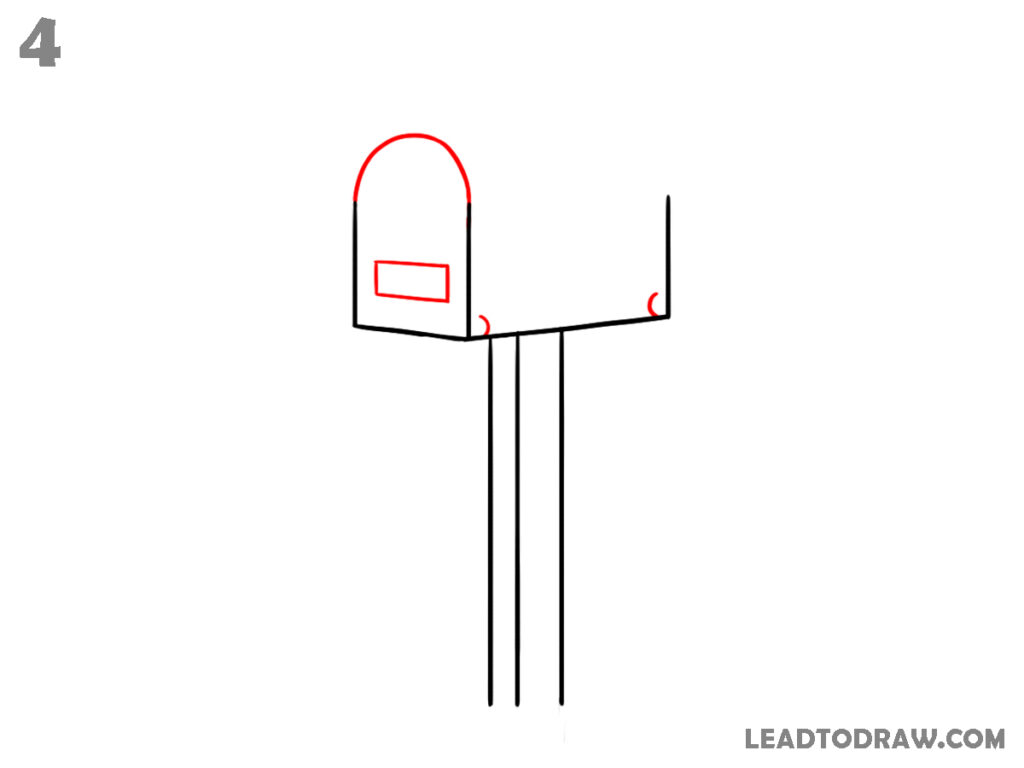
Round the top of the front face with a smooth curved arch. Add a small horizontal rectangle near the lower front for the mail slot. Draw small curved corner details at the lower front and back edges. Keep the front attached to the top and side lines exactly as shown.
Step 5: Extend the Mailbox Body
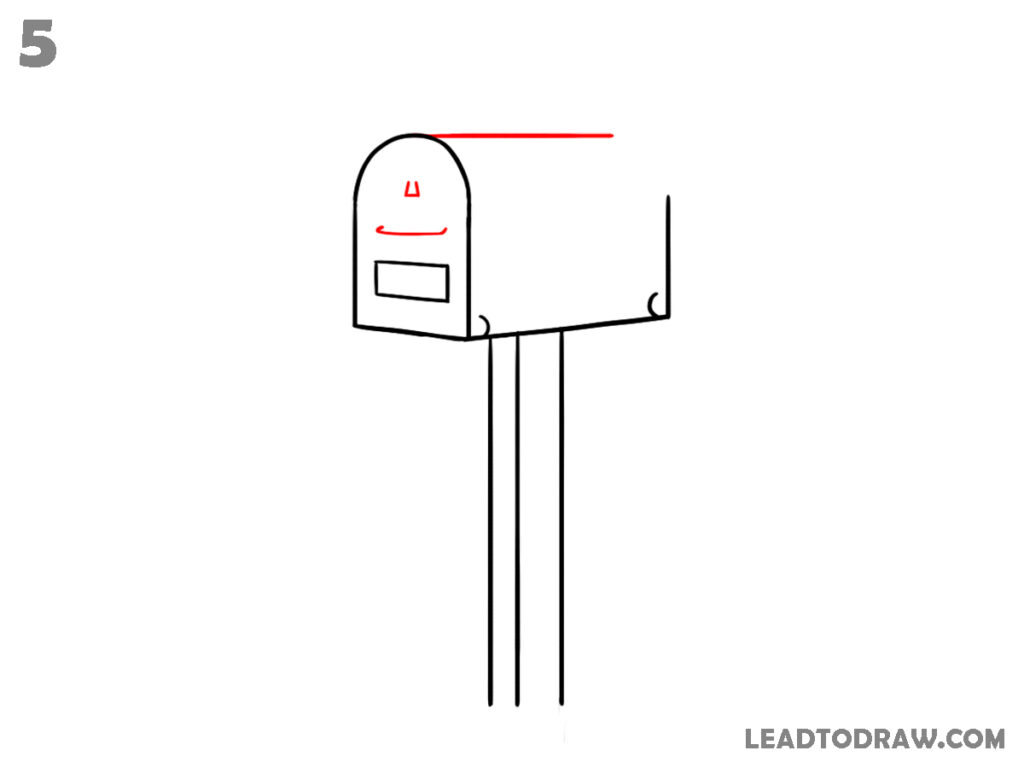
Continue the top edge with one long horizontal line moving toward the back. Add a small keyhole near the upper front and draw a curved handle below it. Keep the front rectangle and lower corner details unchanged while extending the body to the required mailbox length.
Step 6: Round the Back Side
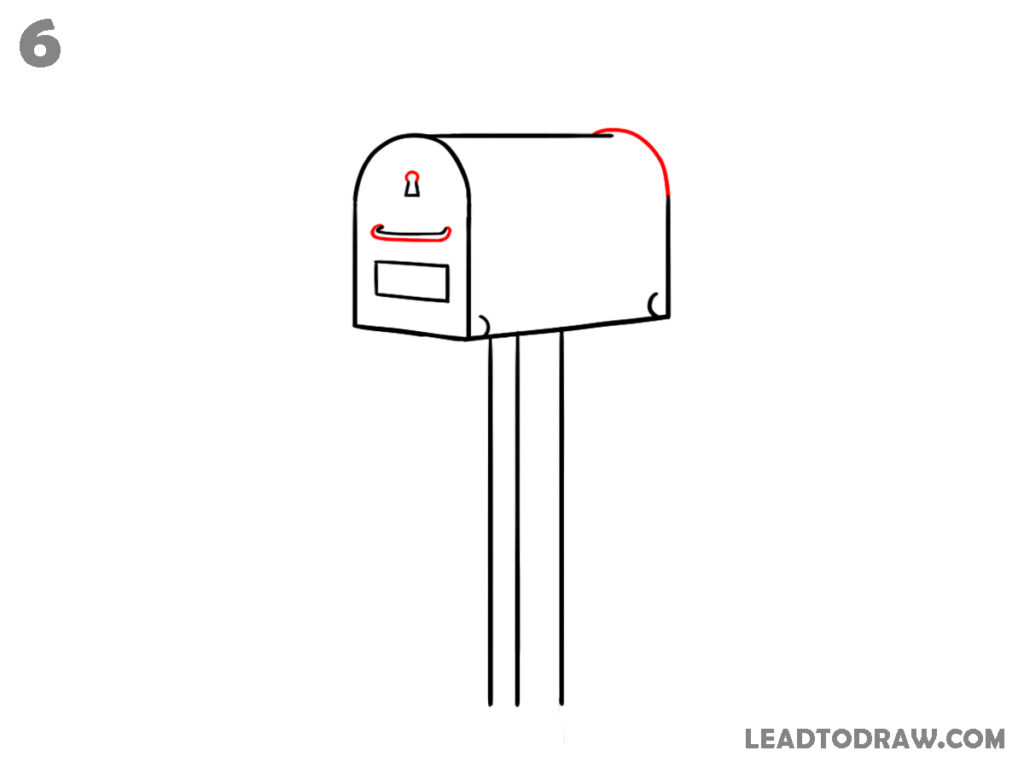
On the right side of the mailbox, draw a curved line connecting the top dome to the back edge, completing the rounded shape of the box. This curve joins with the frame line drawn earlier and closes the top of the mailbox body, giving it a proper rounded box shape all around.
Step 7: Draw the Mailbox Flag
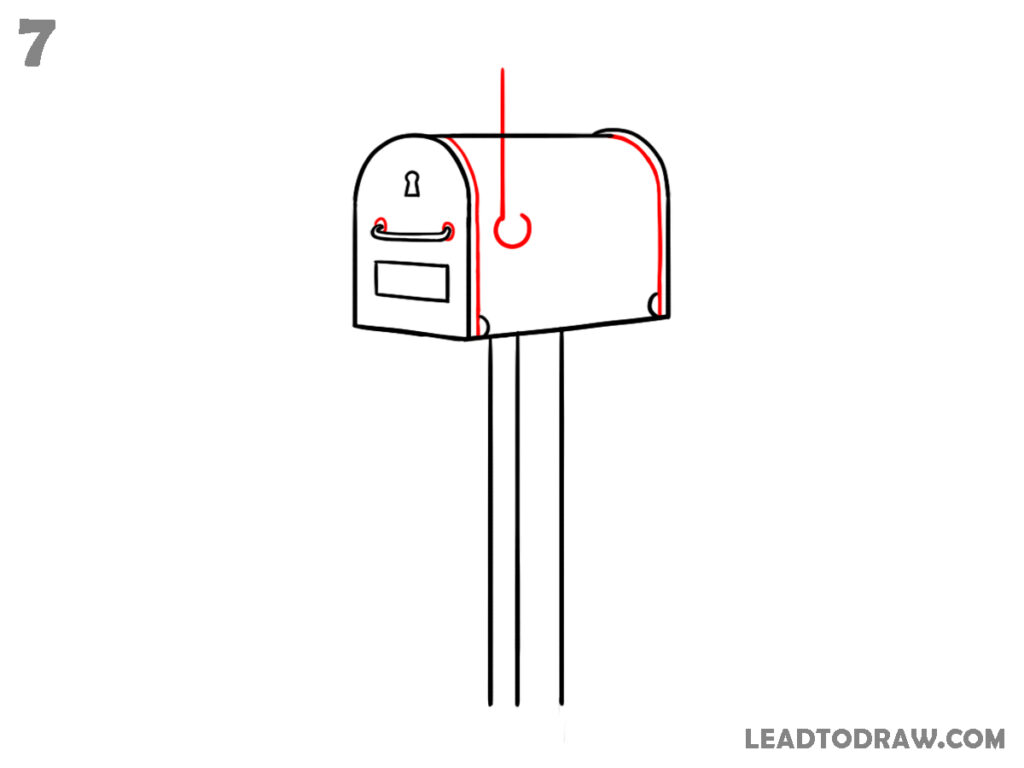
Above the top of the mailbox, draw a straight vertical line going up for the flag pole. At the base of this pole, draw a small circle where it meets the box, showing the pivot point. This pole will hold the flag that gets added in the next step of the drawing.
Step 8: Add Small Details
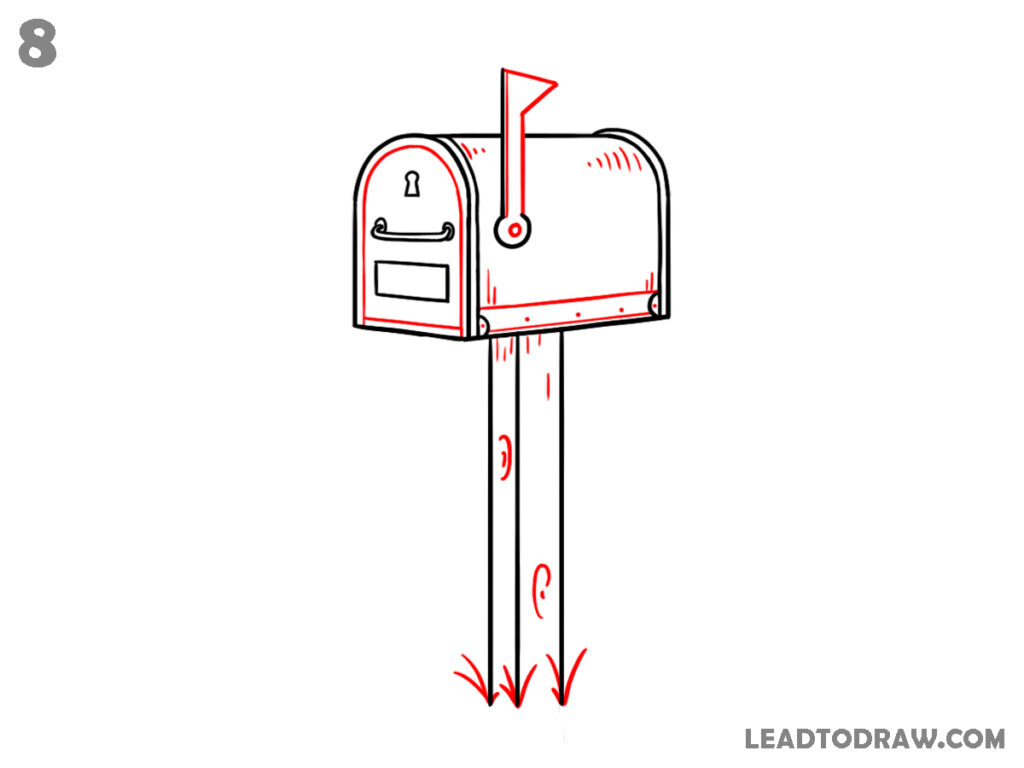
Draw the flag shape at the top of the support. Add short curved texture marks on the upper body, a row of small marks along the lower edge, and a few wood grain details on the post. Include small grass strokes at the bottom around the post as shown.
Step 9: Check and Clean the Drawing
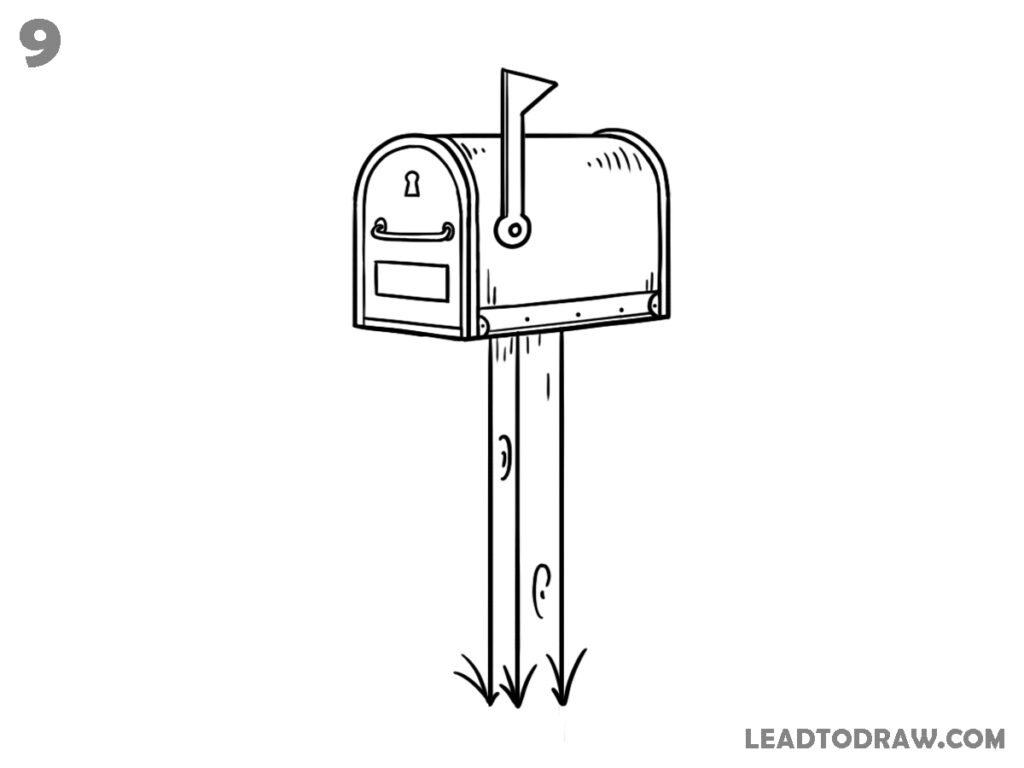
Check the full mailbox drawing carefully and correct any uneven lines. Erase unwanted sketch marks if needed. Keep the mailbox body, flag, front details, post, wood grain, and grass strokes neat. Finish with clean outlines so only the final drawing remains, matching the completed image.
For more similar drawing tutorials, explore the guides below.
- How to Draw a Shuttlecock in 7 Easy Steps
- How to draw a wallet in 8 easy steps
- How to draw a tulip easy step by step
Conclusion
Now the mailbox drawing is complete by following each step in order. Check every line once, remove any unwanted sketch marks, and keep the final outline neat. With regular practice, your mailbox drawing will look neat and properly finished every single time.