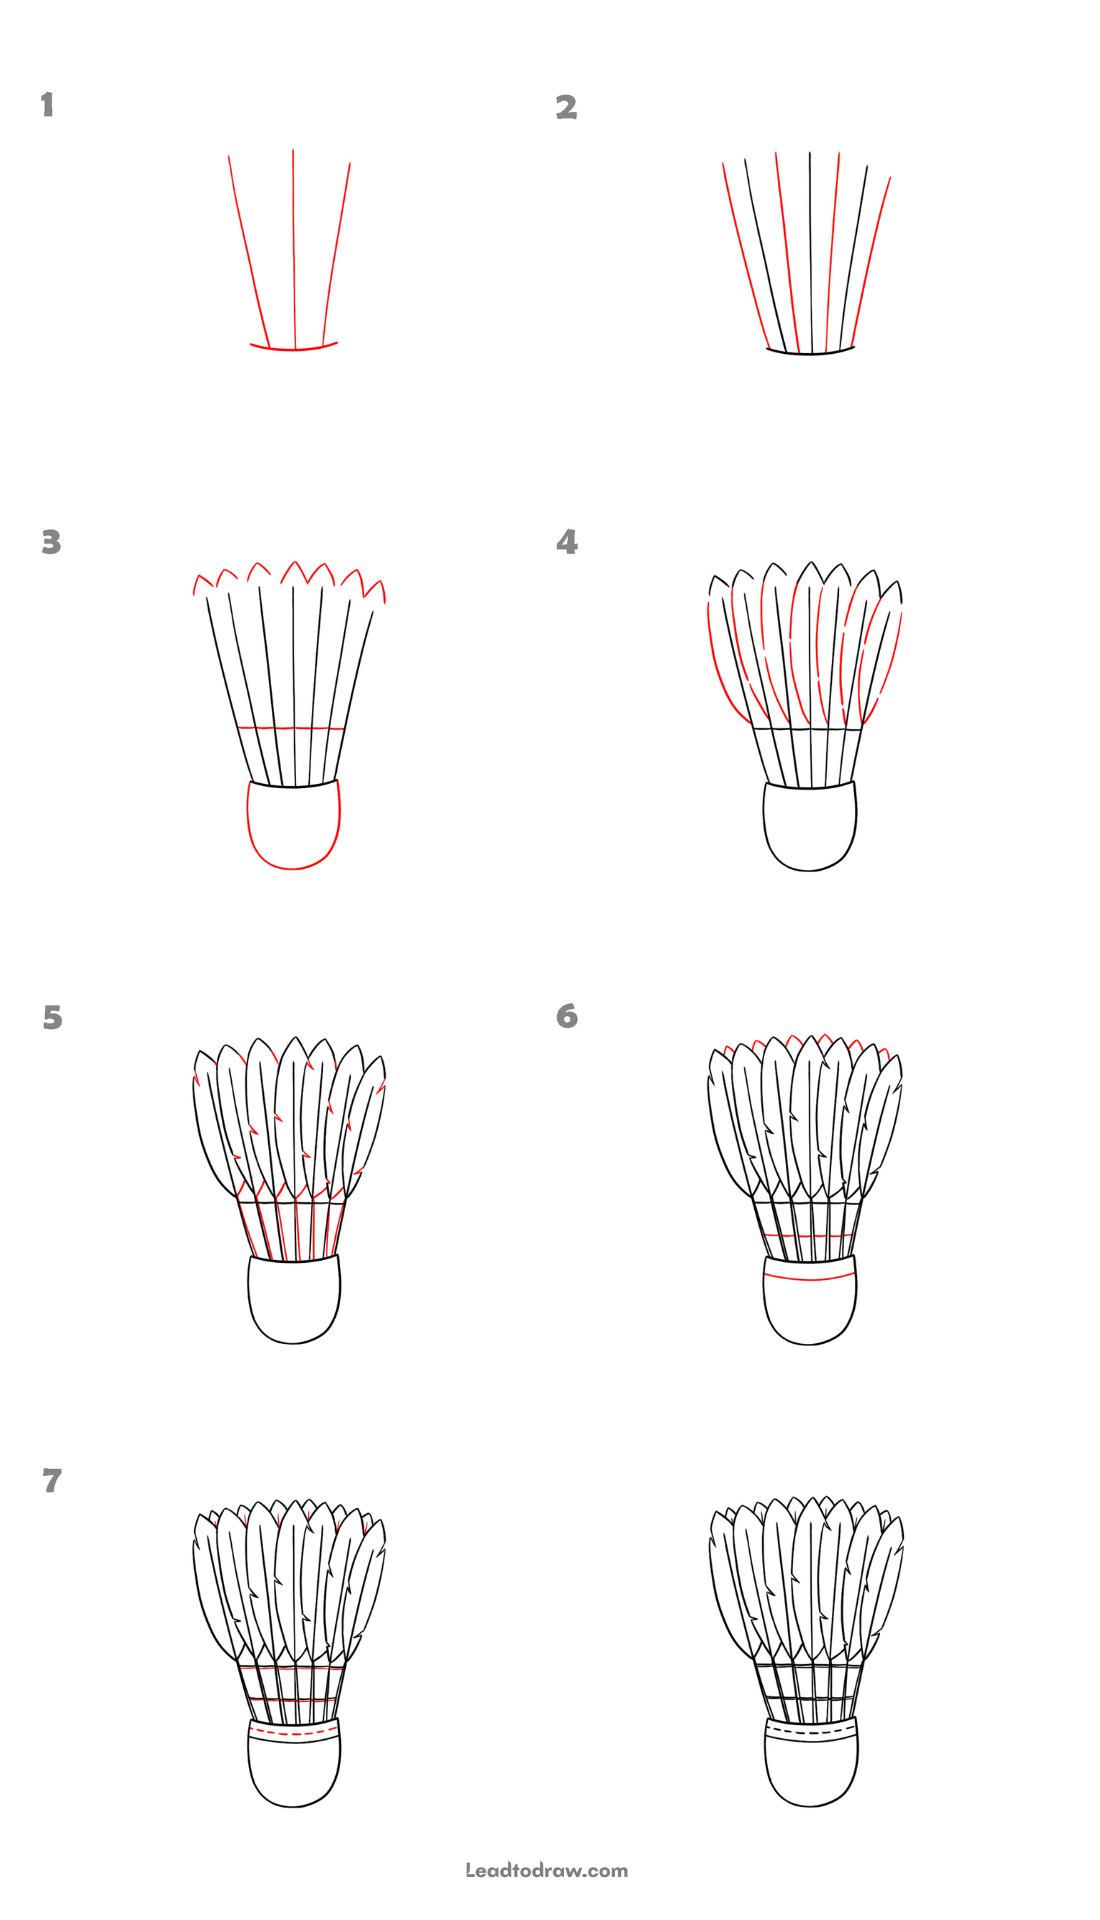
Learning how to draw a shuttlecock is easy when you follow each stage carefully. In this guide, the new lines for every step are highlighted to show what is added next. Follow the sequence shown in the images and draw each part one by one to complete the shuttlecock shape.
Lets begin
Step 1: Draw the First Feather Guides
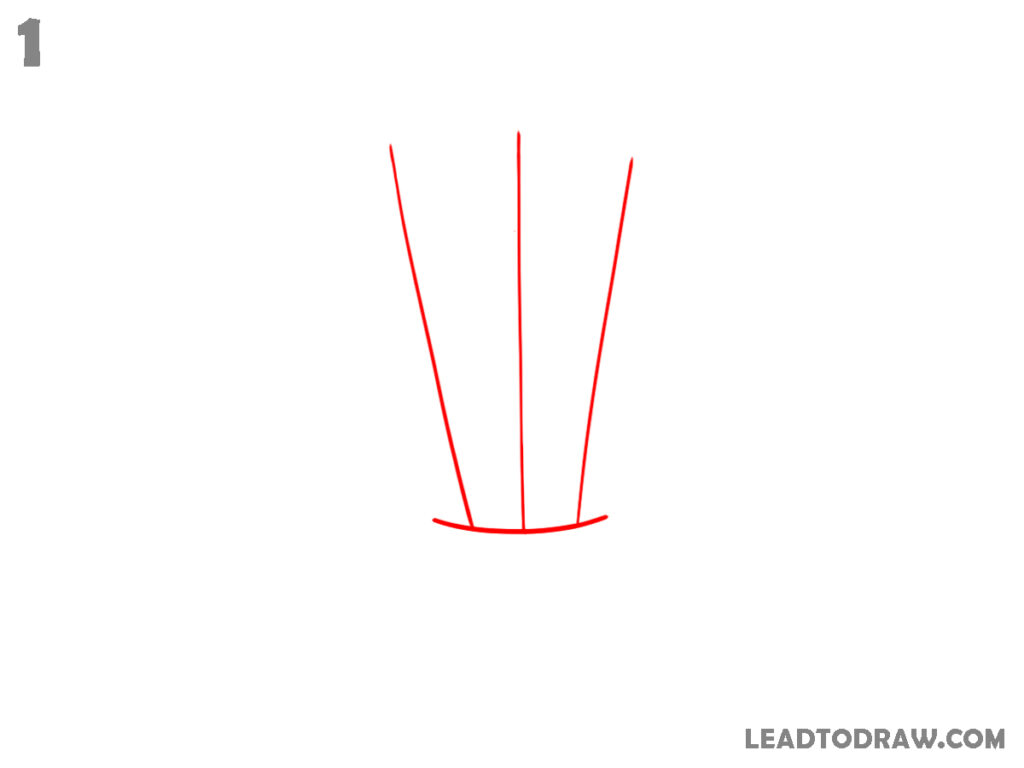
Start by drawing a short curved line near the bottom area. From this curve, draw three long lines rising upward. Keep one line in the centre and place the other two lines slightly slanting outward on each side. Leave enough space between them to form the beginning framework of the shuttlecock feathers.
Step 2: Add More Feather Sections
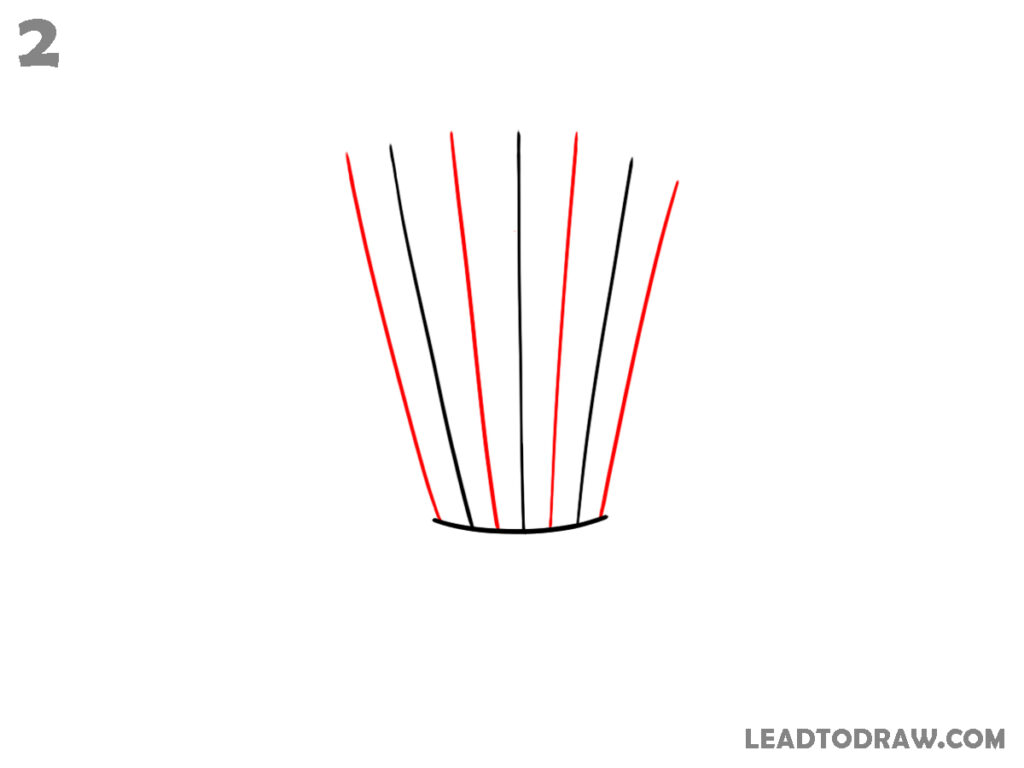
Draw additional long lines between and beside the existing feather guides. Keep them extending upward from the same curved base. Arrange the lines evenly so they spread outward across the top. Continue following the same length and direction, creating several narrow sections that form the basic feather arrangement above the base.
Step 3: Shape the Feather Tops and Cork
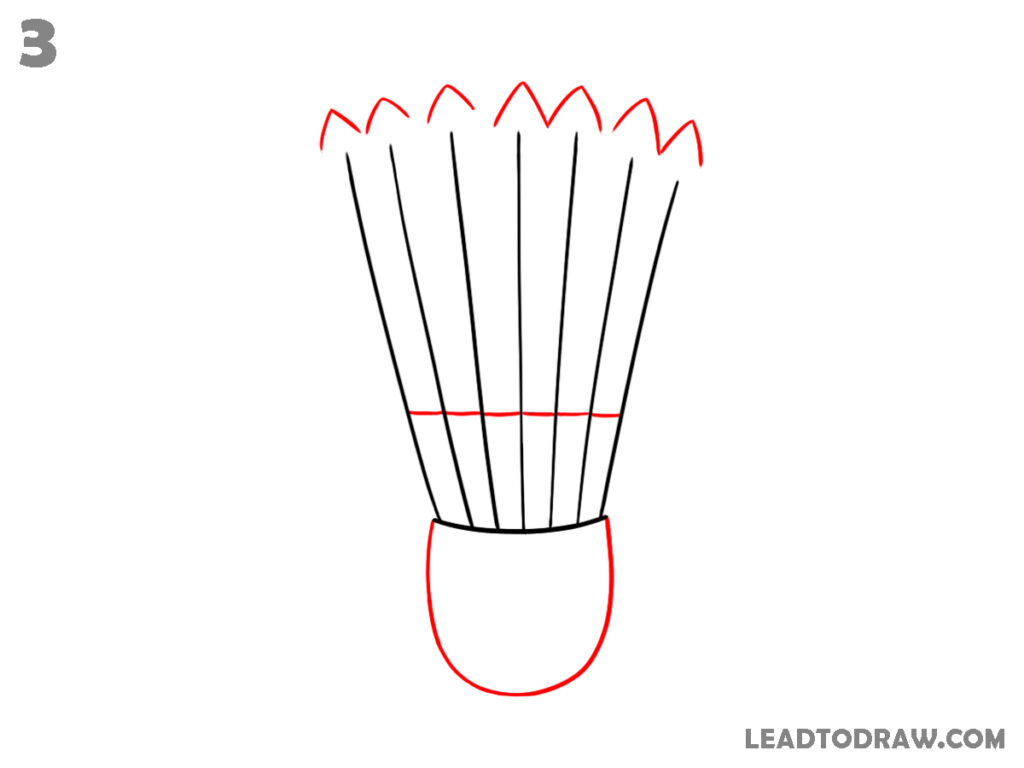
Draw the upper ends of the feather sections using a series of pointed curved shapes. Draw one pointed section above each feather guide according to image above. Next, add a horizontal band across the feather area. Below the feather base, draw a rounded cork shape with curved sides and a curved bottom edge.
Step 4: Outline the Feathers
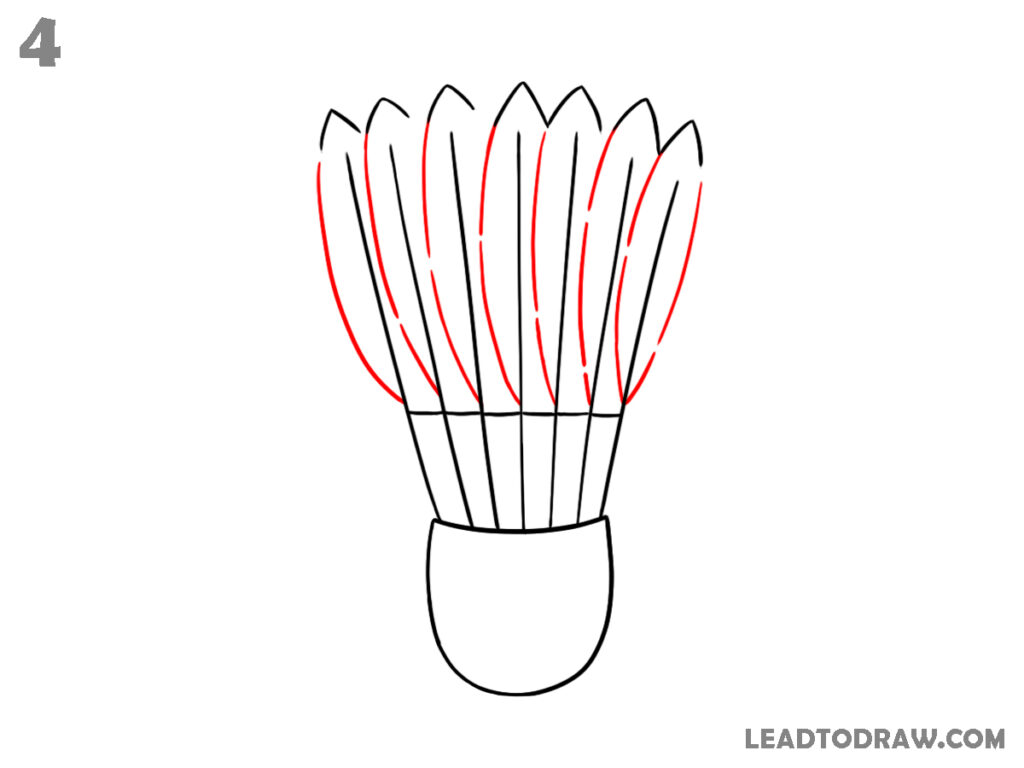
Around each feather section, draw long curved outer edges extending from the band up to the pointed tops. Add inner curved lines inside several feathers. Continue around the full feather group until each section has a feather-like shape. Keep the lower band and rounded cork visible underneath the feather arrangement.
Step 5: Add Feather Details
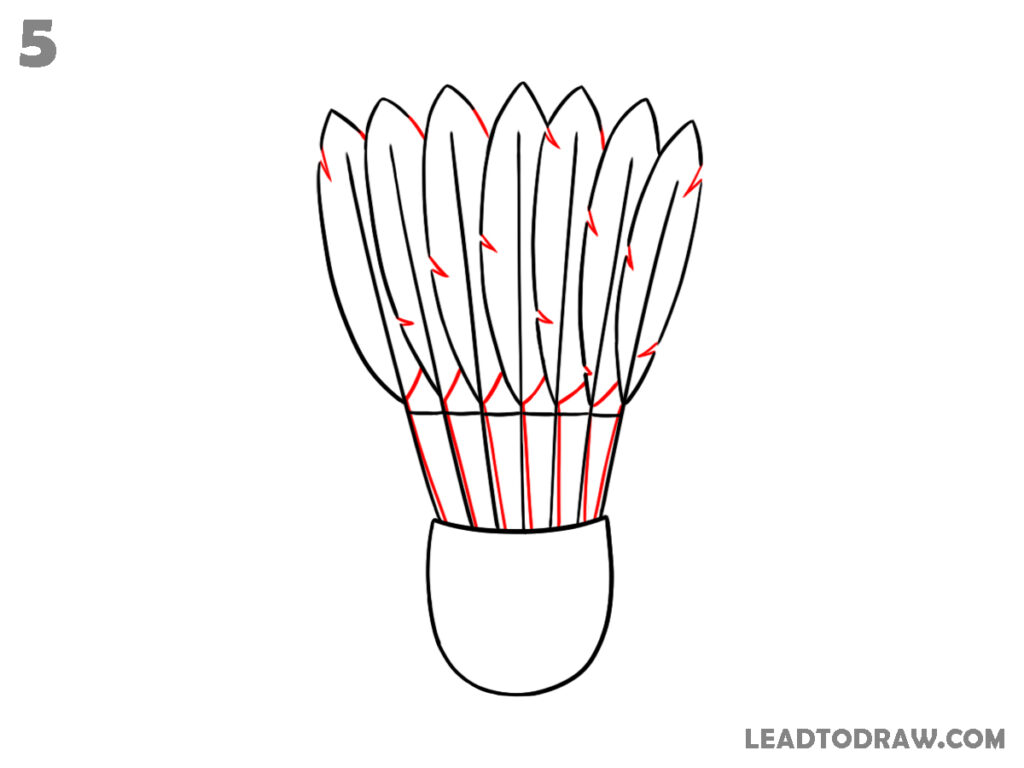
Draw small angled marks and short curved cuts inside the feathers. Spread these details across different feather sections from top to bottom. Add several narrow connecting lines beneath the feathers, extending downward toward the band area.
Step 6: Complete the Upper Feather Row
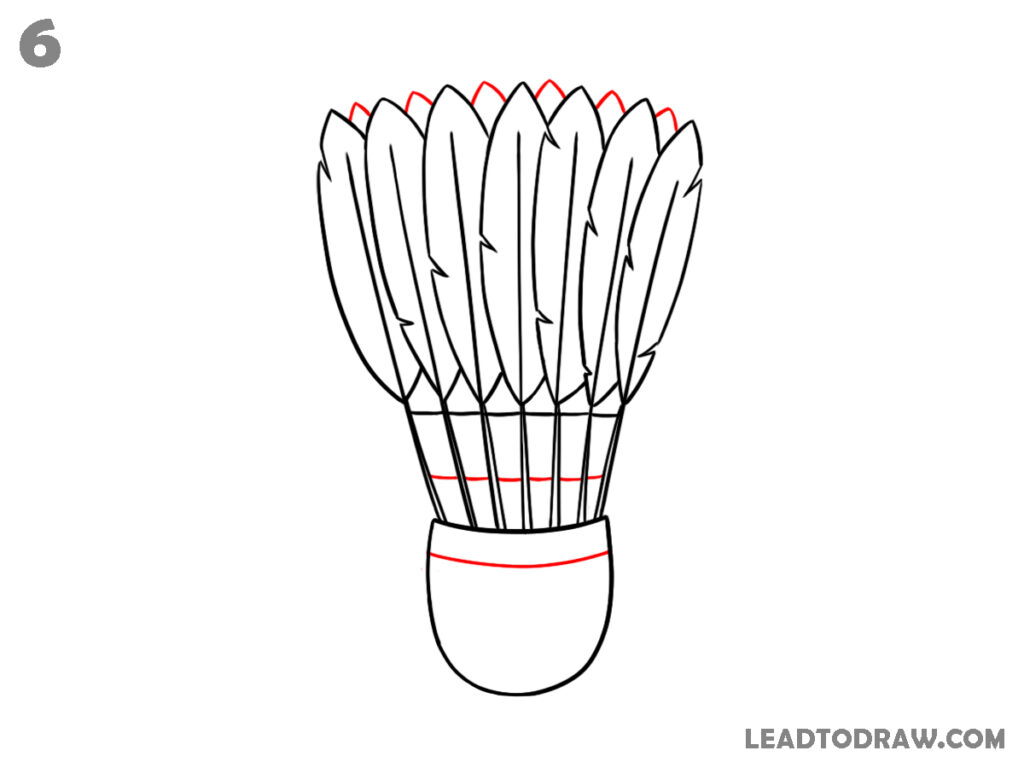
Add additional pointed feather tips along the top edge where small gaps remain. Draw another narrow horizontal band below the first band. Add a curved line around the upper part of the cork.
Step 7: Add the Final Band Details
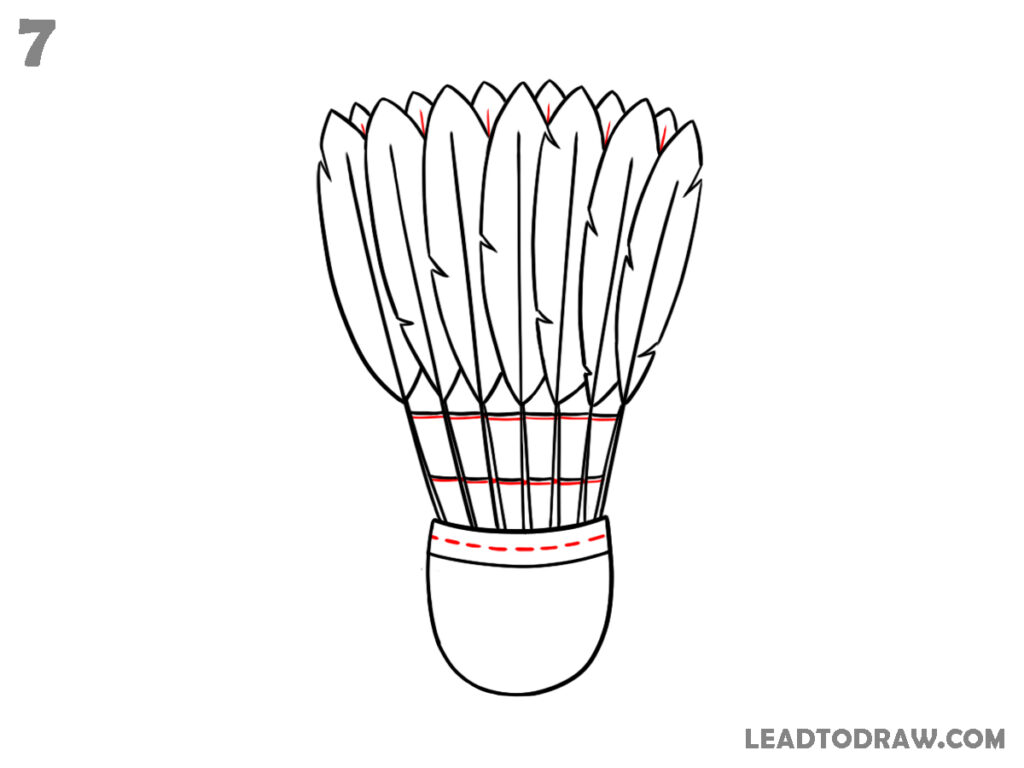
Draw another horizontal strip beneath the existing bands. Inside the cork area near the top, add a curved dashed guideline following the shape of the cork opening. Keep the bands aligned across the feather base. Make sure the lower structure looks layered with several thin sections beneath the feathers.
Step 8: Check and Clean the Drawing
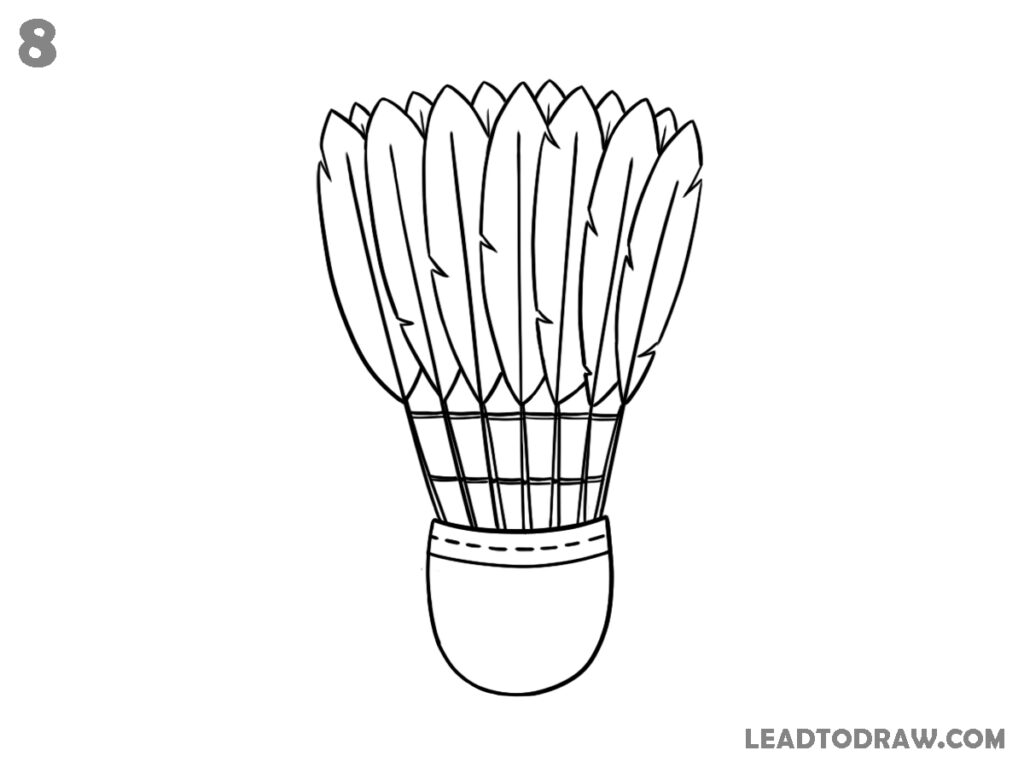
Check the shuttlecock drawing and remove the dashed guideline from the cork area. Correct any uneven feather edges, pointed tips, band lines, and cork outlines where needed. Erase unwanted marks that are not part of the final drawing. Keep all feather details, bands, and the cork shape neat and complete.
For more similar drawing tutorials, explore the guides below.
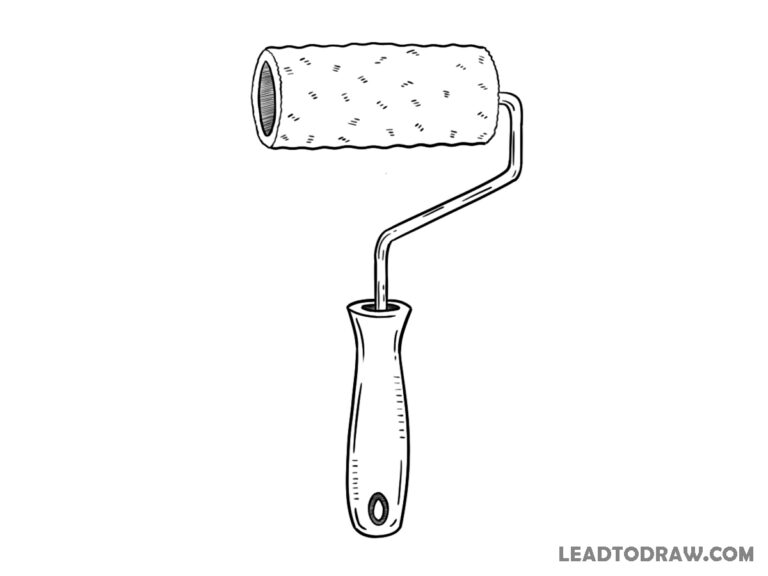
- How to Draw a Paint Roller in 7 Easy Steps
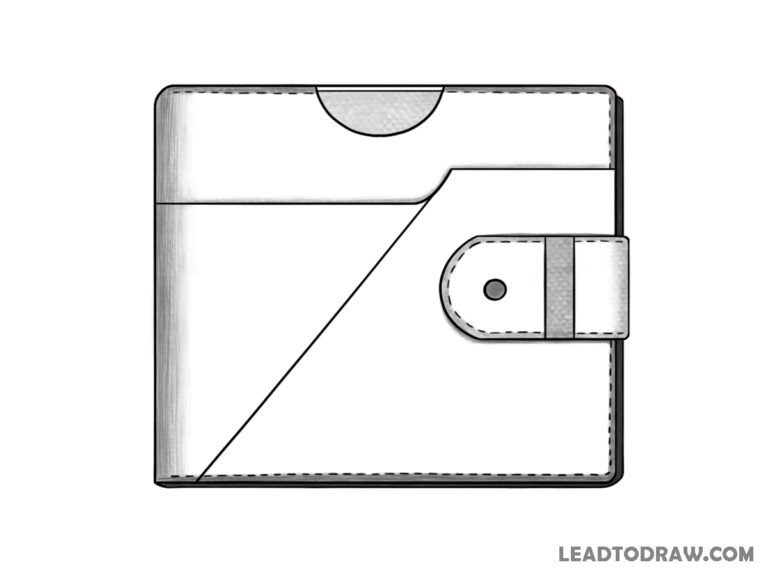
- How to draw a wallet in 8 easy steps
- How to draw socks in an easy way
Conclusion
Now you know how to draw a shuttlecock by following simple shapes and feather details step by step. Start with guide lines, form the feather sections, add texture marks, and finish the cork area. Check the drawing carefully and remove extra marks to get a clean shuttlecock drawing.