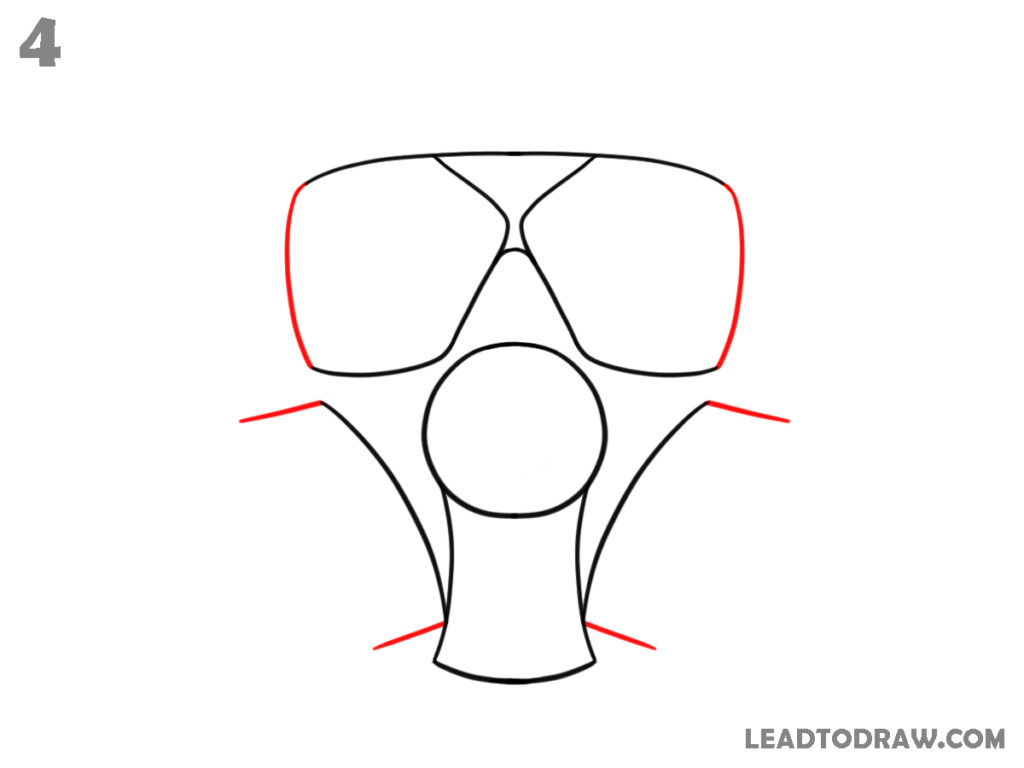
Learn how to draw a gas mask step by step using simple shapes, line, and details. This drawing tutorial follows the exact image sequence carefully. New lines in each step are shown in red for easy understanding, while earlier lines stay black. Follow each stage slowly to complete the full gas mask drawing properly.
Lets start
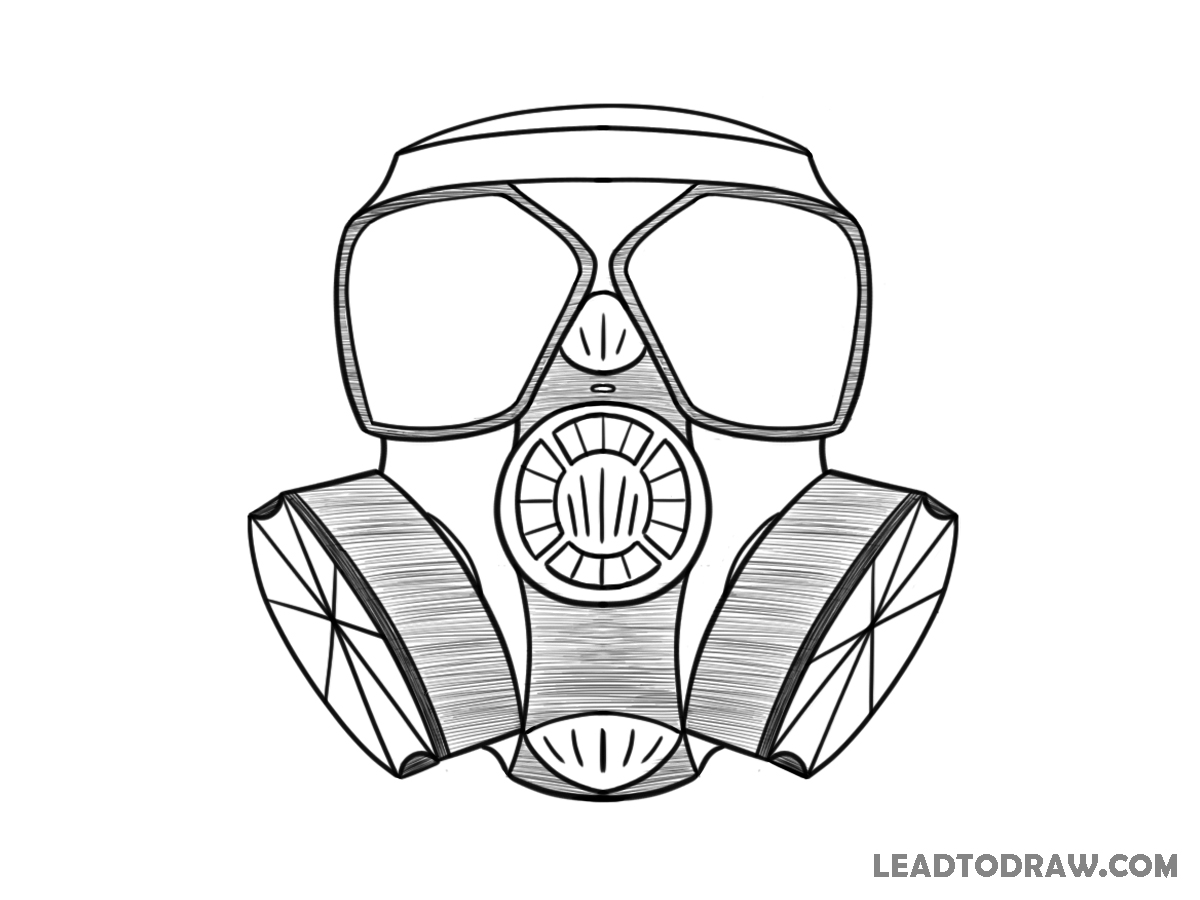
Step 1 – Draw the Center Circle
Start by drawing a medium-sized circle near the middle area of the page. Keep the shape round and smooth because this circle becomes the center breathing filter section of the gas mask. Leave enough empty space above, below, and both sides for the larger outer mask parts that will be added in the following drawing steps later.
Step 2 – Add the Top and Lower Mask Shape

Draw a curved line above the circle like a wide arch shape. Under the top arch, add a pointed shape touching the upper part of the circle. Next, draw two slightly curved lines going downward from both sides of the circle and connect them using a curved bottom line to form the lower center mask section clearly.
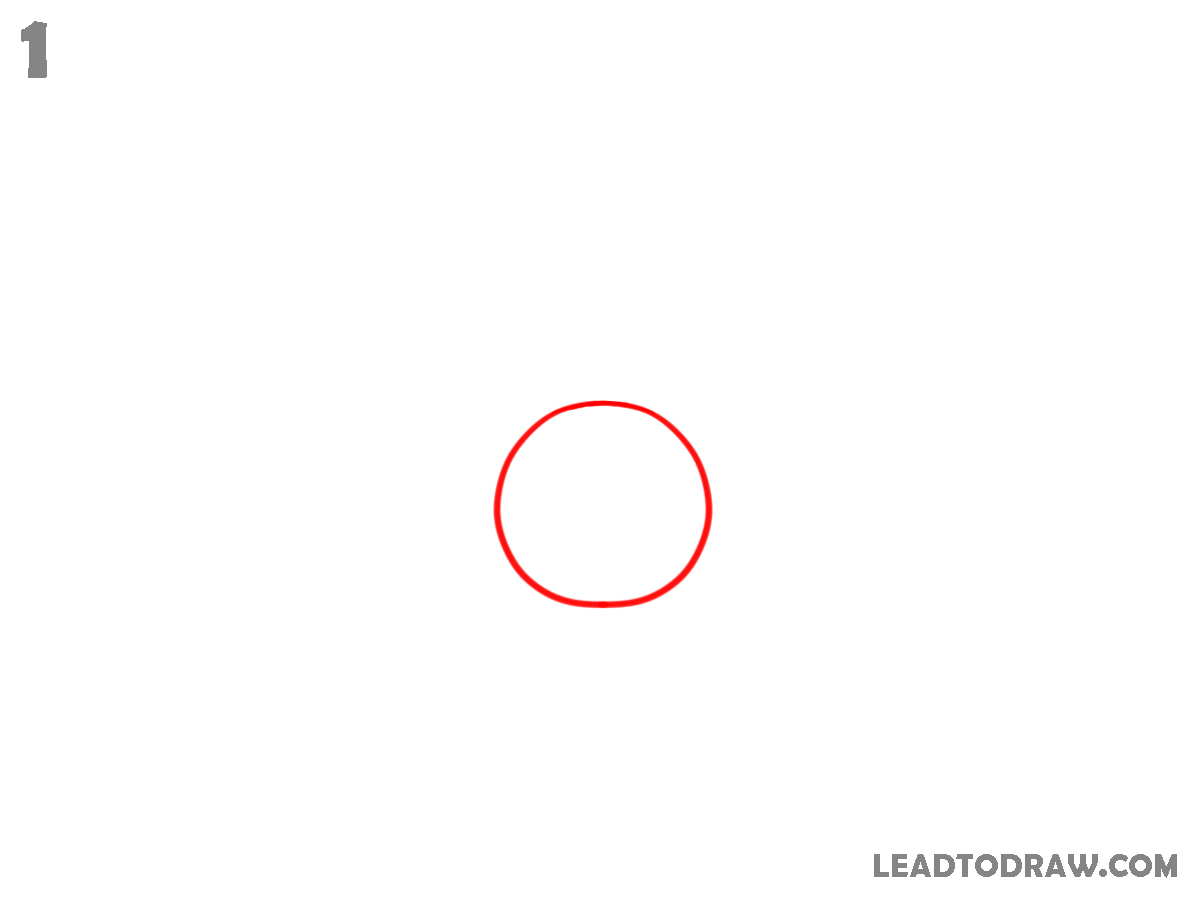
Step 3 – Draw the Upper and Side Sections
Add a long curved line across the top area above the previous pointed shape. From the lower sides of that top line, draw curved lines going inward toward the pointed center shape. Next, draw curved outward lines from both sides of the circle and extend them downward toward the lower mask section to form side structures properly.
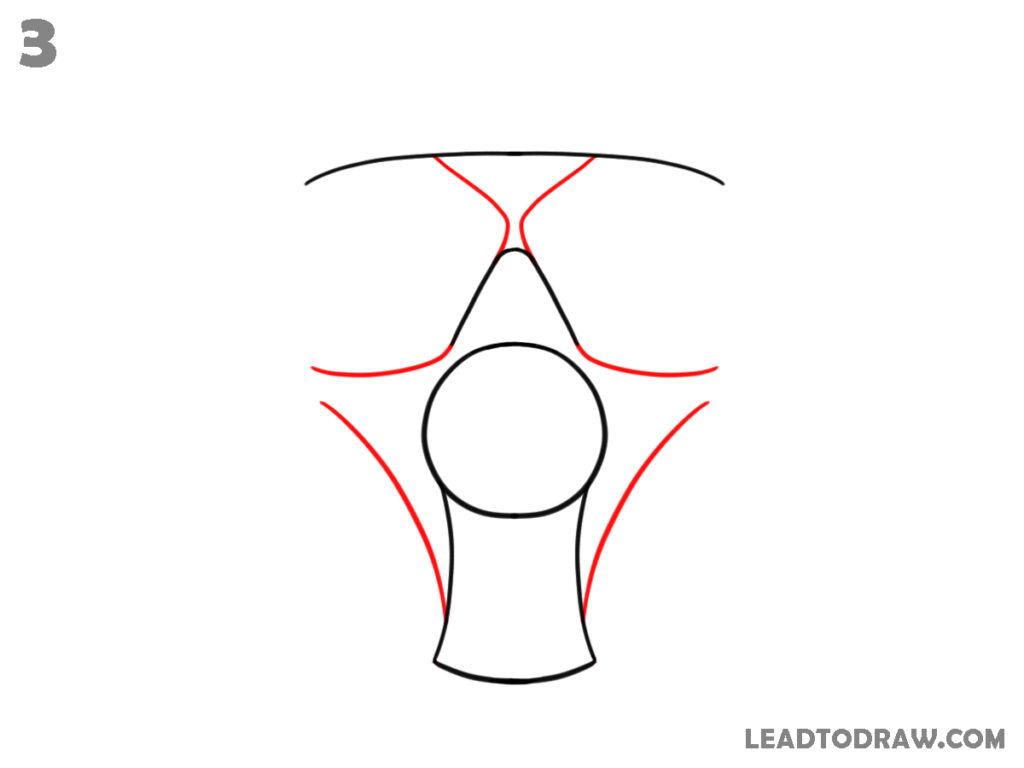
Step 4 – Create the Large Eye Lens Shapes
Draw large rounded rectangular shapes on both upper sides of the gas mask. Connect their inner corners to the pointed center section near the top middle area. Add short angled lines extending outward from both lower sides of the mask. Then draw small angled lines near the bottom side sections connected close to the lower center part.
Step 5 – Add Small Side Details and Front Filter Guides
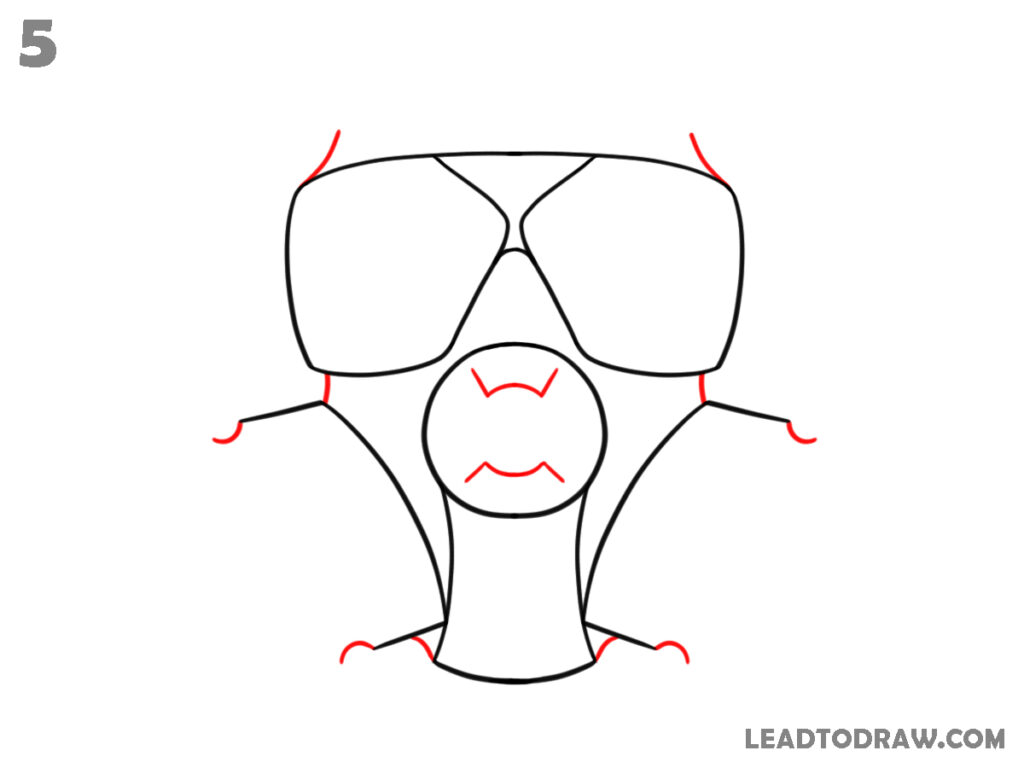
Draw short curved extensions on both outer sides beside the lower angled lines. Add small curved shapes near the bottom edges of the lower center section. Inside the middle circle, draw small curved shapes that look like guide marks for the filter design. Keep the shapes evenly placed inside the circular breathing filter area.
Step 6 – Draw the Top Band and Side Filters
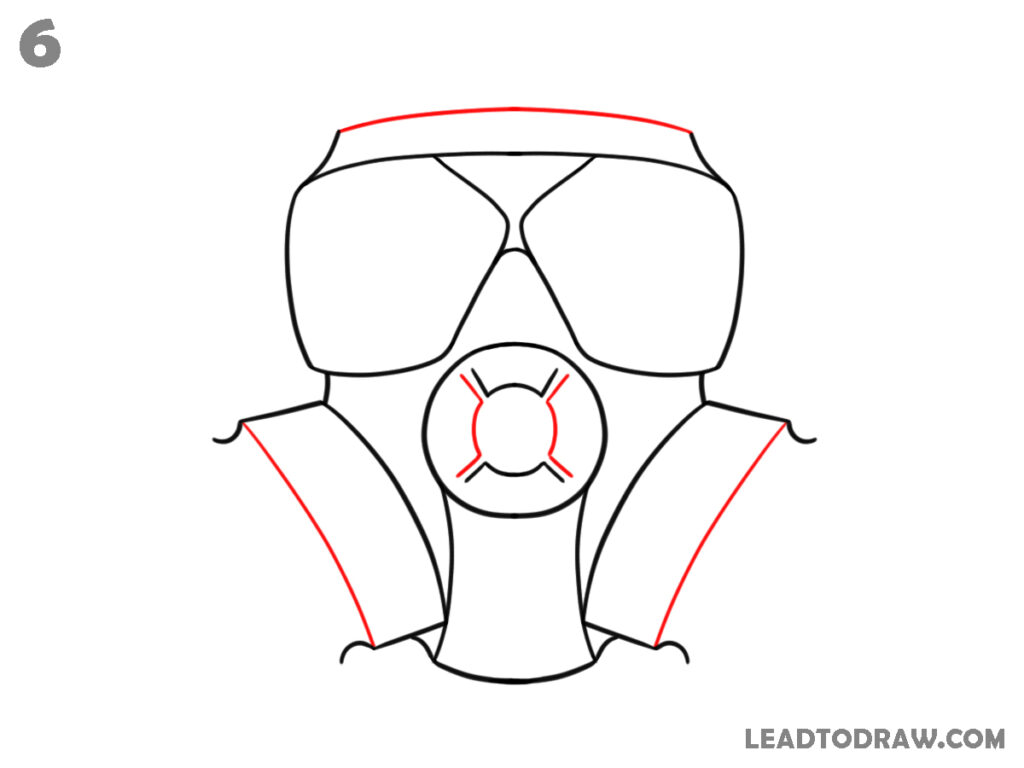
Add a curved horizontal band across the top of the gas mask above the eye lenses. Inside the center circle, draw another smaller circle and add four curved shapes around it. Extend both lower side sections outward and downward using long slanted lines to begin the large side filter attachments on each side of the mask.
Step 7 – Add Inner Lens and Filter Outlines
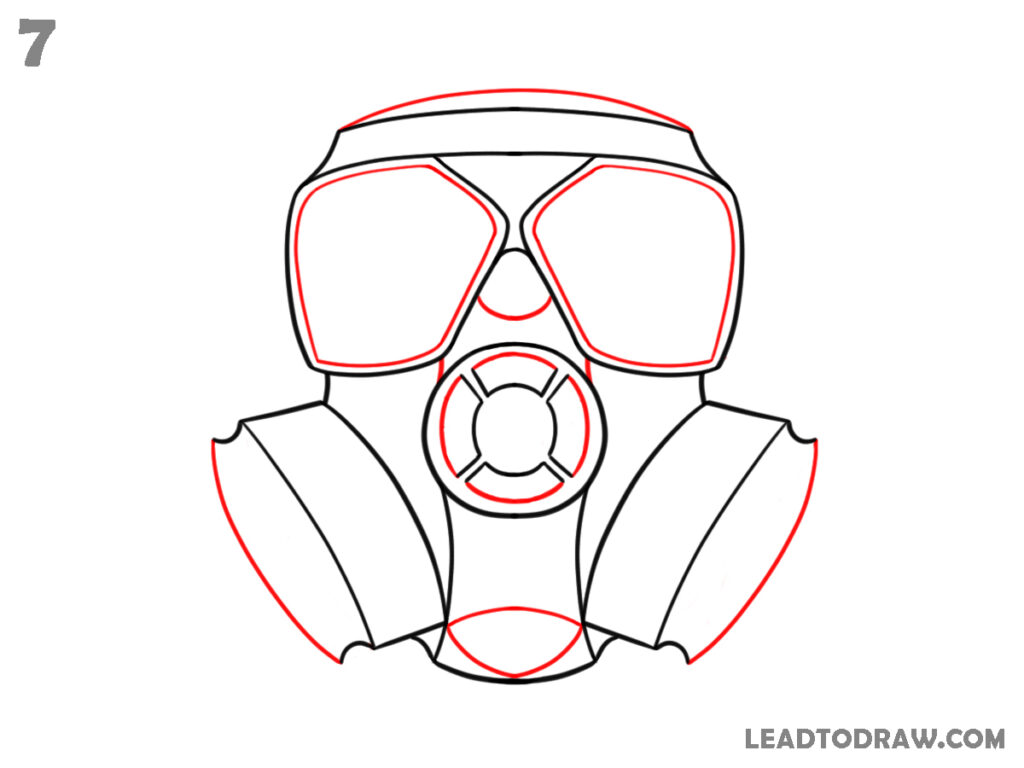
Draw inner border lines inside both eye lens sections following the same outer shape closely. Add extra circular outlines around the center breathing filter. Draw curved outer lines around both side filter sections and add a curved lower shape beneath the center mask section. Include the small upper nose section between the eye lenses carefully.
Step 8 – Draw the Filter Panel Details
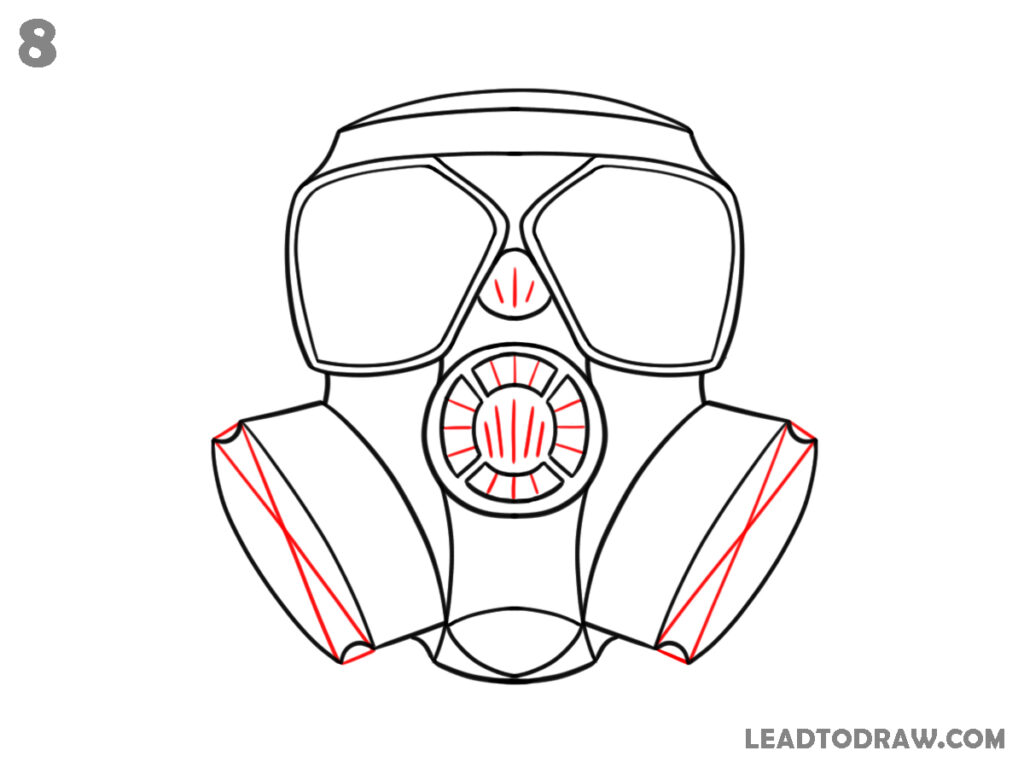
Inside the center breathing filter, draw many narrow vertical sections arranged evenly around the middle circle. Add short vertical line details inside the small upper nose section. On both side filters, draw diagonal and angled lines forming panel shapes near the outer ends. Add small edge details on the lower corners of both filter attachments properly.
Step 9 – Add Shading Lines
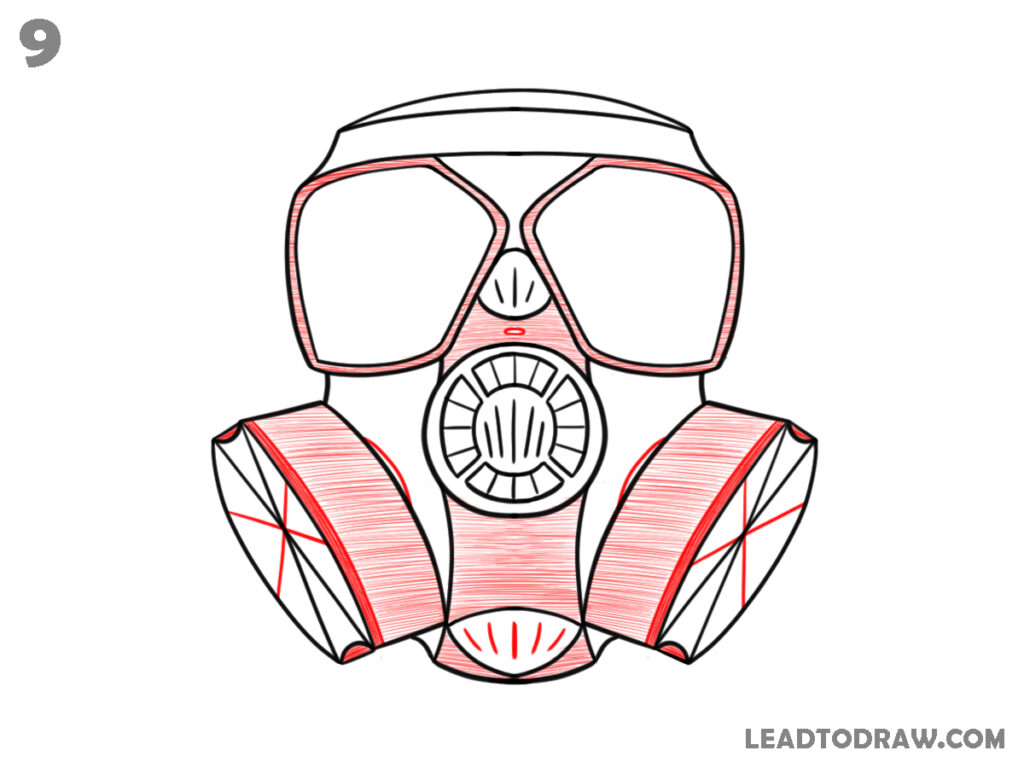
Draw many close parallel shading lines inside both large side filters. Add light shading inside the lower center section under the mask. Place shading lines carefully without crossing the outer outlines. Add darker line work around the eye lenses, center breathing filter, and side panel sections so the gas mask drawing matches the image appearance properly.
Step 10 – Check and Clean the Drawing
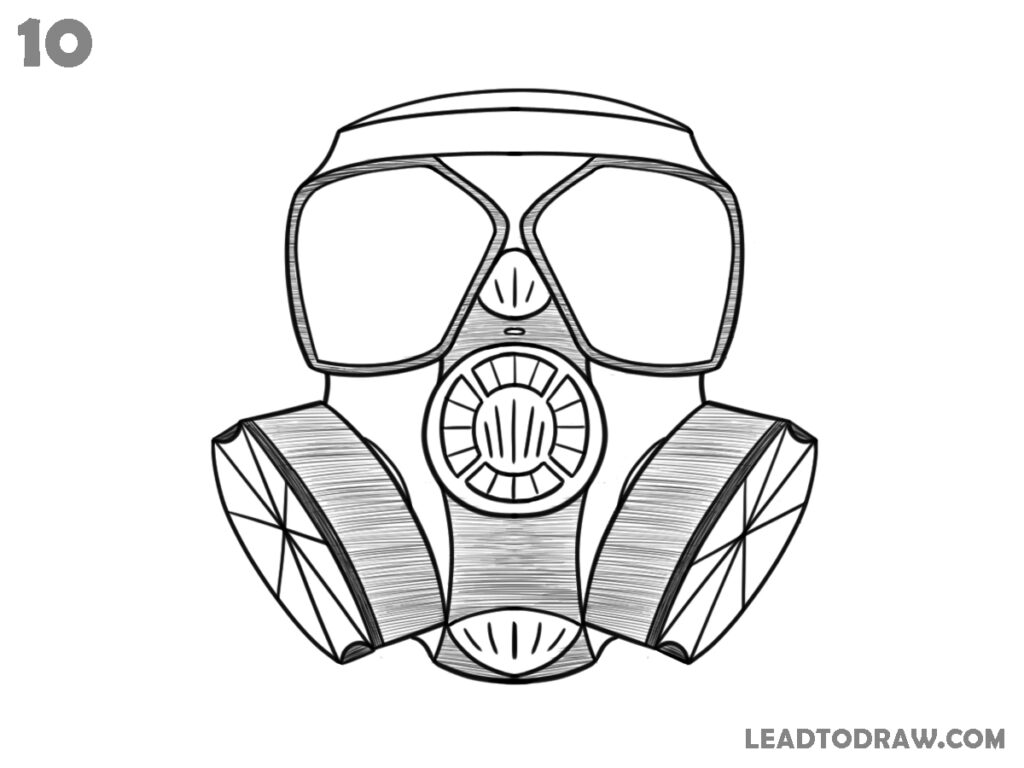
Check all outer edges and darken any missing lines around the eye lenses, center breathing filter, top band, and side filters. Clean uneven sketch marks carefully and remove extra guide strokes if needed. Keep the shading lines neat inside both side filters and lower center section. Finish the gas mask drawing by correcting small line gaps properly.
For more similar drawing tutorials, explore the guides below.
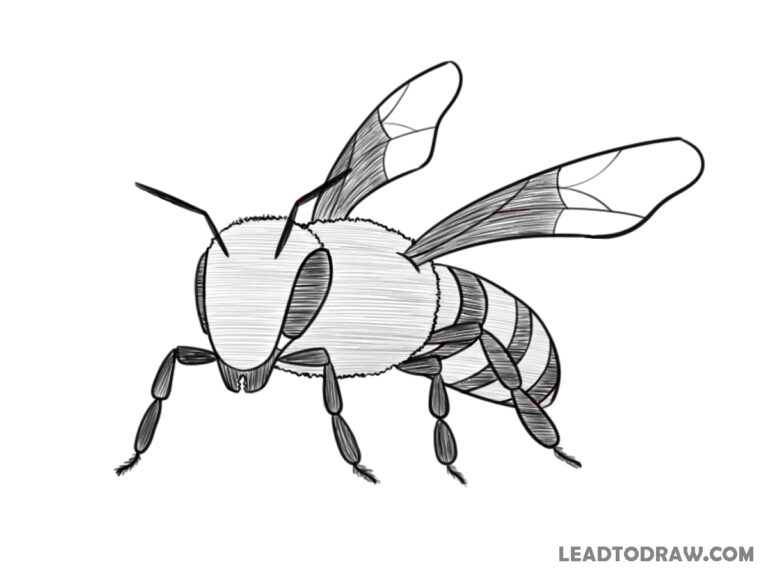
- How to draw a bee in an easy way
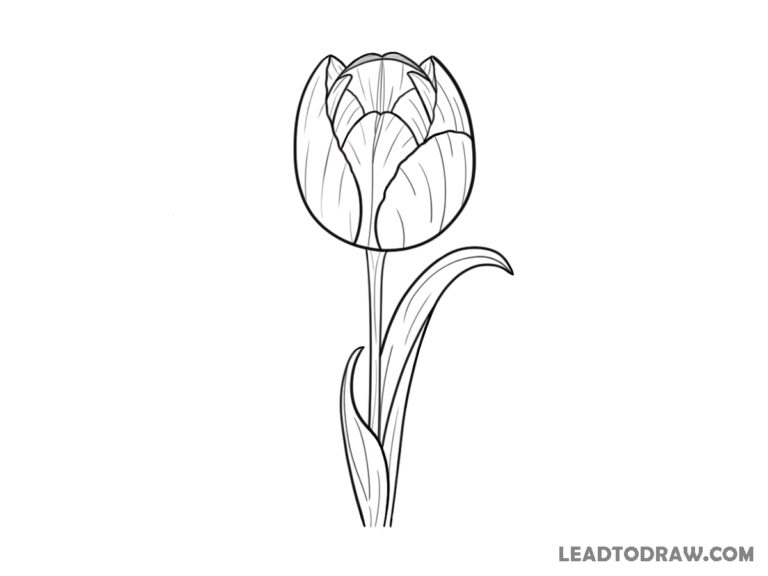
- How to draw a tulip easy step by step
- How to draw a butterfly easy with 9 steps
Conclusion
Now the gas mask drawing is completed using simple shapes, curved lines, and shading details. Follow the same step order slowly while practicing again on another page. Keep the outer lines neat and check small details near the breathing filter and side sections carefully. Regular drawing practice can help improve line control and shape placement over time.