Learning how to draw a Rubik’s Cube is simple when each small part is drawn step by step. In this guide, the cube shape is built using straight lines and equal sections. Follow the images carefully and draw the same lines to form the cube structure correctly.
Lets start
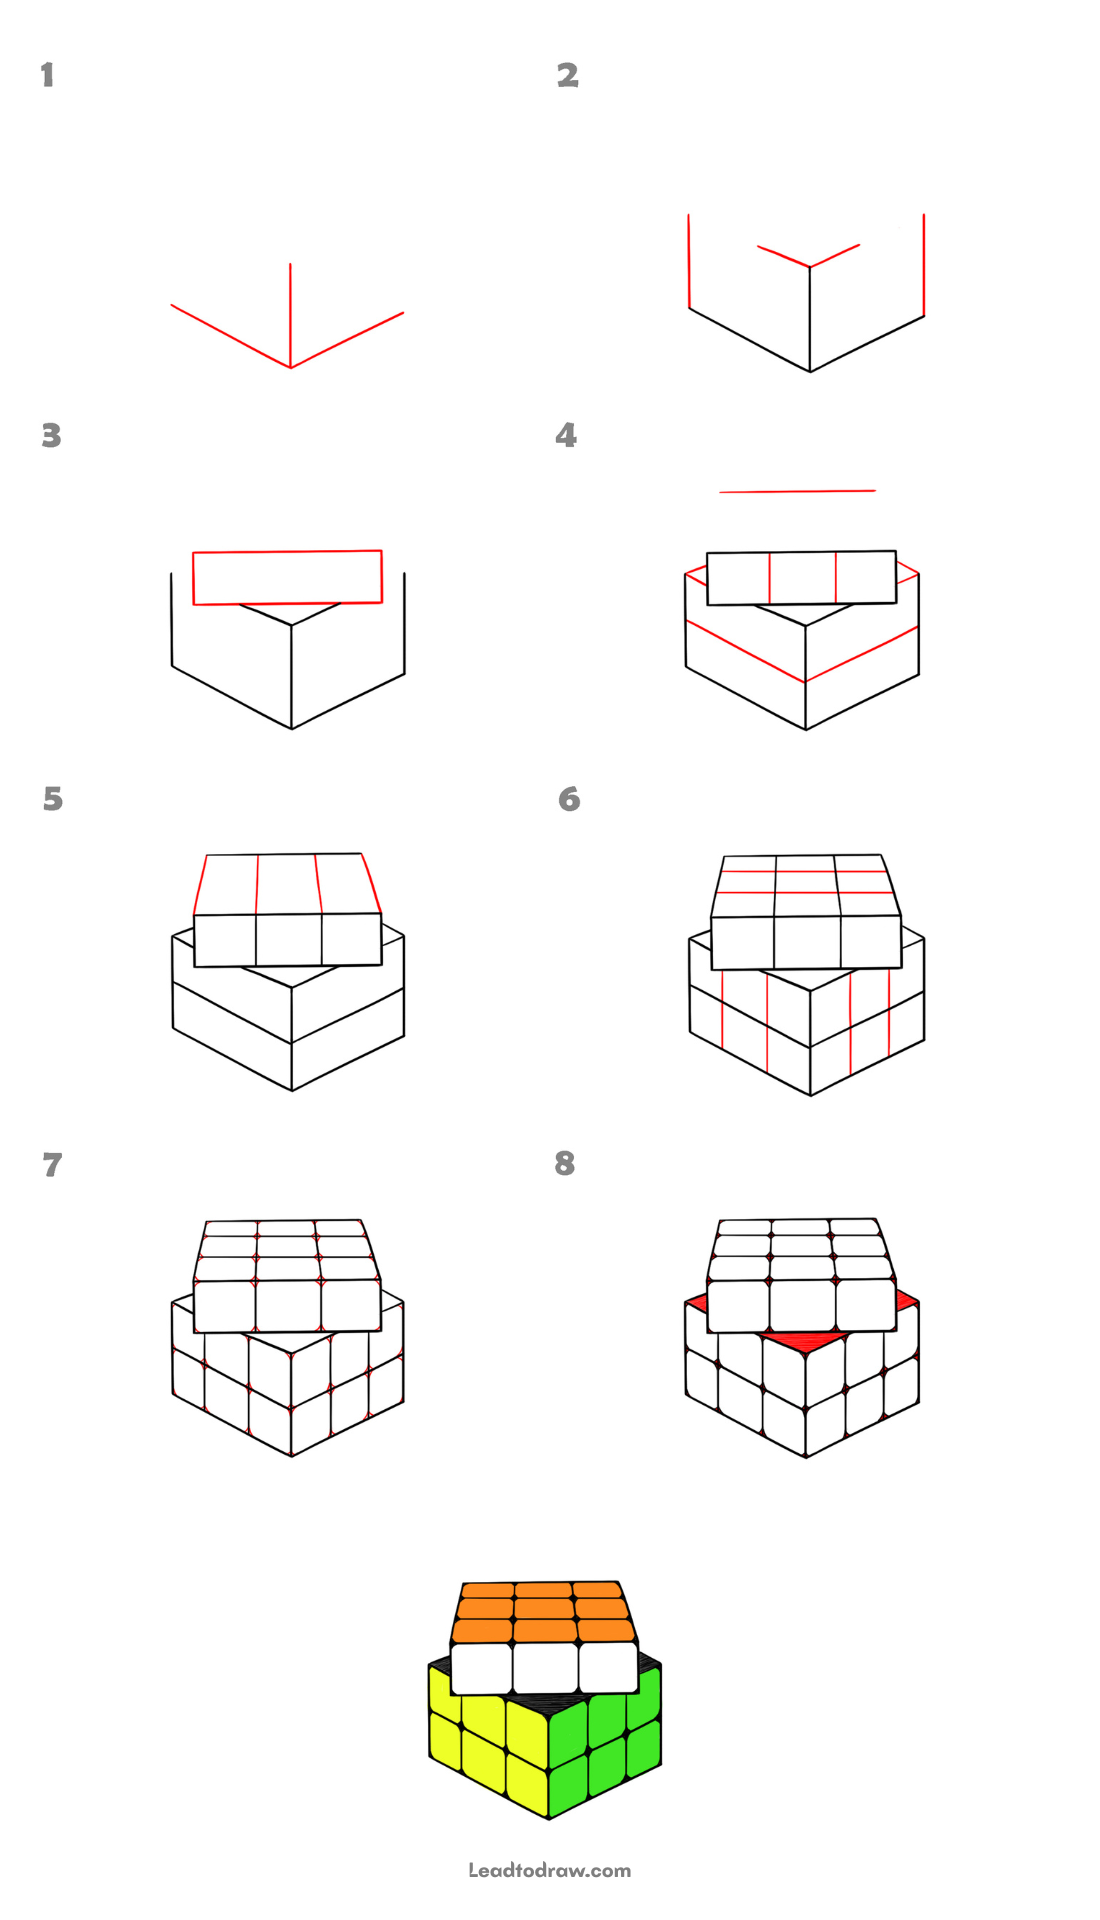
Step 1: Draw the base corner shape
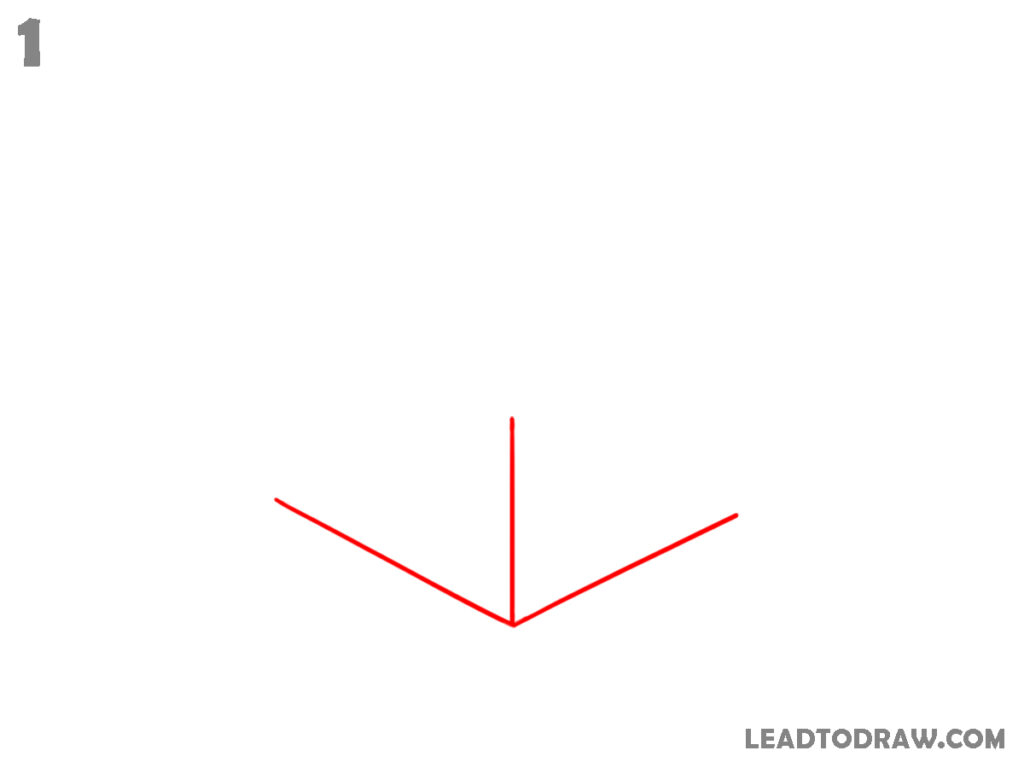
Start by drawing three straight lines that meet at one single point. One line goes straight upward from the point. Two other lines spread outward from the same point, one toward the left side and one toward the right side. These three lines form the basic corner direction of the cube structure.
Step 2: Build the cube base frame
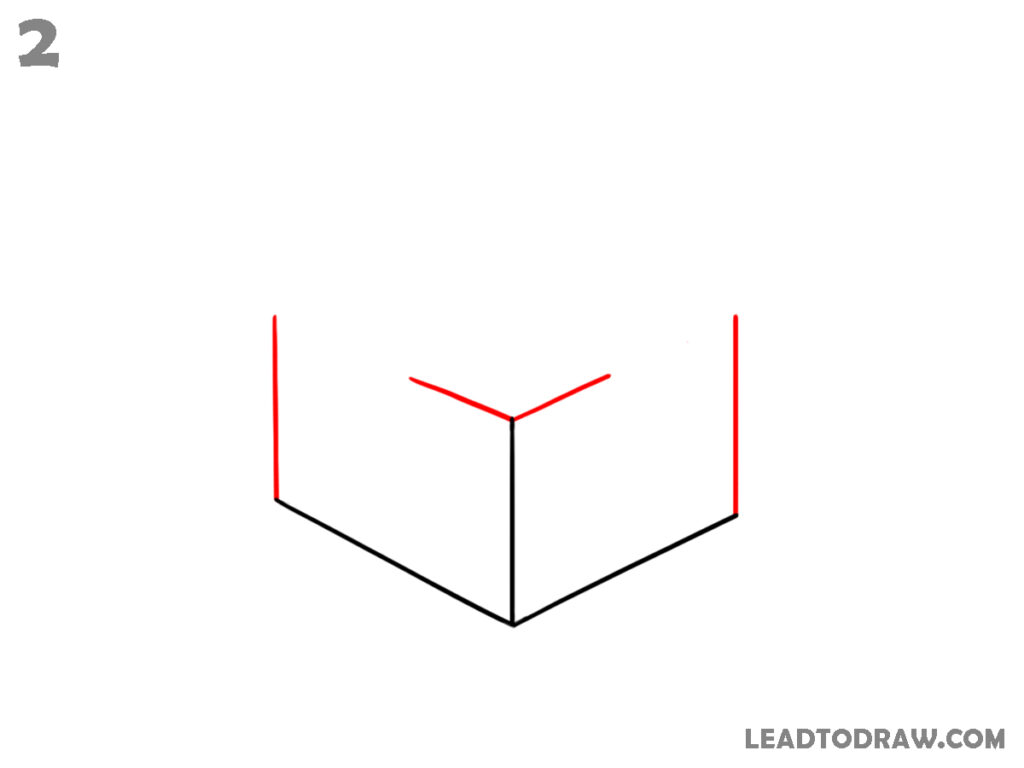
From the end of the left slanted line, draw a straight vertical line upward. Do the same on the right slanted side. From the top of the center vertical line, draw two short angled lines spreading left and right. Connect the bottom corner lines to form the lower cube frame shape.
Step 3: Add the top block outline
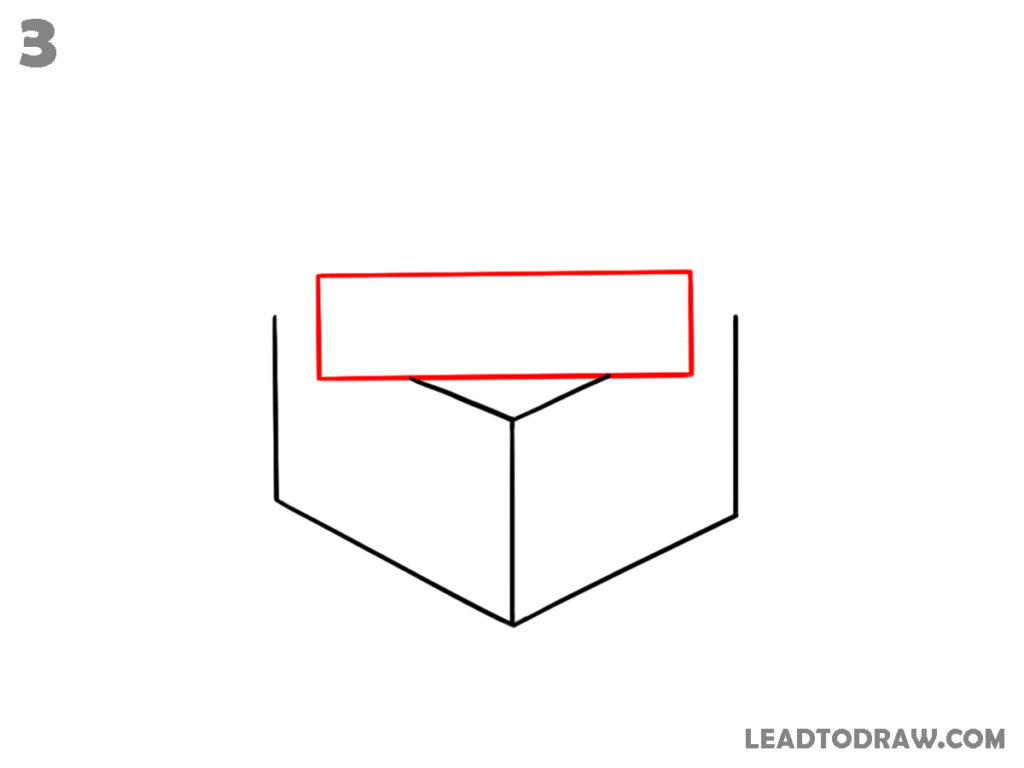
Above the center of the cube frame, draw a wide horizontal rectangle shape. The rectangle sits slightly above the cube base and aligns with the center vertical line. Keep the side edges parallel and straight. The bottom of the rectangle connects visually with the top corner of the base.
Step 4: Extend the cube structure
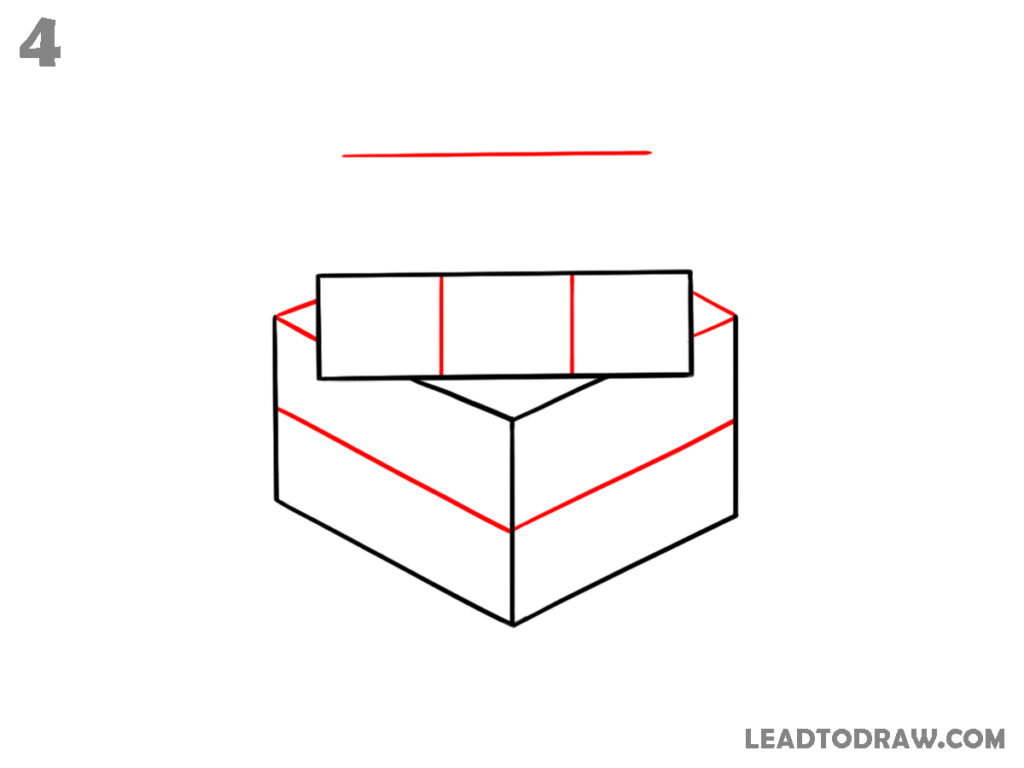
Draw a horizontal line across the top of the rectangle. Add two vertical lines inside the rectangle, dividing it into three equal front sections. On the cube base, draw angled lines along the upper edges on both sides to build the layered cube appearance visible in the image.
Step 5: Shape the top cube surface
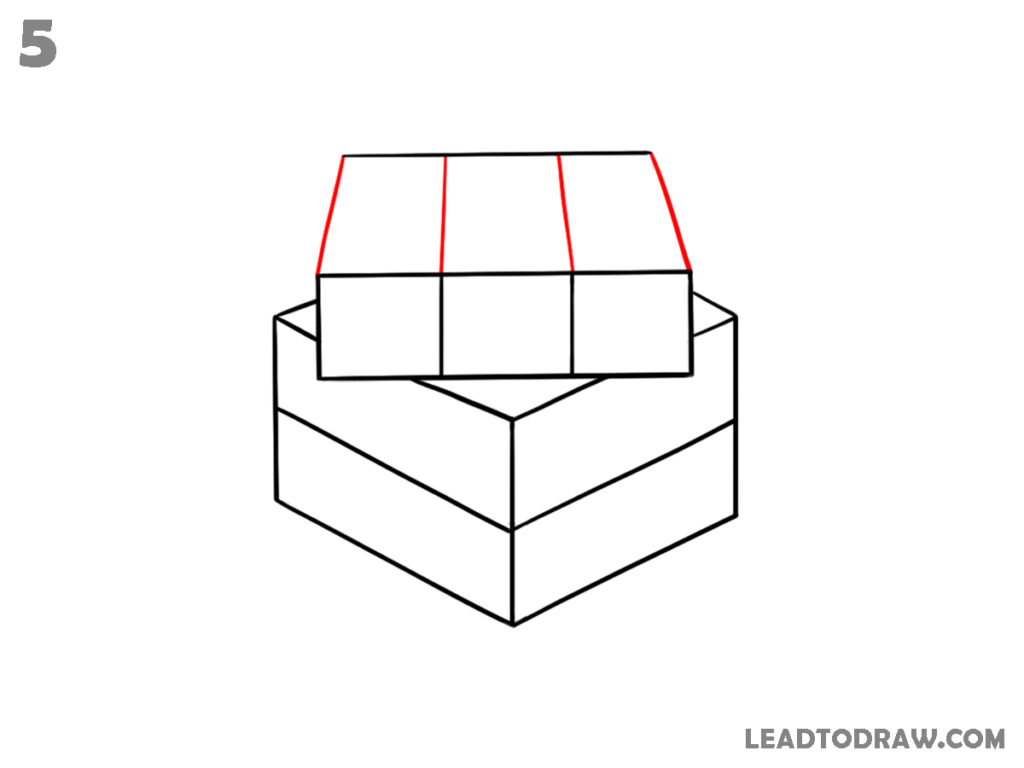
Add four slightly angled lines on the top surface of the rectangle to form the visible top face edges. Extend these lines upward and connect them with a straight horizontal line across the top. The upper block now forms a full cube section sitting on the lower cube structure.
Step 6: Divide the cube faces
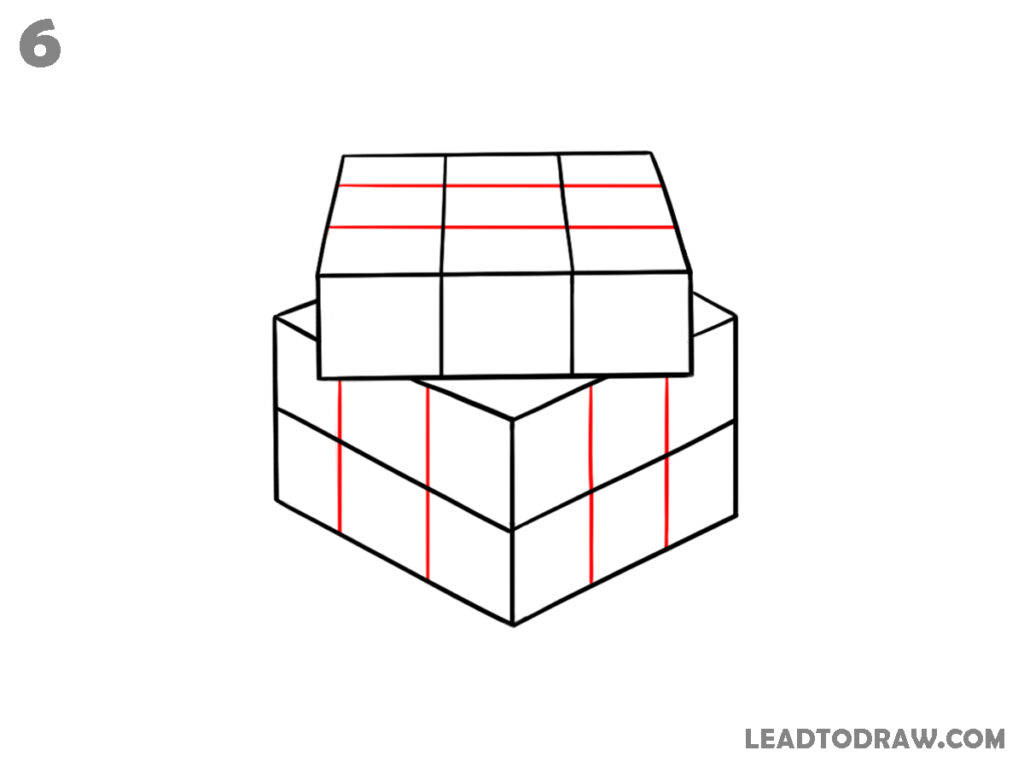
Draw two horizontal lines across the top face to divide it into three rows. On the front faces of the bottom cube, draw vertical lines to divide those faces into equal sections. Keep the lines aligned with the cube corners so each visible face begins forming square sections.
Step 7: Add a diamond shape
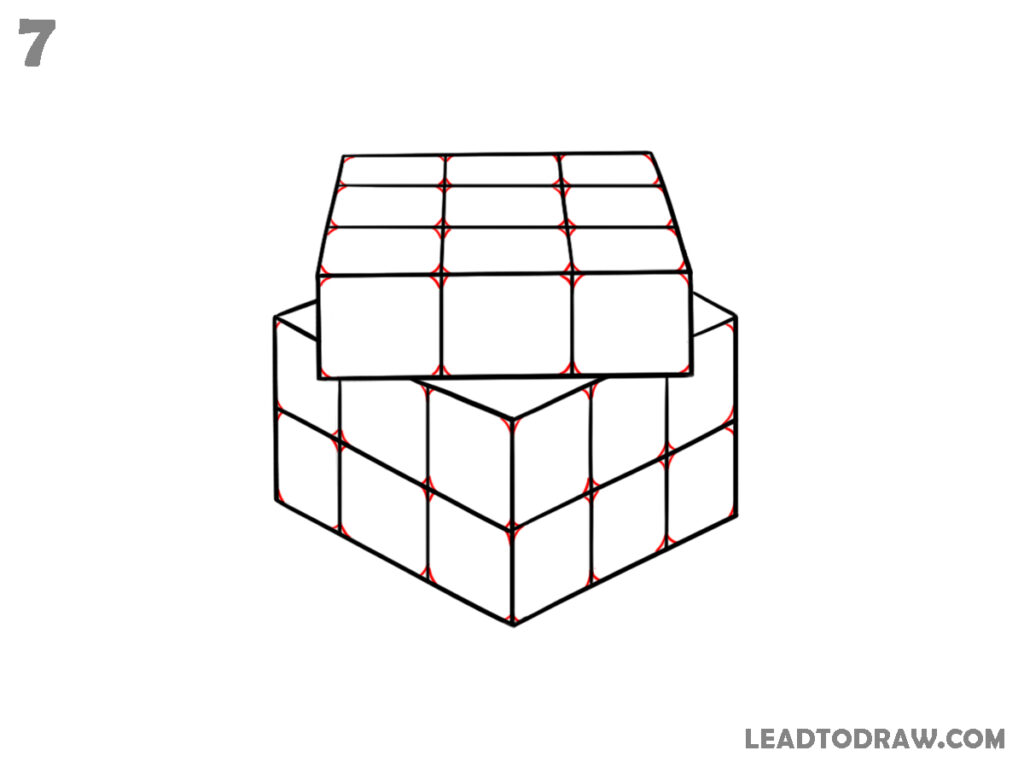
Draw a small diamond shape on the visible side of the cube. This will help form the small cube blocks and make the Rubik’s Cube look neat and realistic.
Step 8: Add shading to the cube
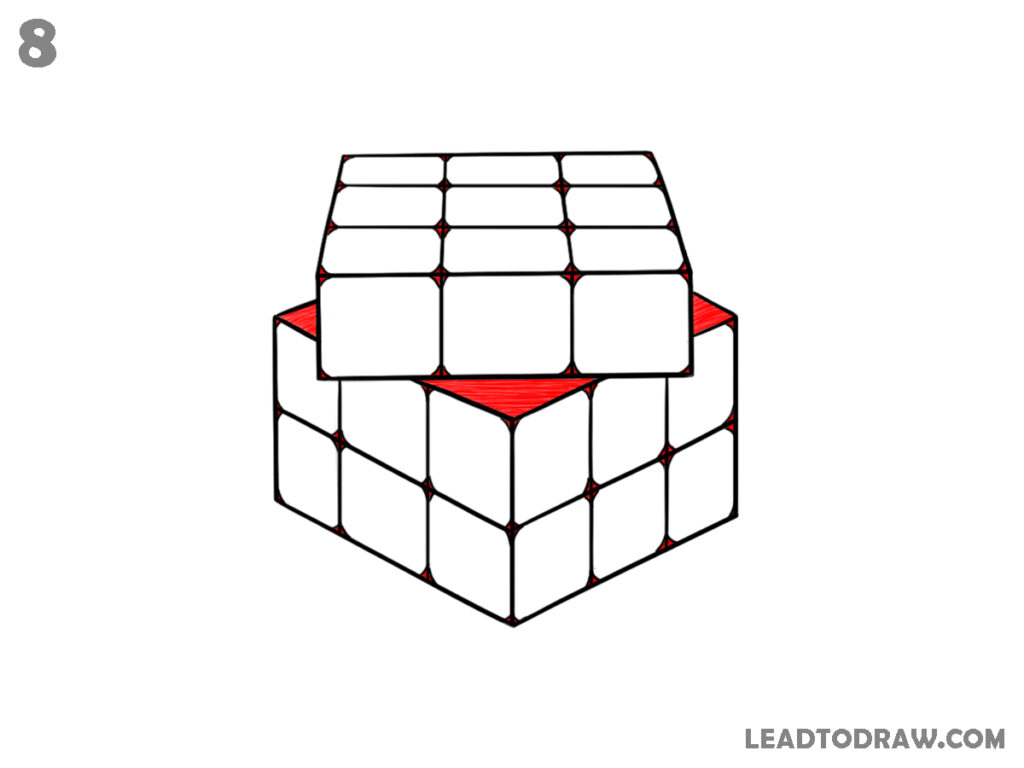
Now add light shading to the diamond shapes. Then gently shade the three corner areas of the cube as shown in the image. Keep the shading soft so the Rubik’s Cube looks clearer, neat, and gives a simple 3D effect to finish the drawing
Step 9: Add colours to the cube
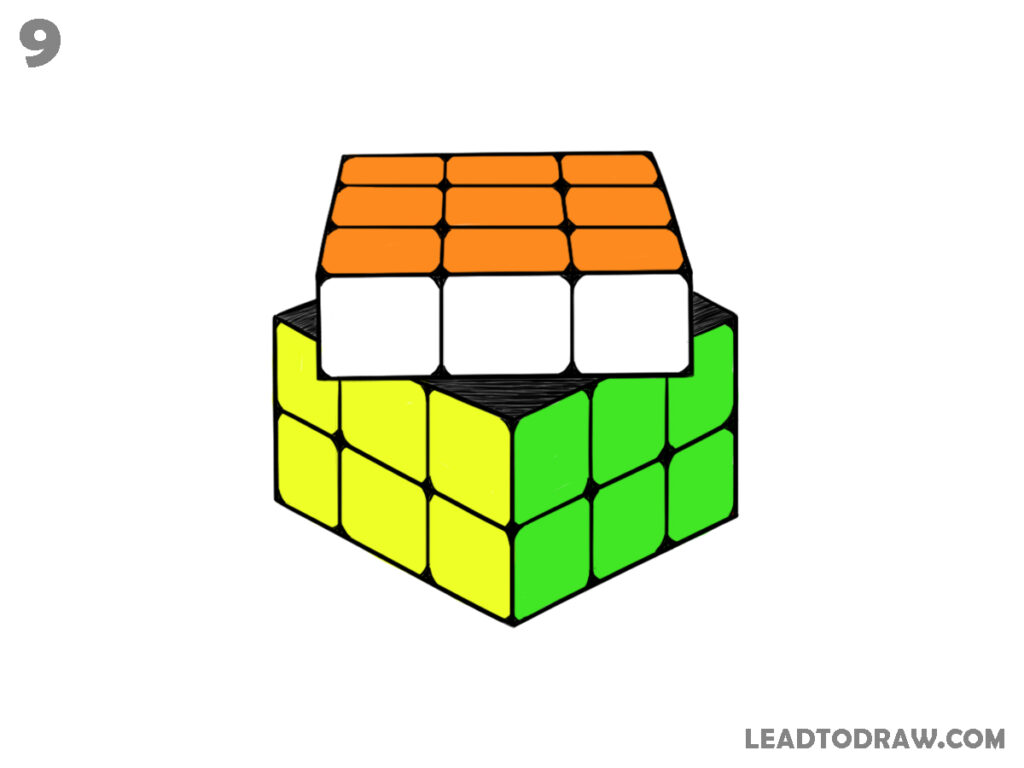
Fill the top squares with orange. Colour the front left cube face using yellow squares. Fill the right cube face with green squares. Keep the top front row white as shown in the image. Stay inside each square block so the colored Rubik’s cube matches the final drawing.
For more drawing tutorials, explore the guides below.
- how to draw a clock step by step effortlessly
- how to draw boots step by step easily
- How to Draw a Dumbbell in 7 Easy Steps
Conclusion
Now the full drawing of a Rubik’s cube is complete using simple straight lines and small square sections. Each part was added step by step to form the cube shape. Practice the same process again to keep the lines balanced and the square blocks even on every visible side.