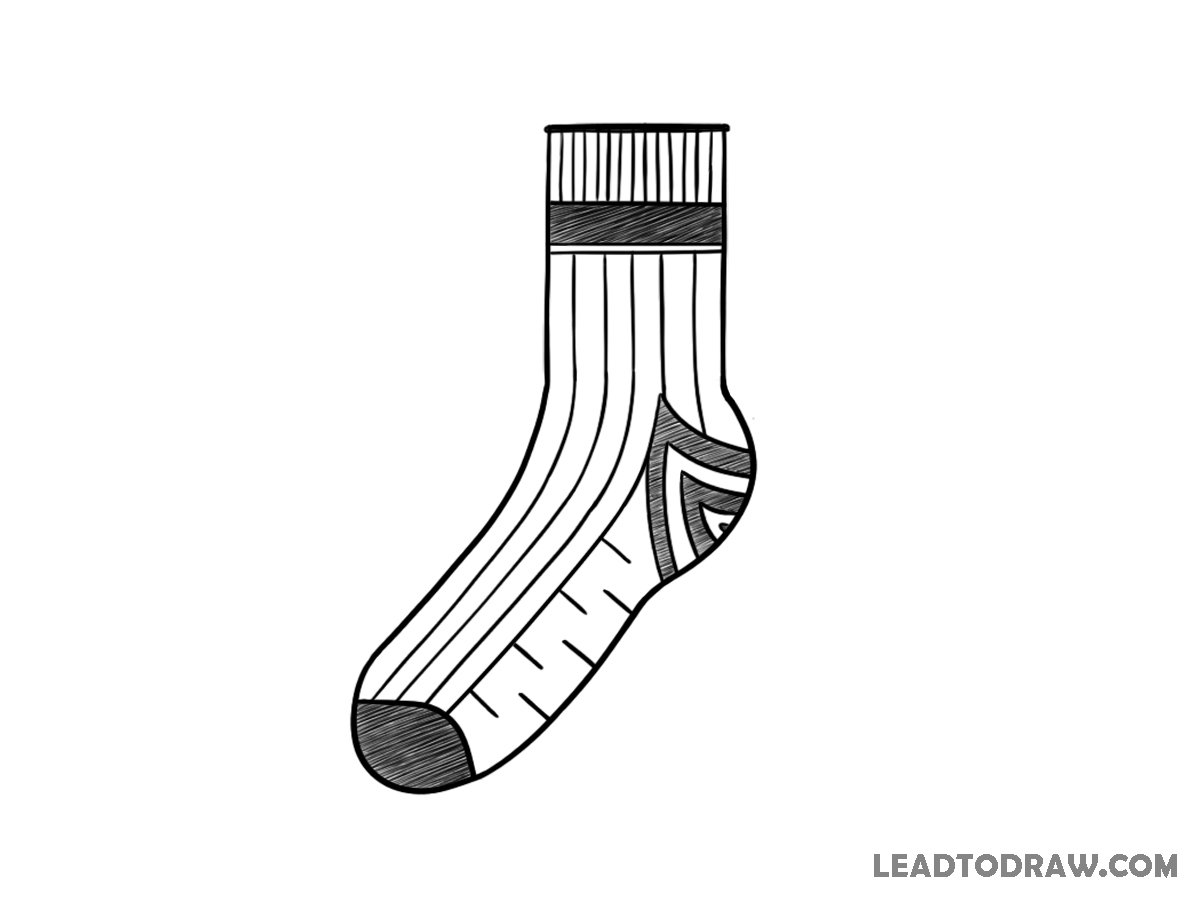
Learn how to draw socks step by step using simple shapes and clean lines. Follow each image carefully and draw the parts in order. New lines are shown in red for understanding. Keep previous lines and build the shape slowly to complete a neat and proper sock drawing.
Lets Begins
Step 1: Draw the top shape
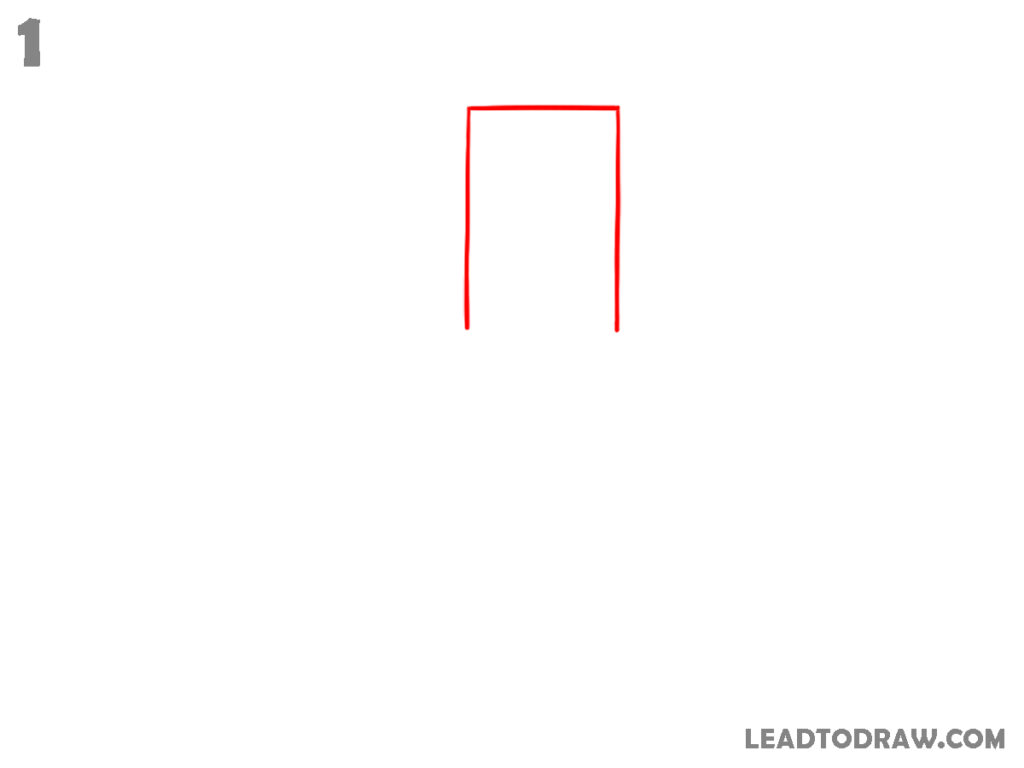
Start by drawing a small rectangular open shape at the top. Make two straight vertical lines and connect them with a horizontal line on top. Keep the bottom open. This forms the upper part of the sock where the ankle area will be extended in the next steps.
Step 2: Shape the ankle curve
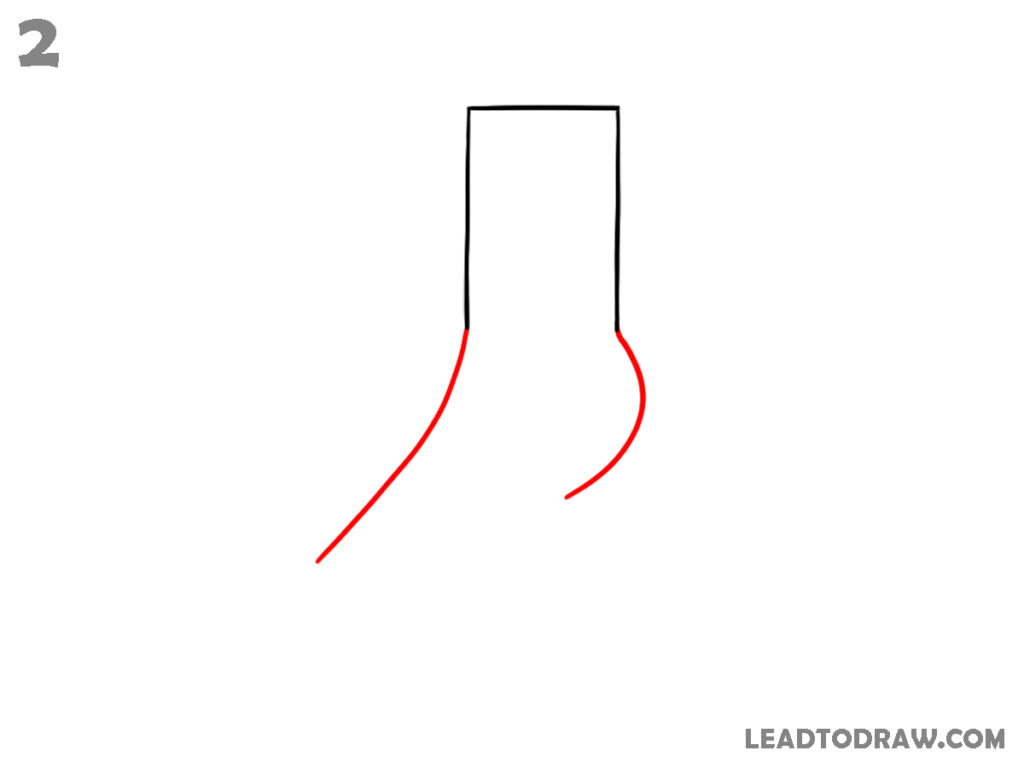
Extend both bottom ends of the shape downward. From the right side, draw a smooth outward curve and bring it slightly inward. From the left side, draw a longer slanted curve moving downwards. These two lines begin forming the ankle and lower part of the sock shape.
Step 3: Extend the foot base
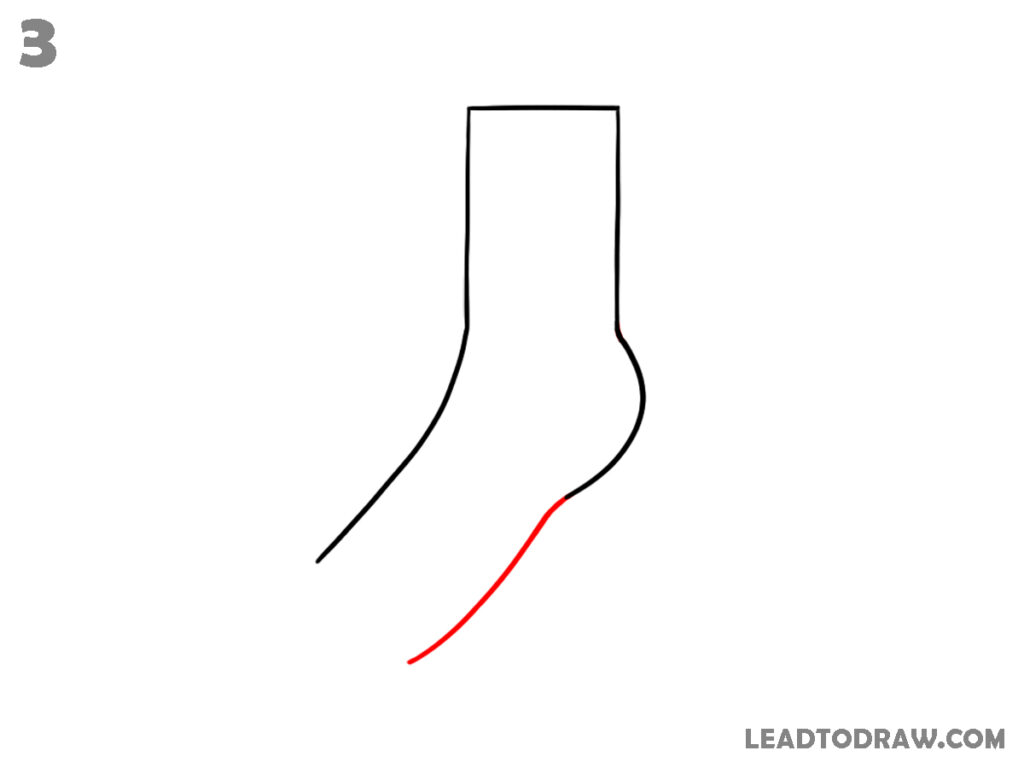
Extend only the lower right curved line further downward and slightly forward to form the foot base. Keep the left side unchanged from the previous step. On the right, shape the heel area with a smooth curve and guide it toward the front.
Step 4: Complete the sock outline
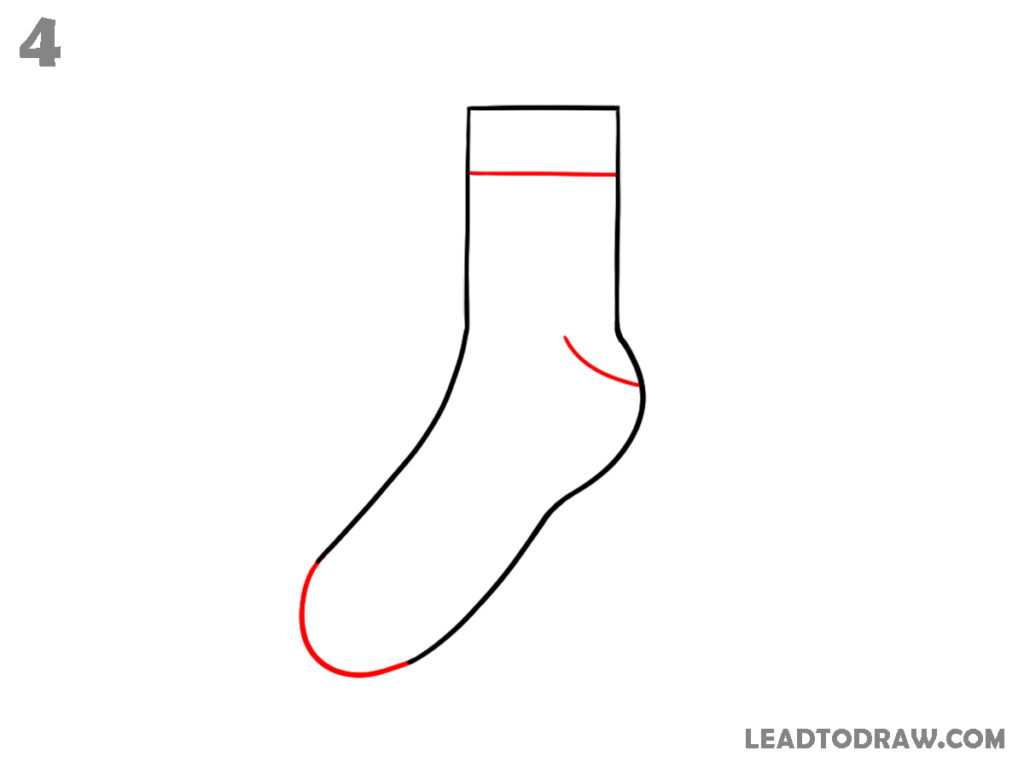
Draw a rounded front part to form the toe section and connect it back to the bottom curve. Add a straight horizontal band line near the top of the sock. Also, refine the heel curve slightly. Now the full sock shape is visible with ankle, heel, and toe clearly formed.
Step 5: Add top texture and toe detail
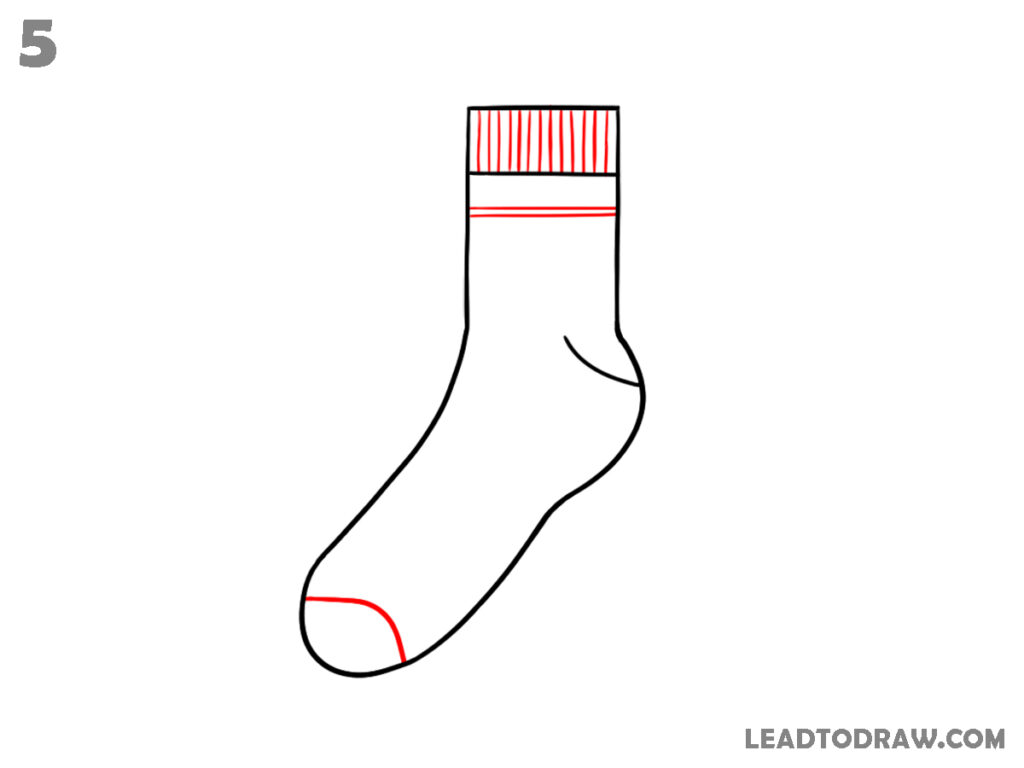
Draw multiple short vertical lines inside the top band area to show the ribbed texture. Add a curved line across the toe section to separate the front tip. Keep the rest of the outline unchanged. The sock now starts showing basic fabric details with simple pattern additions.
Step 6: Add side and front lines
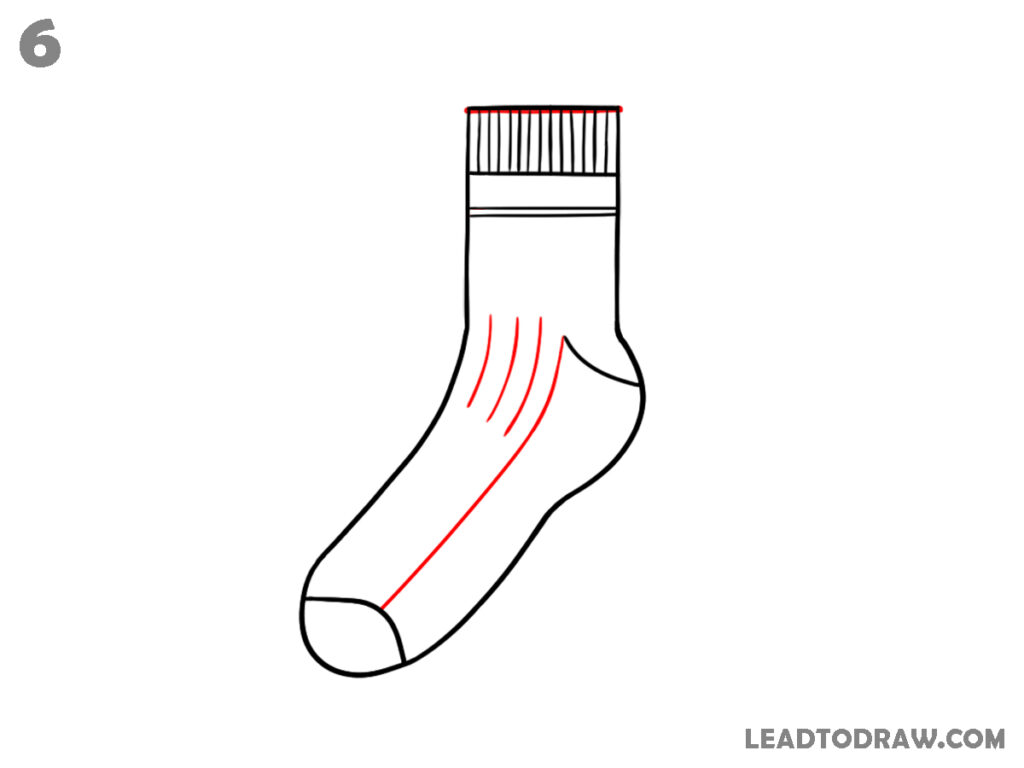
Draw a few slightly curved vertical lines from the top band going downward along the sock body. Add one longer curved line across the front area toward the toe. Keep spacing even between lines. These lines represent fabric stretch marks and simple design on the sock surface.
Step 7: Increase pattern details
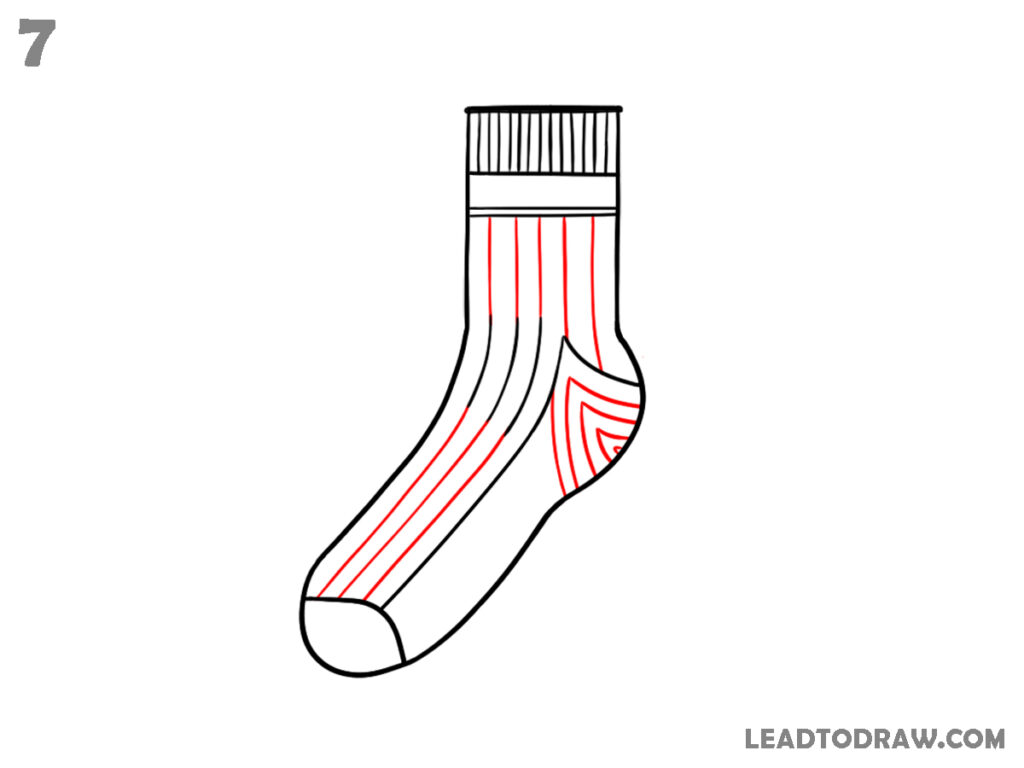
Add more vertical lines across the sock body, keeping them parallel and evenly spaced. Draw curved lines near the heel area forming layered shapes. Extend the lines properly from top to bottom. Maintain the same direction of curves to keep the sock pattern neat and consistent, as shown in the image.
Step 8: Add shading areas
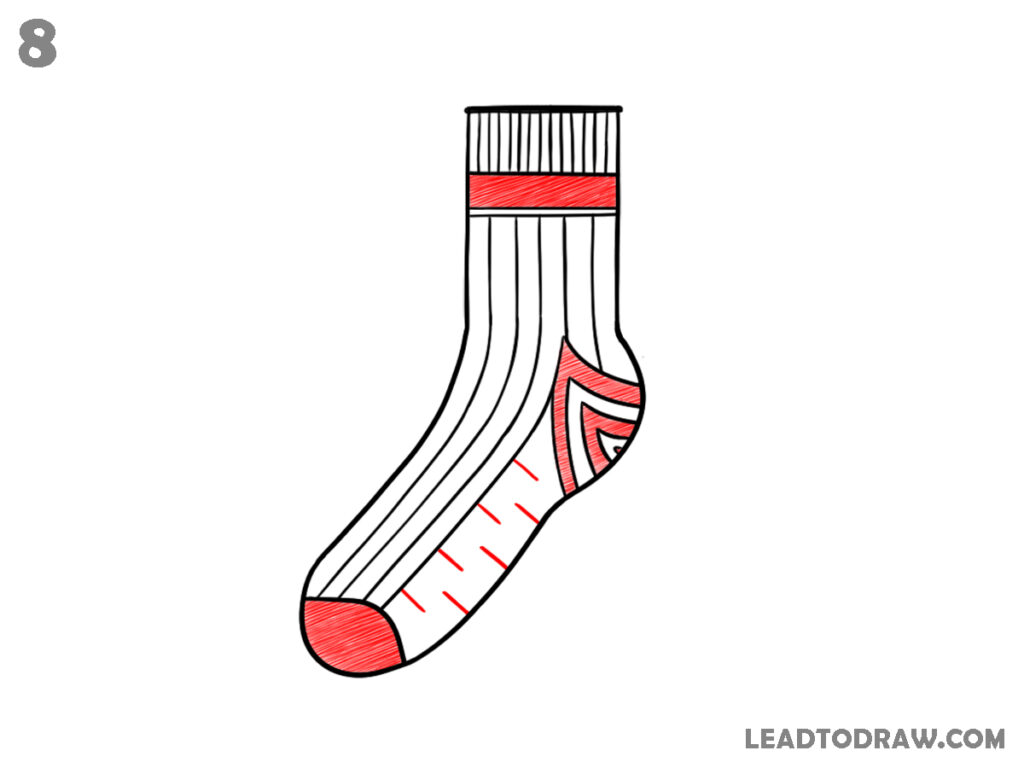
Fill the top band with shading lines. Shade the toe tip completely. Add short diagonal lines across the lower front area. Shade the heel design sections as shown. Keep all patterns clear and neat. Do not change the outline. This step completes the sock design with final detailing.
Step 9: Check and clean the drawing
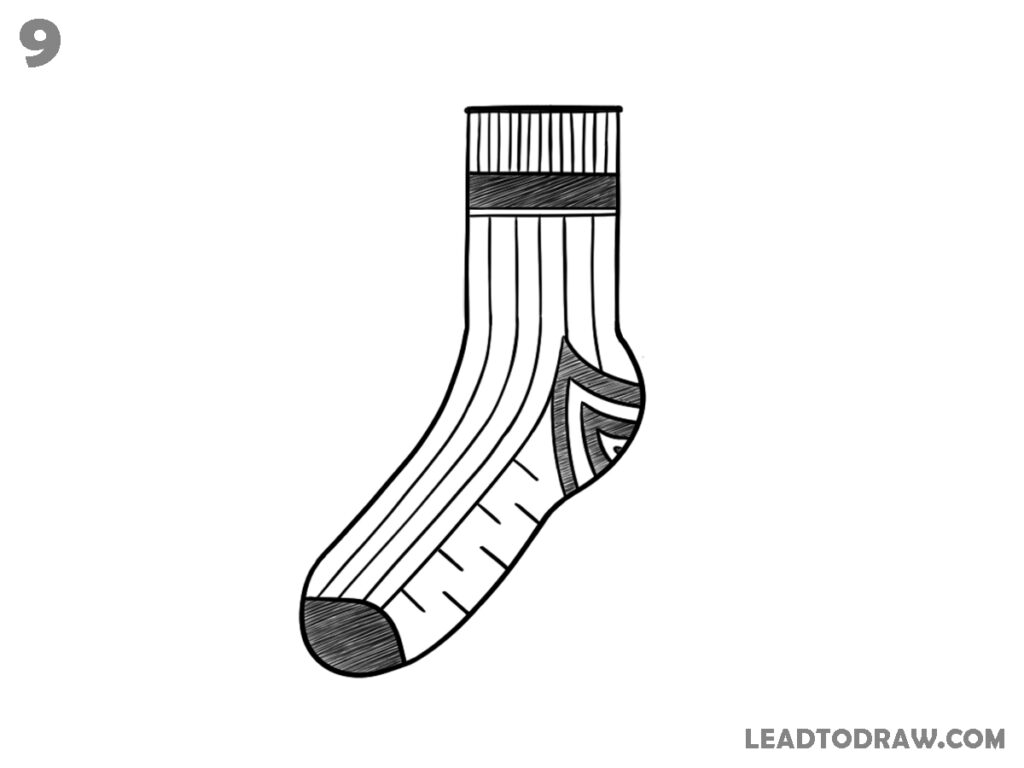
Look over the full sock drawing and adjust any uneven lines. Darken the final outline neatly. Remove extra marks if any are not needed. Keep the pattern lines clean and properly spaced. Make sure the toe, heel, and top band are clearly defined before finishing the drawing.
For more similar drawing tutorials, explore the guides below.
- How to draw a hoodie in 7 steps easily
- How to draw a clock step by step effortlessly
- how to draw boots step by step easily
Conclusion
Now the sock drawing is complete using simple steps and clear lines. Follow each part slowly and keep the shape neat. Practice again to improve hand control and line accuracy. Try changing patterns and shading styles to create different sock designs using the same basic structure shown here.