Learn how to draw a strawberry step by step using simple shapes and short drawing actions from the tutorial images. The red parts show the newest lines added in each stage, while black lines show earlier work. Follow the same order carefully and erase guideline shapes only after base structure made.
Lets begin
Step 1 – Draw Guide Shapes
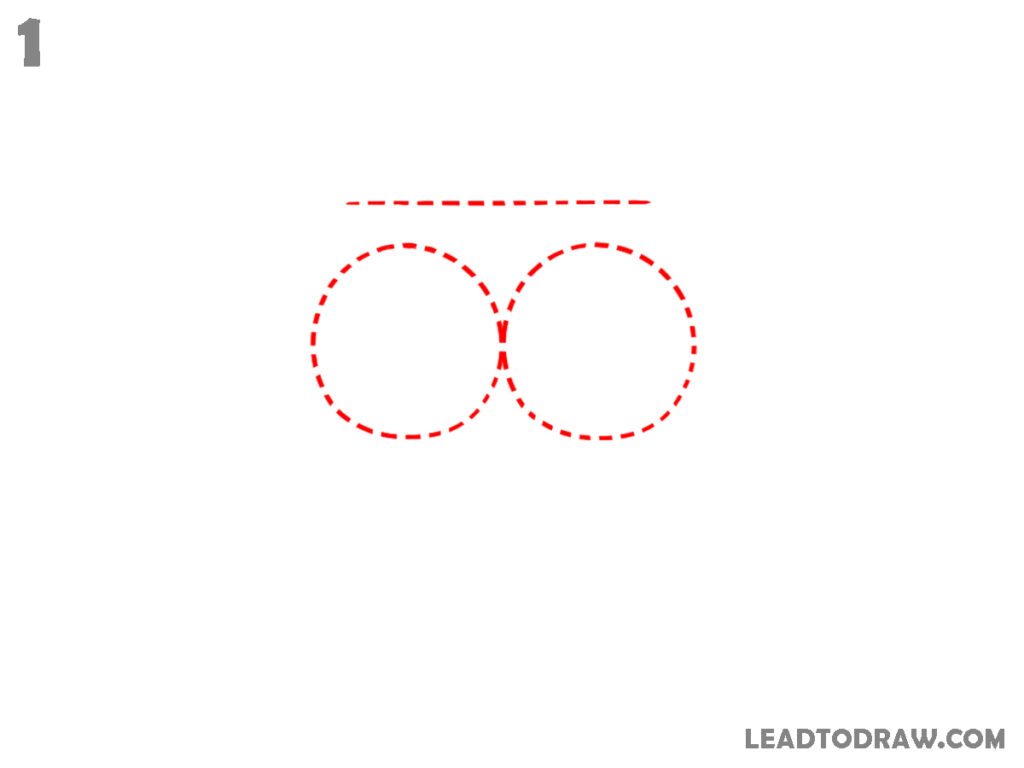
Draw two dotted circles beside each other near the top area of the page. Keep both circles touching slightly in the middle. Add one dotted horizontal line above the circles. Leave enough empty space under these guide shapes for the strawberry body.
Step 2 – Make Strawberry Shape
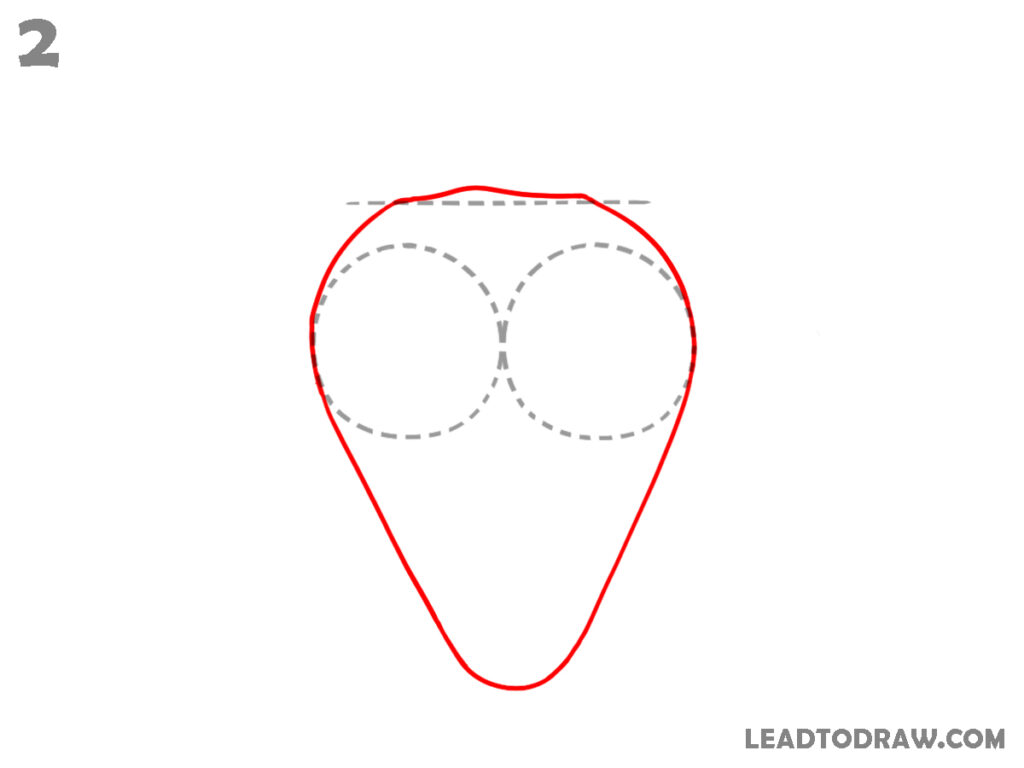
Use the guideline circles and top guide line to draw the outer strawberry shape. Start from the upper left side, curve around the top, then continue downward into a wide pointed bottom. Bring the line back upward to the upper right side.
Step 3 – Add Top Leaves
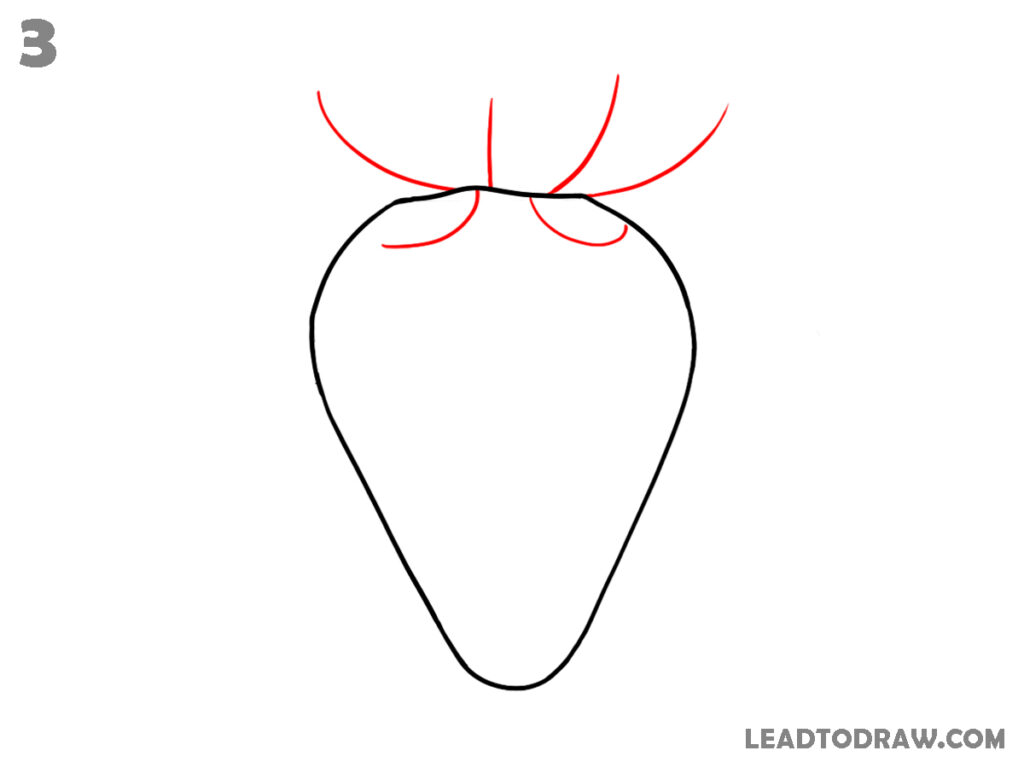
draw three curved leaf shapes across the top opening of the strawberry. Add one larger curved leaf in the middle and two wider curved leaves on both outer sides. Under the top leaves, draw two smaller curved leaf shapes hanging slightly downward. Remove the guide circles and the top line because they are no longer needed for coming steps.
Step 4 – Extend Leaf Layer
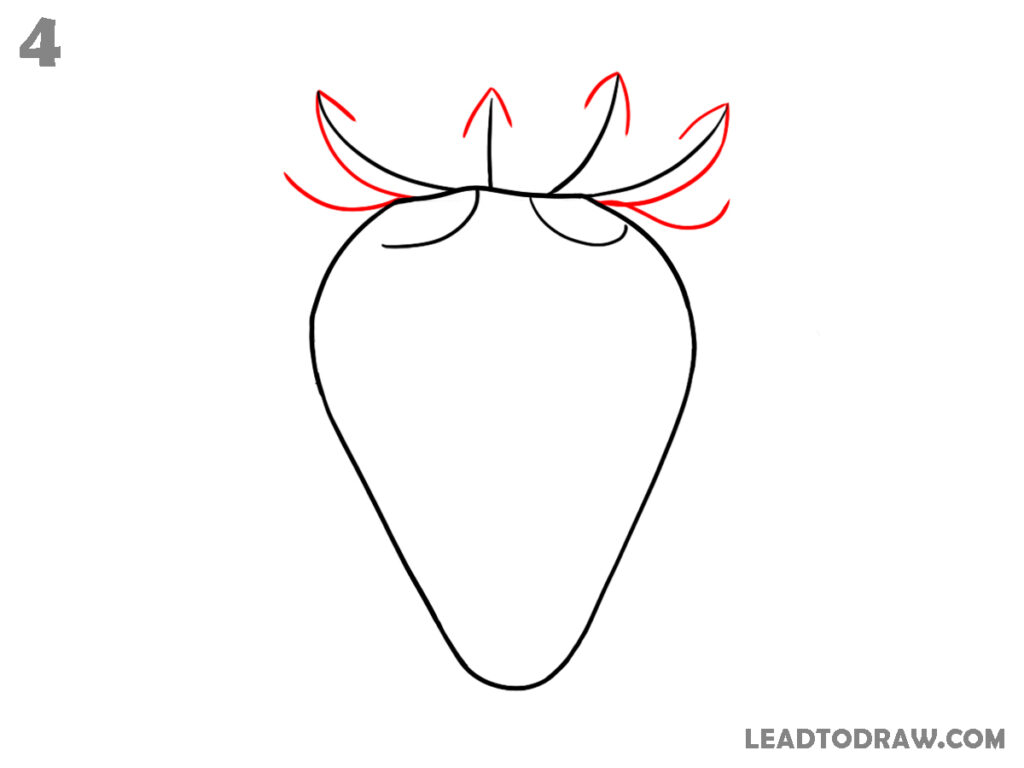
Add more pointed leaves around the top section of the strawberry. Draw upward curved leaves behind the first layer and extend extra side leaves toward both outer edges. Keep the middle top leaf taller than the others. Continue following the top edge shape while leaving the strawberry body outline unchanged in this step.
Step 5 – Complete Main Leaves
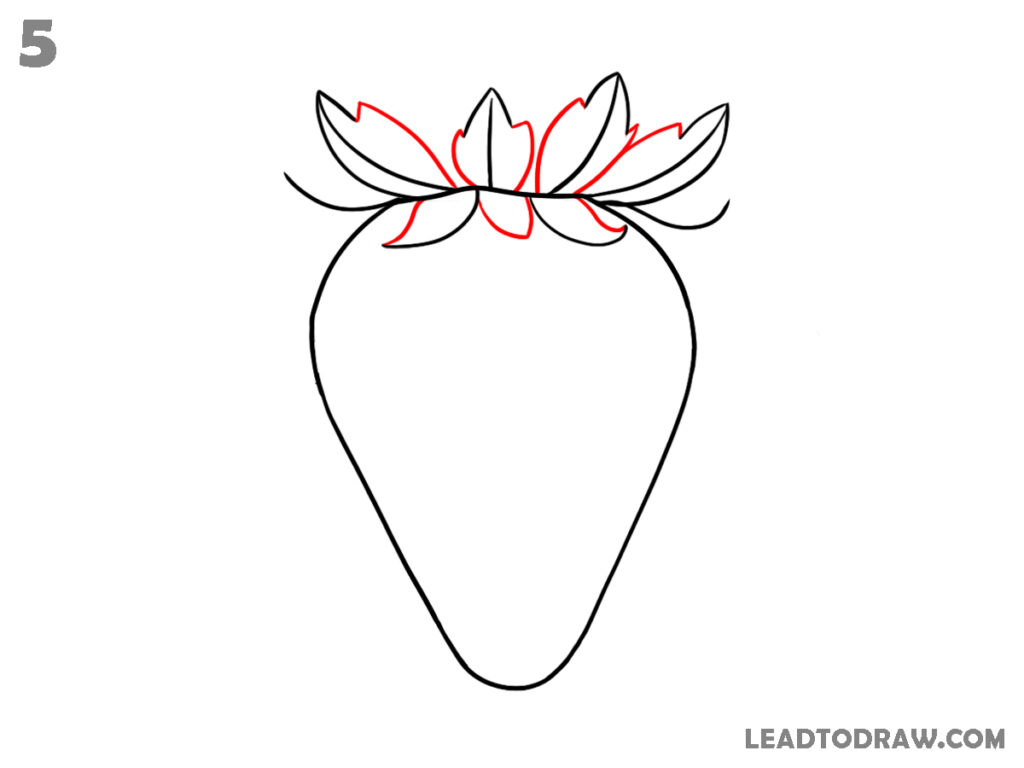
Draw extra pointed leaf details between the previous leaves at the top. Add small curved connecting lines near the lower leaf section under the center area. Continue shaping the layered leaves evenly across both sides.
Step 6 – Add Veins And Seeds
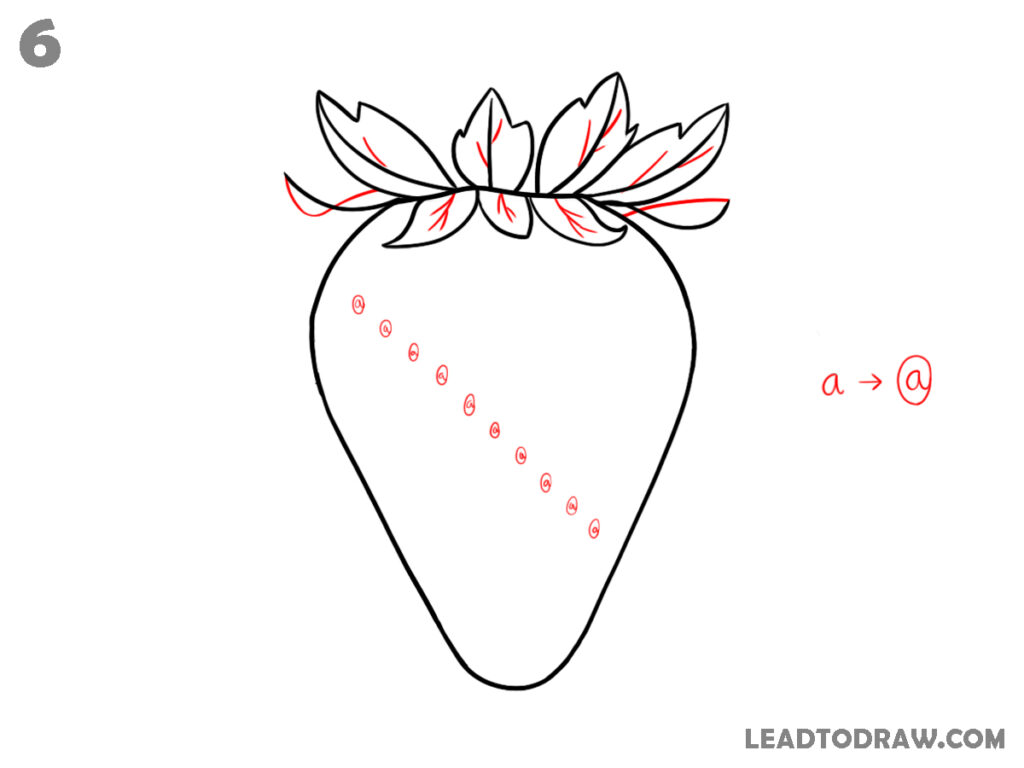
Draw short curved vein lines inside each leaf shape across the strawberry top. Add one slanted row of small oval seed shapes on the strawberry body, starting near the upper left side and moving downward toward the lower right side.
Step 7 – Fill More Seeds
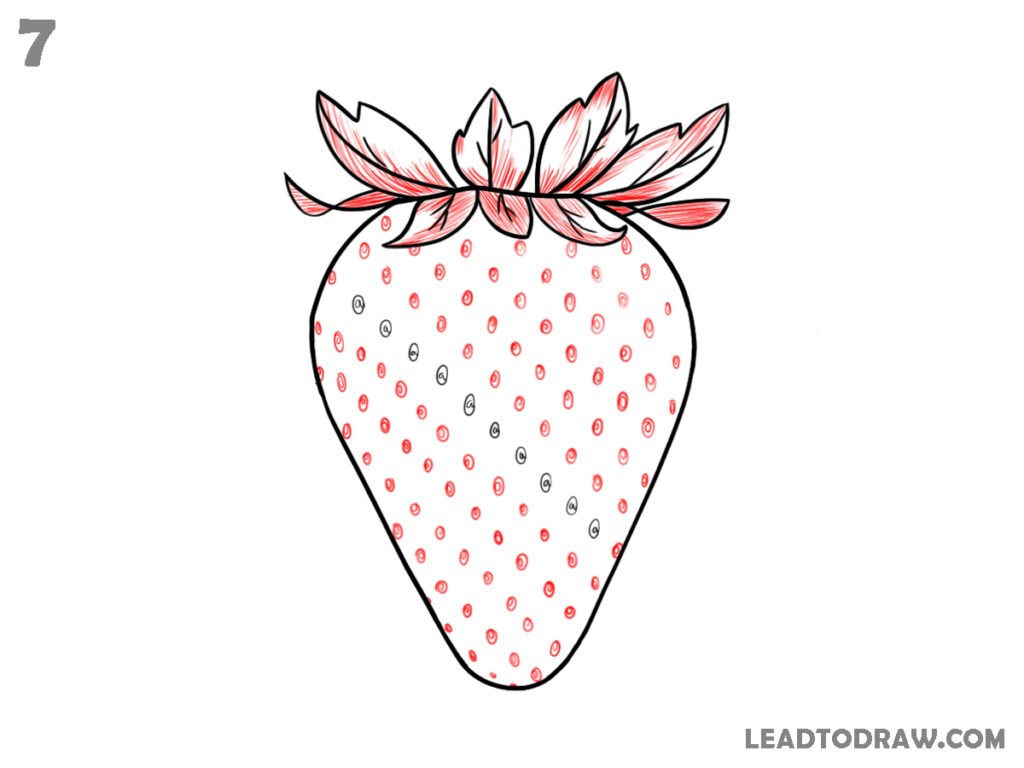
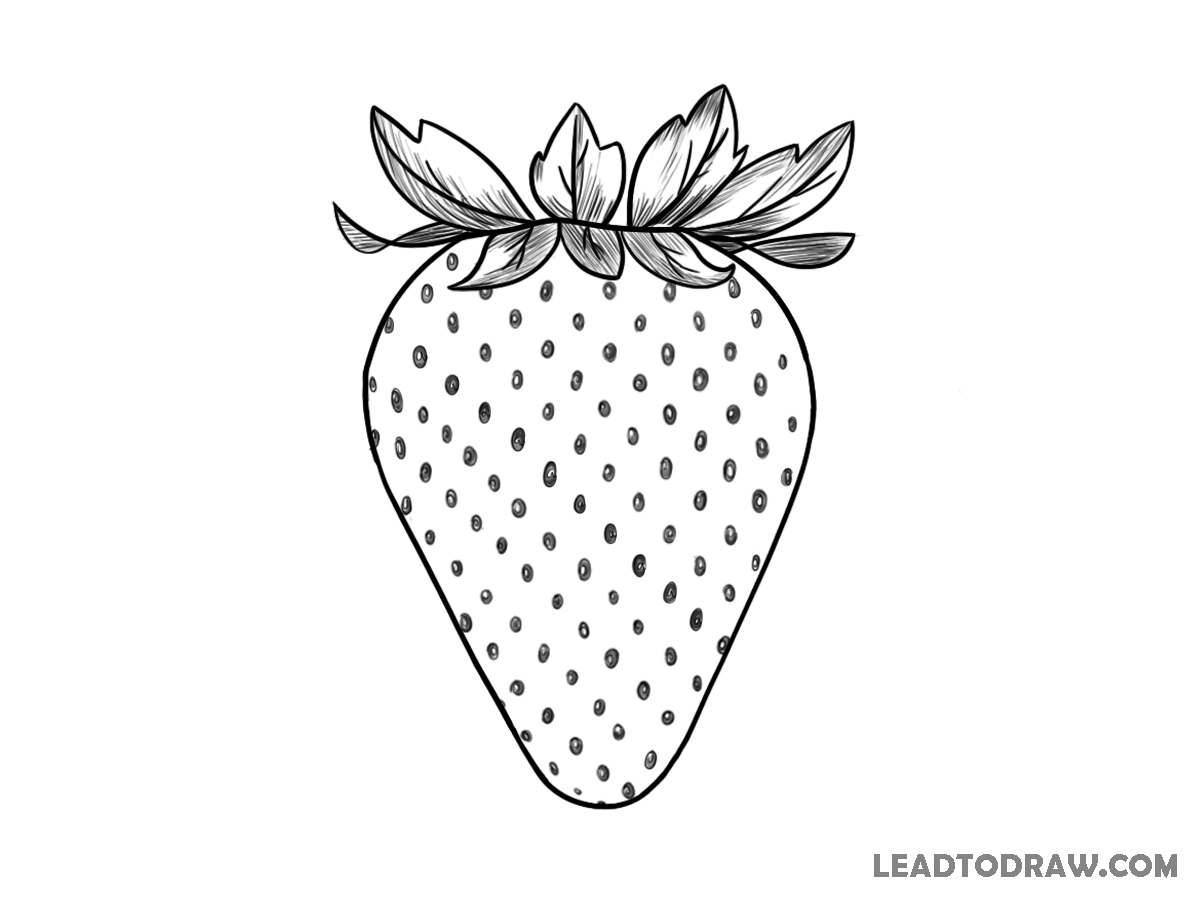
Continue drawing many small oval seeds across the full strawberry body. Follow the same slanted direction used in the earlier seed row. Add more short vein lines and light shading strokes inside the top leaves. Keep small spaces between the seeds while covering nearly.
Step 8 – Darken Details
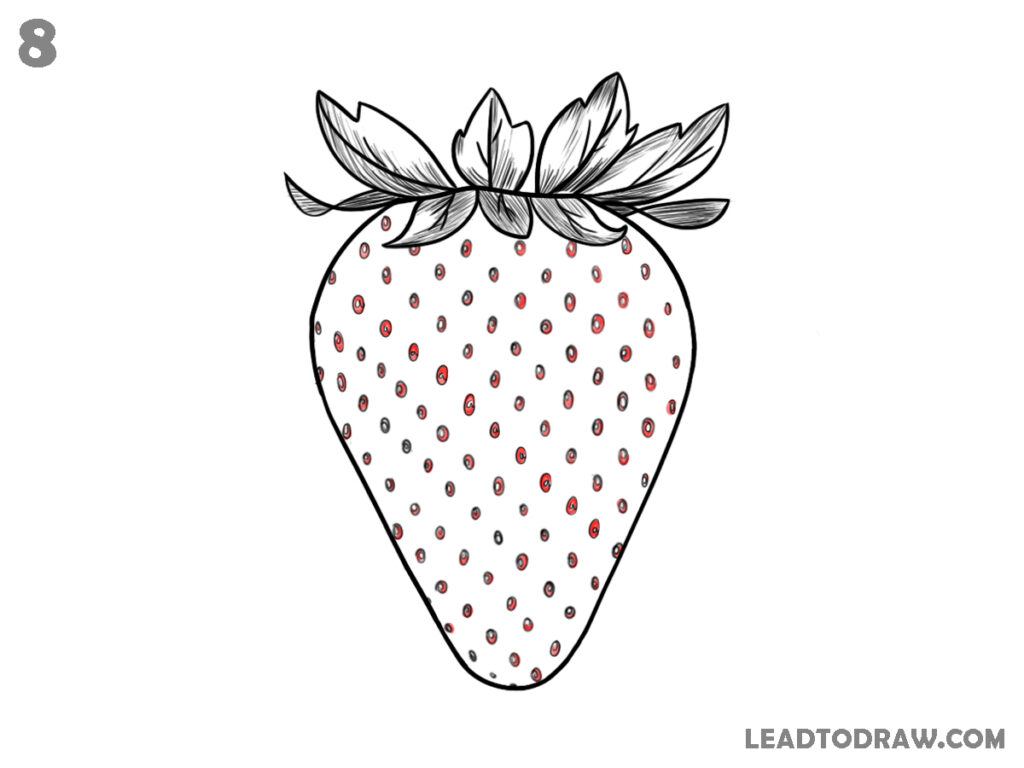
Darken the leaf veins and add extra shading lines inside the top leaves. Continue filling remaining empty spaces with small oval seeds across the strawberry body. Keep the seed spacing similar from top to bottom.
Step 9 – Check And Clean
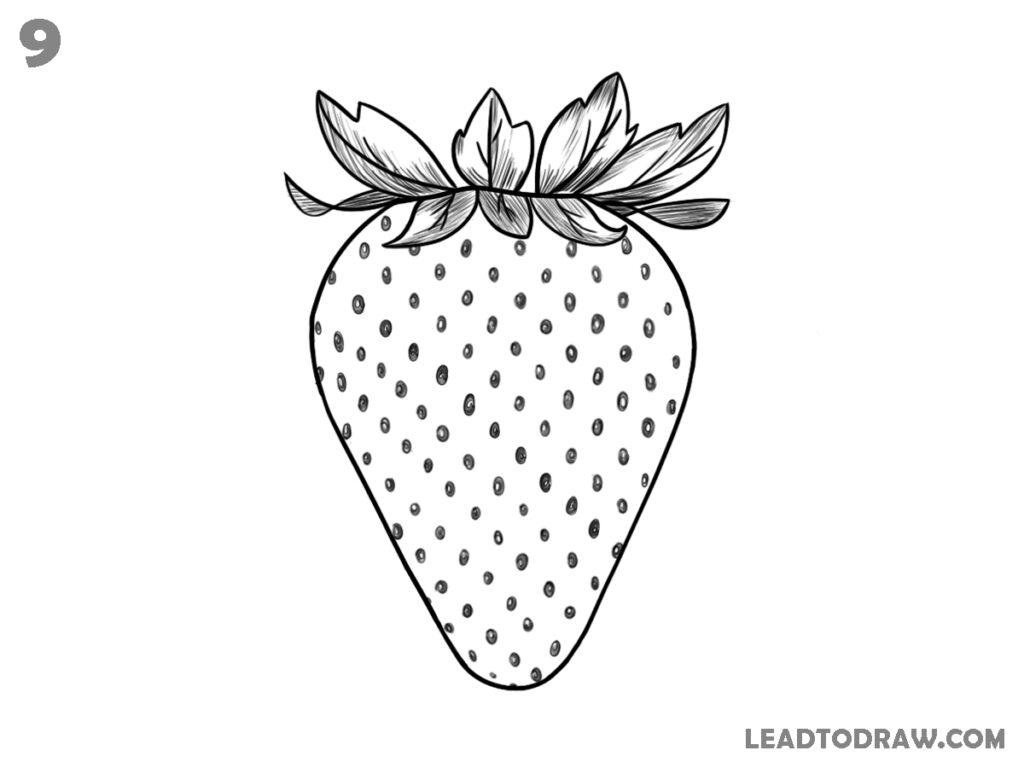
Check the full strawberry drawing and darken any light outer lines where needed. Remove remaining guide marks and keep the seed shapes evenly placed across the body. Keep the leaf shading and vein lines similar on both sides. Finish the strawberry using the same outline, seed spacing, and leaf arrangement shown in the image.
For more similar drawing tutorials, explore the guides below.
- How to draw hibiscus flower step by step easily
- How to draw grass easily in 3 different styles
- How to draw a butterfly easy with 9 steps
Conclusion
This how to draw a strawberry step by step tutorial shows each drawing stage using simple shapes, leaves, seeds, and light shading lines. Follow the same order from the images and clean the remaining guide marks at the end. Keep the strawberry outline smooth while adding small seed details evenly across the full fruit body carefully.