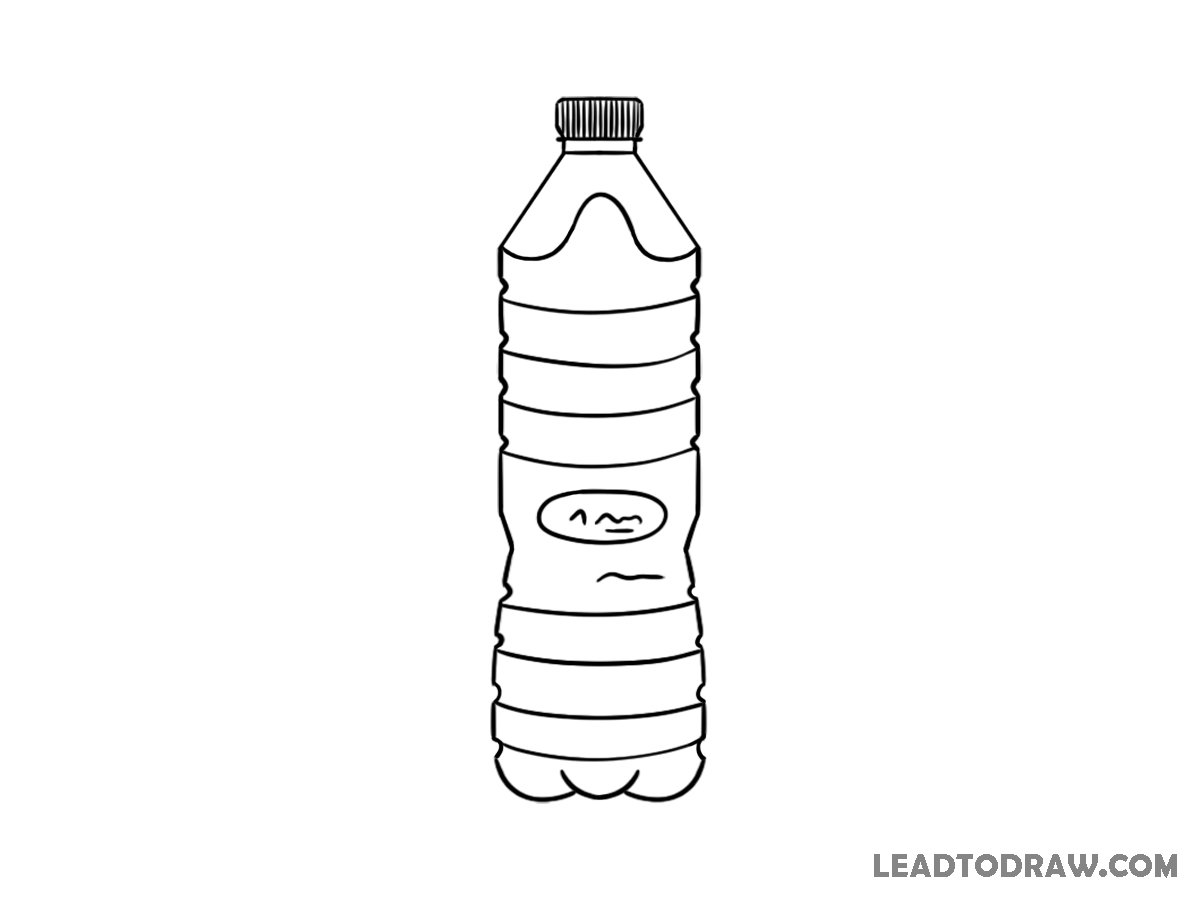
Drawing a water bottle becomes easier when you follow each shape slowly in order. In this tutorial, the new lines are shown in red for understanding, while old lines stay black. You will draw the bottle body, cap, curved sections, and label by following the same steps shown in the images carefully.
Lets start
Step 1 – Draw the First Side Lines
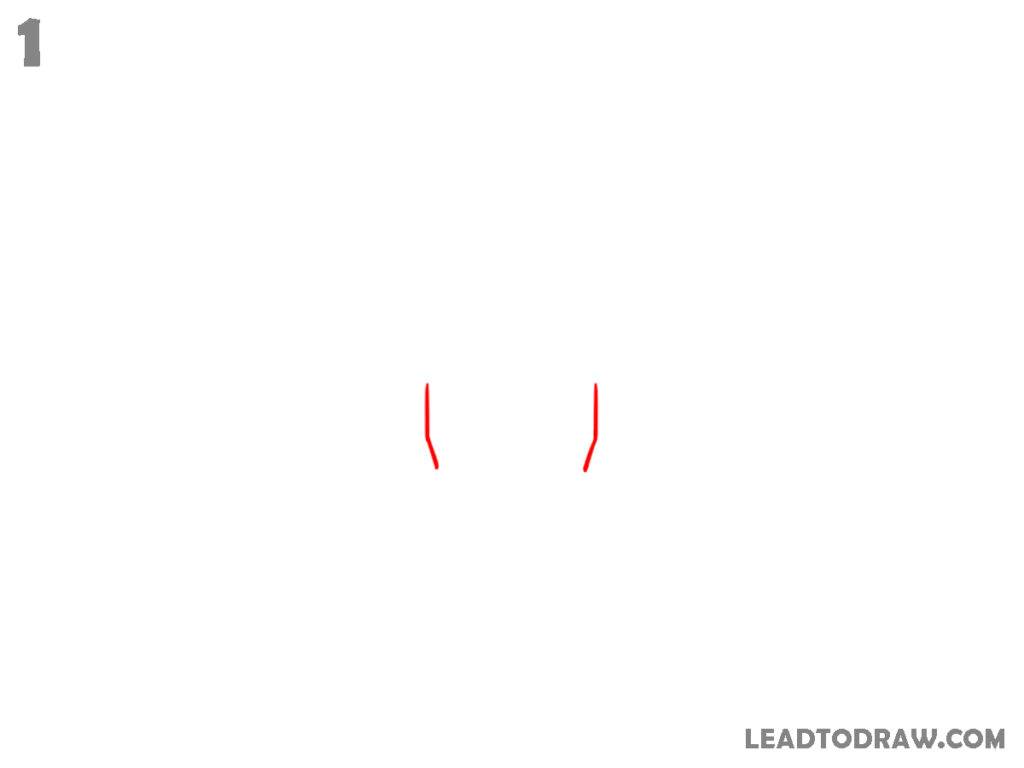
Start the water bottle drawing by making two short curved vertical lines near the center area of the page. Keep equal space between both lines. The top ends bend slightly outward while the lower parts move inward softly. Draw both sides in the same height and shape because these lines form the beginning outline of the bottle body.
Step 2 – Add the Lower Bottle Shape
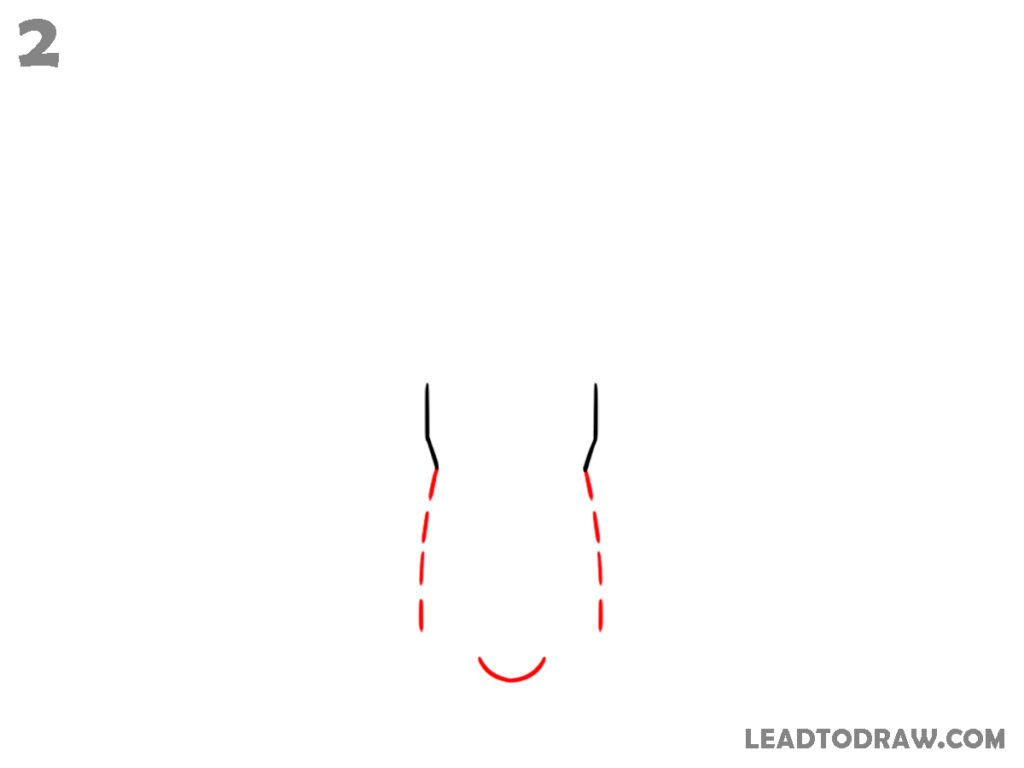
Extend both side lines downward using dotted lines. Curve the bottom area inward and connect the lower ends using a rounded curved line. Keep the lower curve soft and smooth. The upper black lines remain unchanged while the new lower section forms the early bottle body shape according to the image shown in this drawing tutorial.
Step 3 – Draw the Bottom Curves
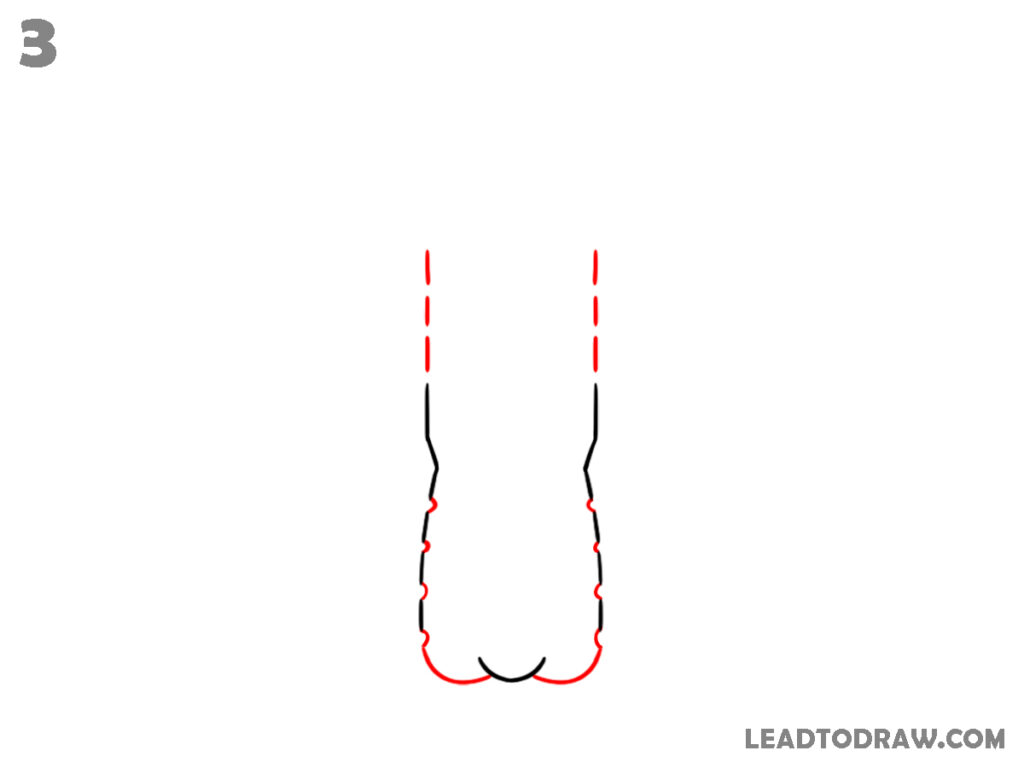
Continue the bottle drawing by extending both sides slightly downward from the middle area. Add small curved bump shapes at the bottom section to create the bottle base. Keep the lower curves connected together evenly.
Step 4 – Add the Top Bottle Neck
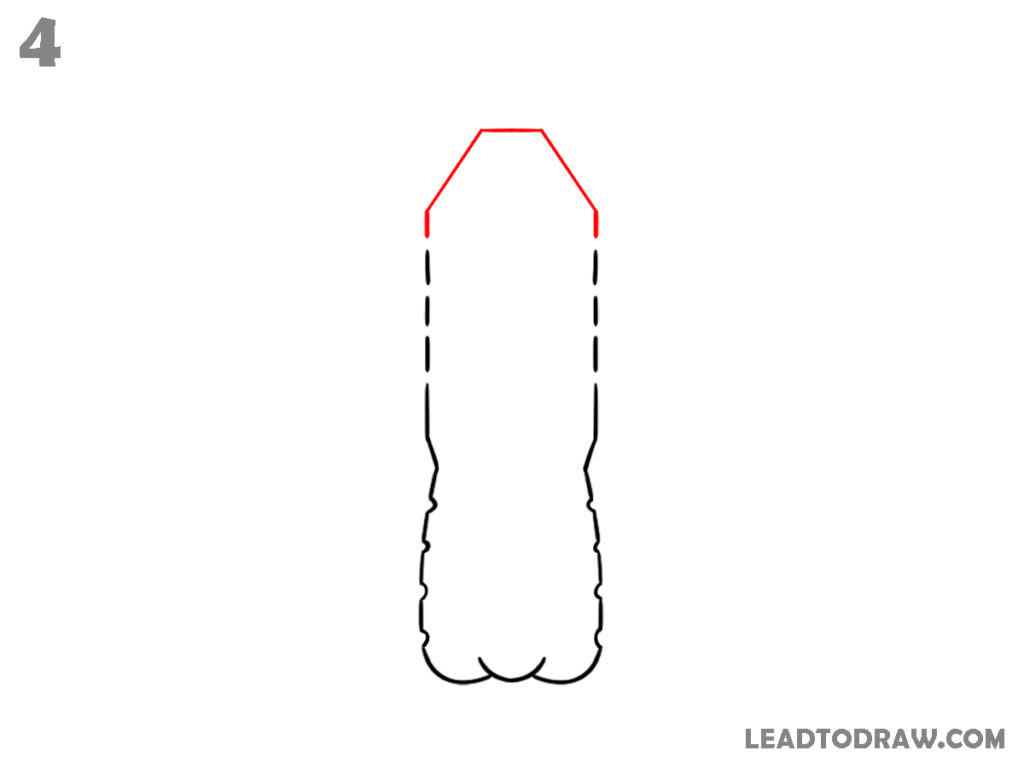
Draw angled lines upward from both top sides of the bottle body. Connect the upper ends with a short flat horizontal line to create the bottle neck section. Keep both angled sides equal in size. The lower body remains unchanged while the new upper outline completes the full outer shape of the water bottle drawing.
Step 5 – Draw the Bottle Rings
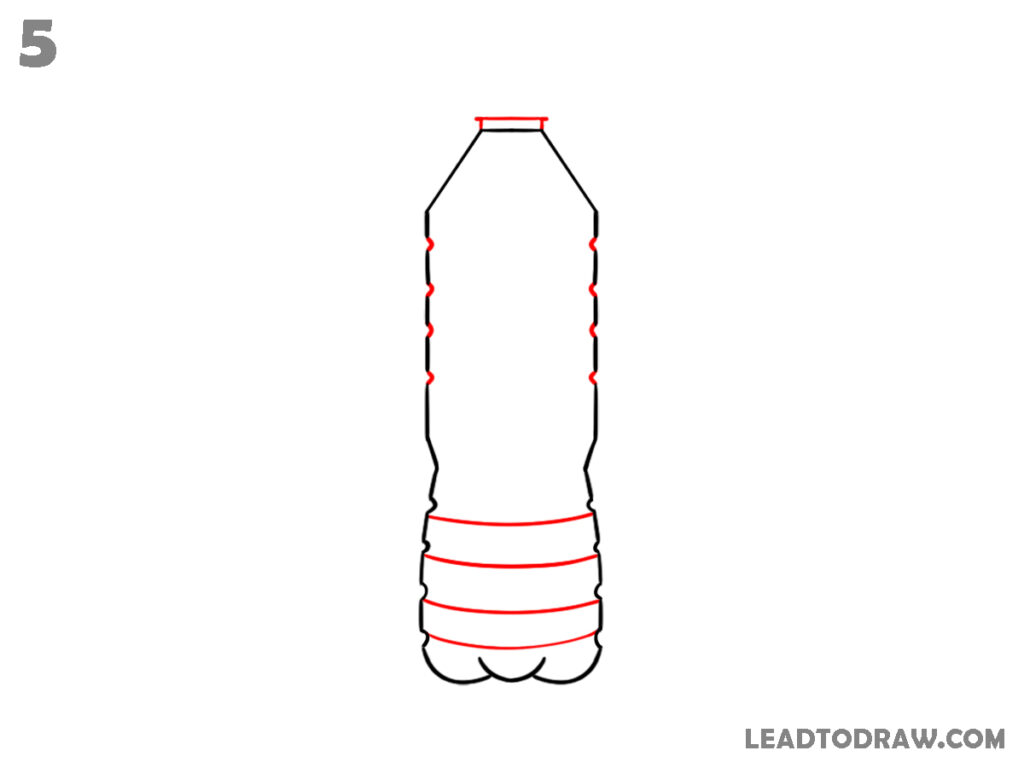
Add several curved horizontal lines around the lower half of the bottle body. Keep equal gaps between the lines while following the rounded bottle shape. Draw another short horizontal line at the bottle opening area. Leave the upper middle area plain. The bottom curves and side outlines remain unchanged while the bottle texture starts appearing gradually.
Step 6 – Add the Cap and Upper Curves
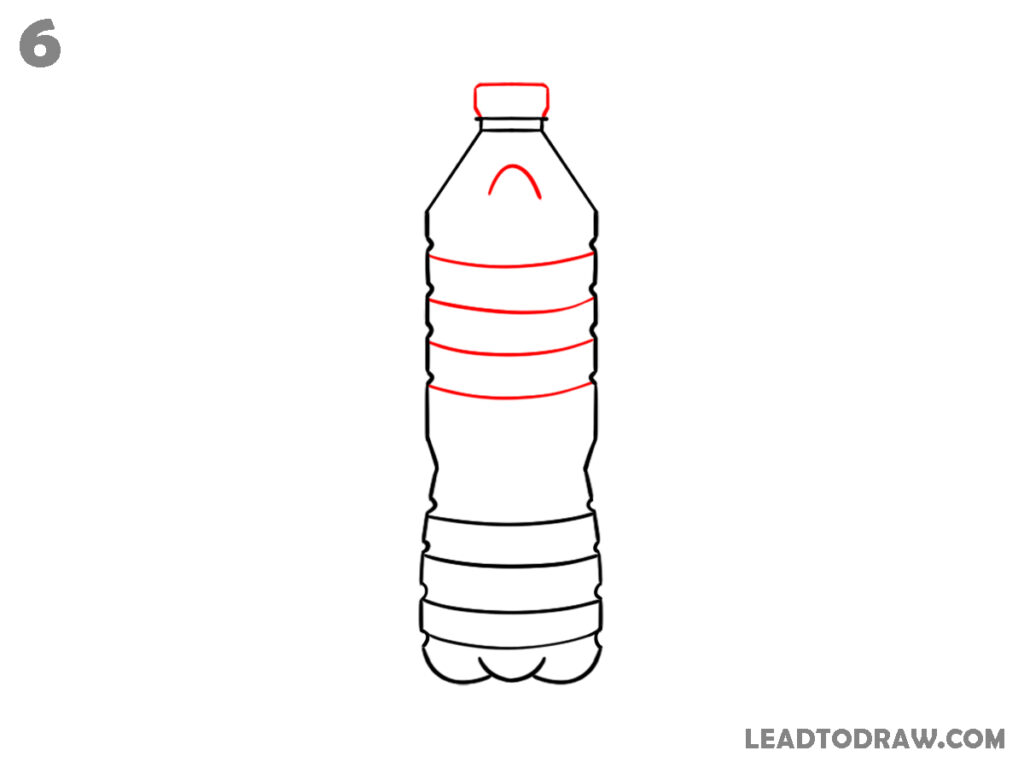
Draw a small cap shape above the bottle neck using short vertical and horizontal lines. Add a curved line below the cap around the shoulder area of the bottle. Continue adding more curved horizontal rings around the middle section.
Step 7 – Draw the Label Details
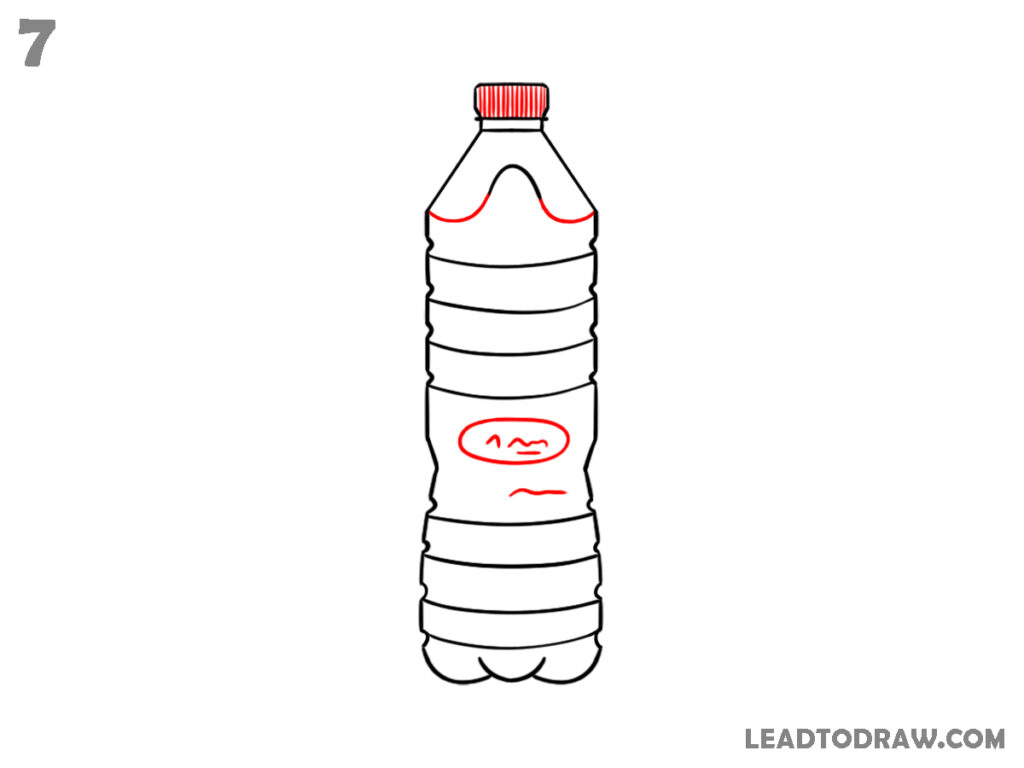
Add vertical texture lines inside the bottle cap area. Draw curved decorative lines near both upper shoulder sides of the bottle. In the center area, make an oval label shape and add small curved marks inside it. Draw another short curved line below the label.
Step 8 – Check and Clean the Drawing
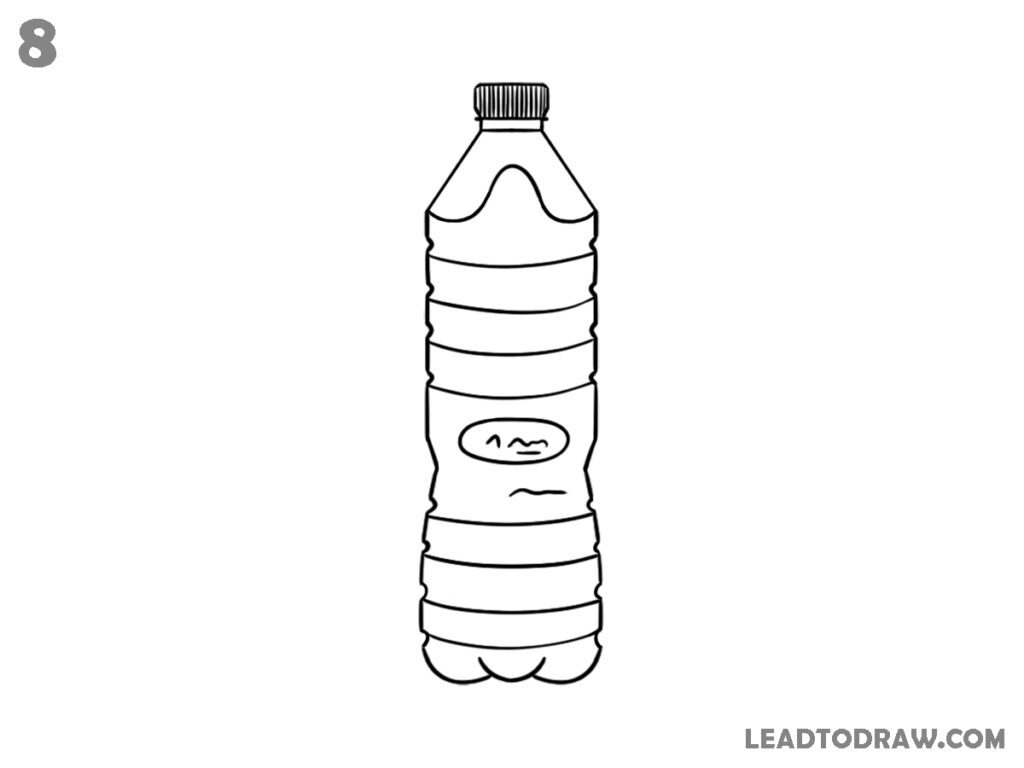
Check the full water bottle drawing carefully and darken any light outlines if needed. Remove unwanted guideline marks and extra sketch lines from the bottle body, cap, label, and bottom curves. Keep the curved rings neat and connected properly around the bottle. Finish the drawing by keeping all lines smooth according to the final image shown.
For more similar drawing tutorials, explore the guides below.
- How to draw water drops in an easy way
- How to draw a strawberry step by step easily
- How to draw waves in water easily in 7 steps
Conclusion
You have finished learning how to draw a water bottle by following simple bottle shapes, curved lines, rings, cap details, and label marks carefully. Keep practicing the same drawing slowly to improve line control and shape placement. You can also try drawing bottles with different sizes, cap styles, and label designs using similar drawing methods later.