Learning how to draw a paint roller is simple when you follow each stage in order. In this tutorial, new parts are shown in red in the reference images only to indicate the latest lines. Draw the shapes one by one, following the sequence shown for the paint roller.
Lets begin
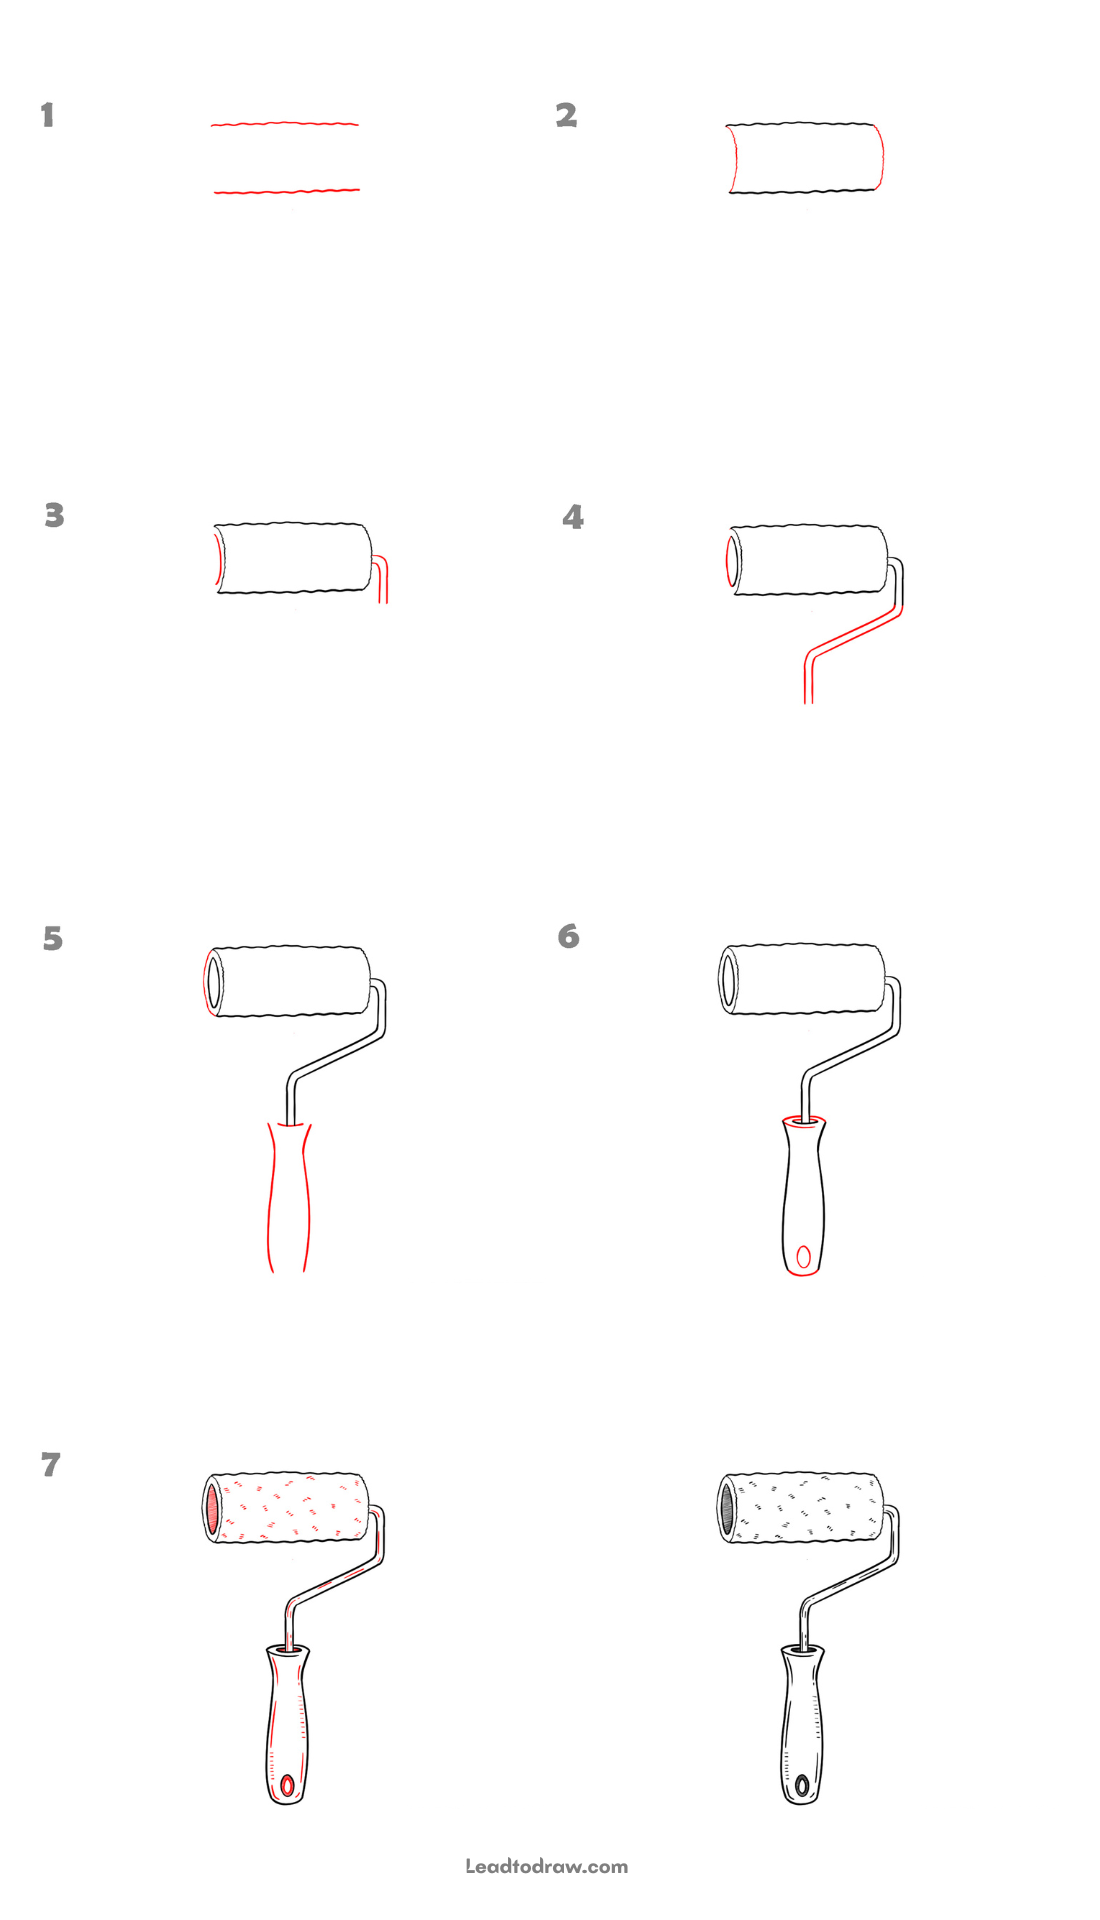
Step 1: Draw Two Parallel Lines
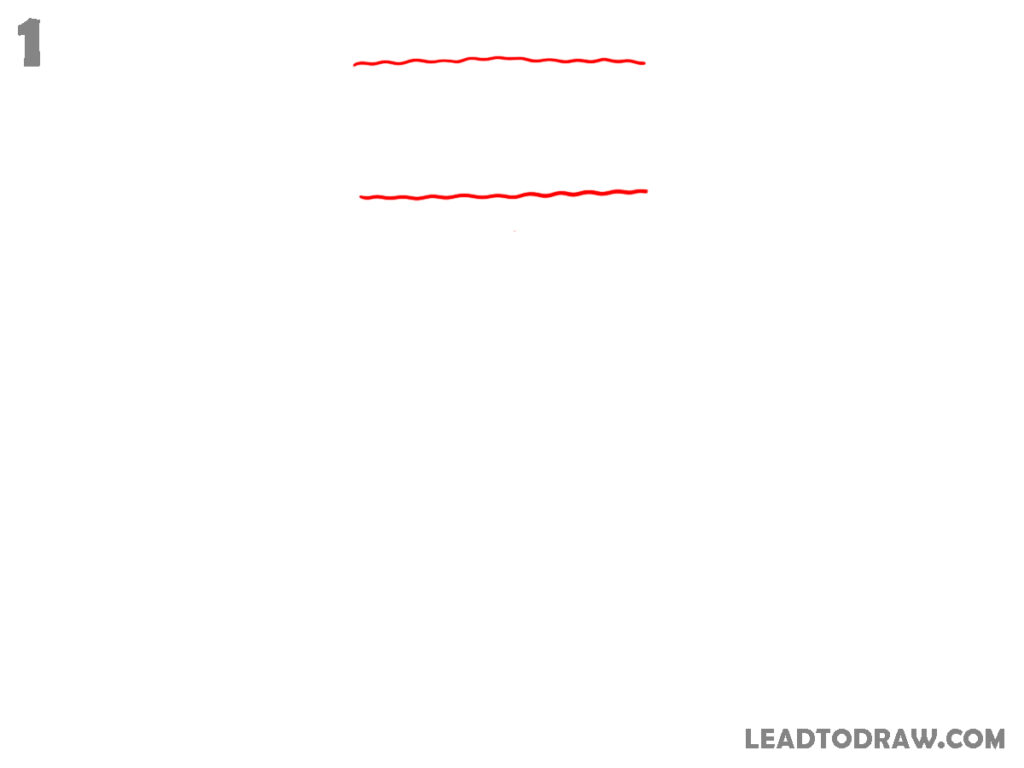
Draw two short horizontal wavy lines parallel to each other. Keep a small gap between them and make their lengths equal. Place the upper line directly above the lower one. Use light strokes while forming both edges. Leave the ends open without connecting them at either side. Keep the spacing even across the full length.
Step 2: Form the Roller Shape
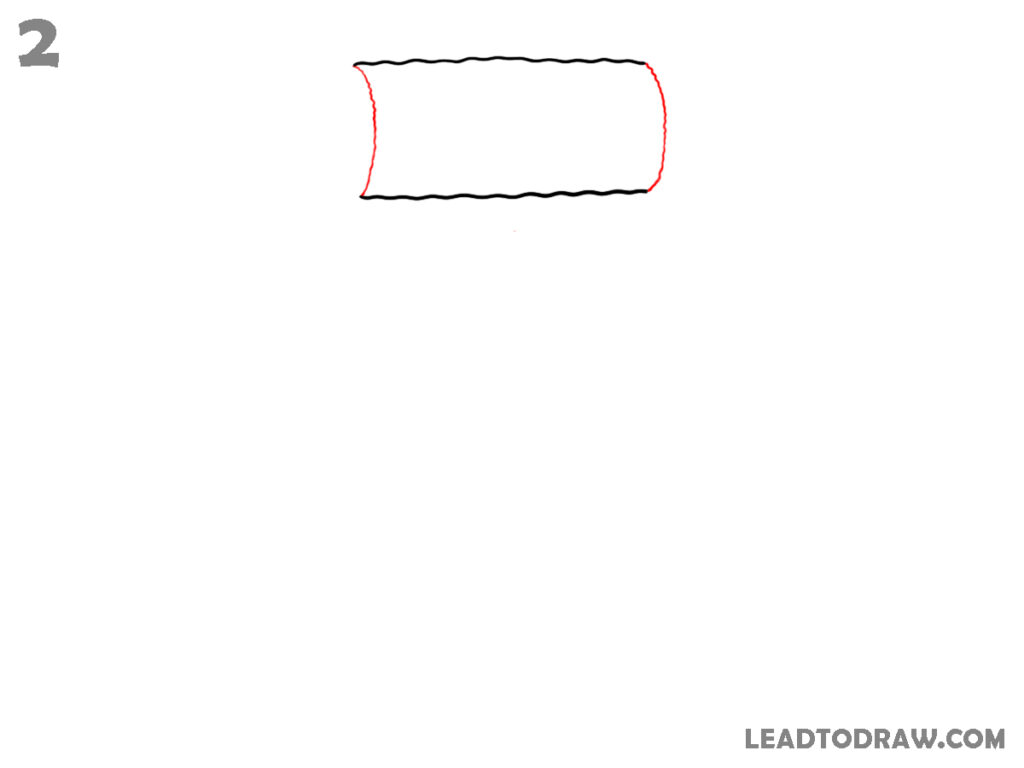
Join the left and right ends of the two wavy lines using curved side edges. Bend each side outward slightly to form a rounded roller shape. Follow the visible contour and keep the top and bottom edges unchanged. Make both side curves similar in size and shape. Close the outline completely to create the roller cover.
Step 3: Add the Roller Opening and Start the Frame
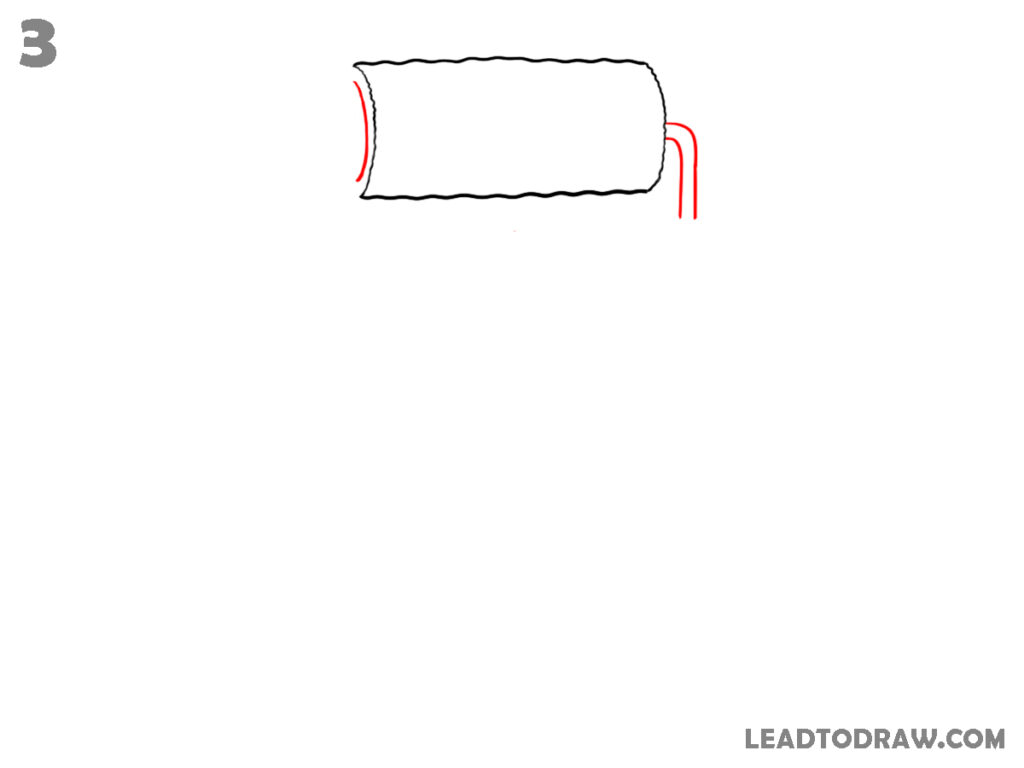
Add a narrow curved line inside the left end of the roller to show the opening. On the right side draw two close parallel lines extending downward from the roller edge. Curve them gently at the top where they meet the roller. Keep both lines evenly spaced and running in the same direction throughout.
Step 4: Draw the Bent Metal Frame
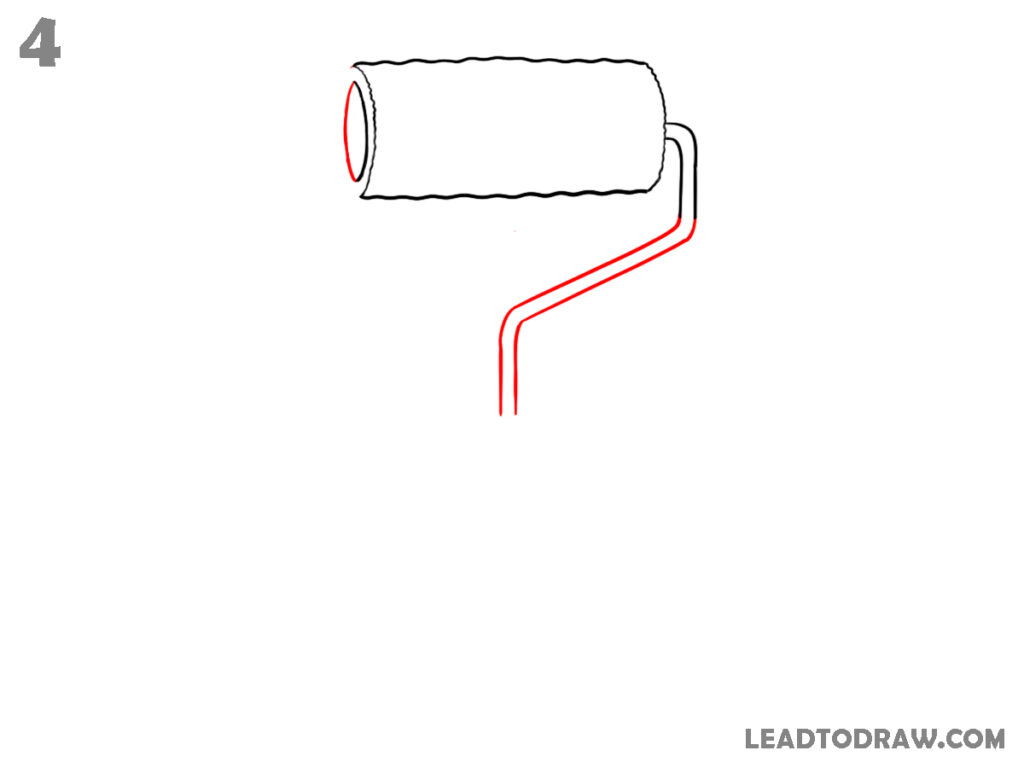
Extend the pair of handle lines further downward and then angle them toward the left. After the slanted section, turn the lines downward again to create the bent metal frame. Keep the distance between the two lines consistent through each bend. Connect the frame neatly to the roller side without changing other parts yet.
Step 5: Draw the Handle Shape
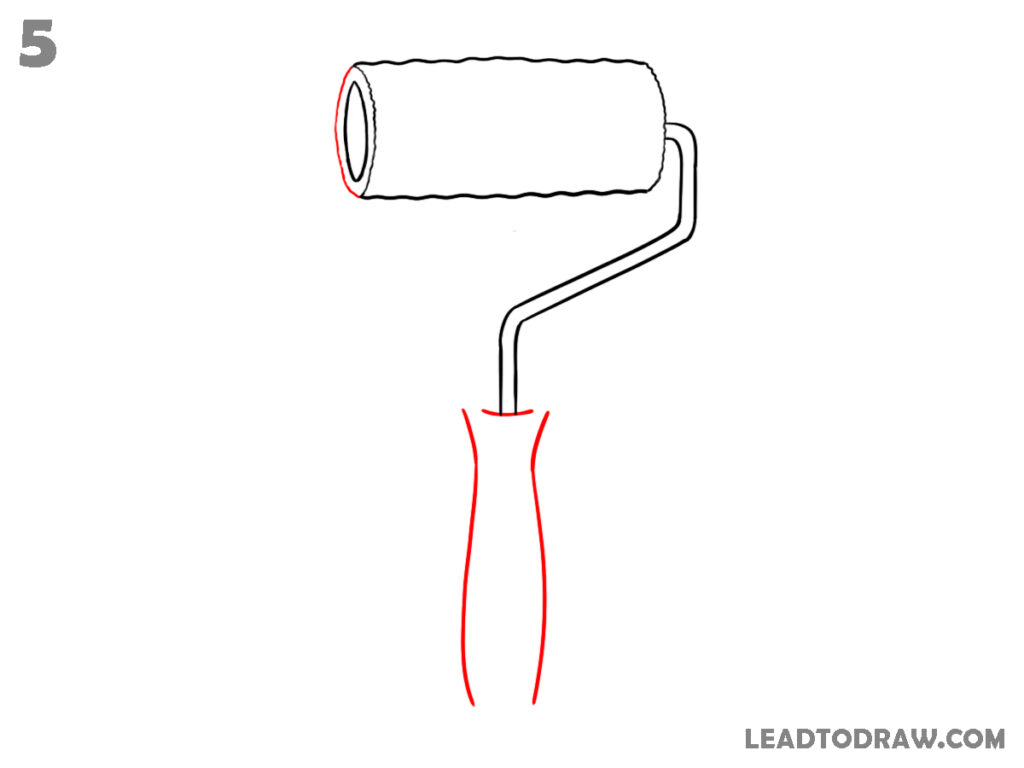
Draw a long handle below the lower end of the frame. Start with a short curved top opening and extend two smooth outer edges downward. Shape the sides so they curve slightly inward and outward before narrowing near the bottom. Leave the lower end open for now and keep the handle centered beneath the frame.
Step 6: Complete the Handle Details
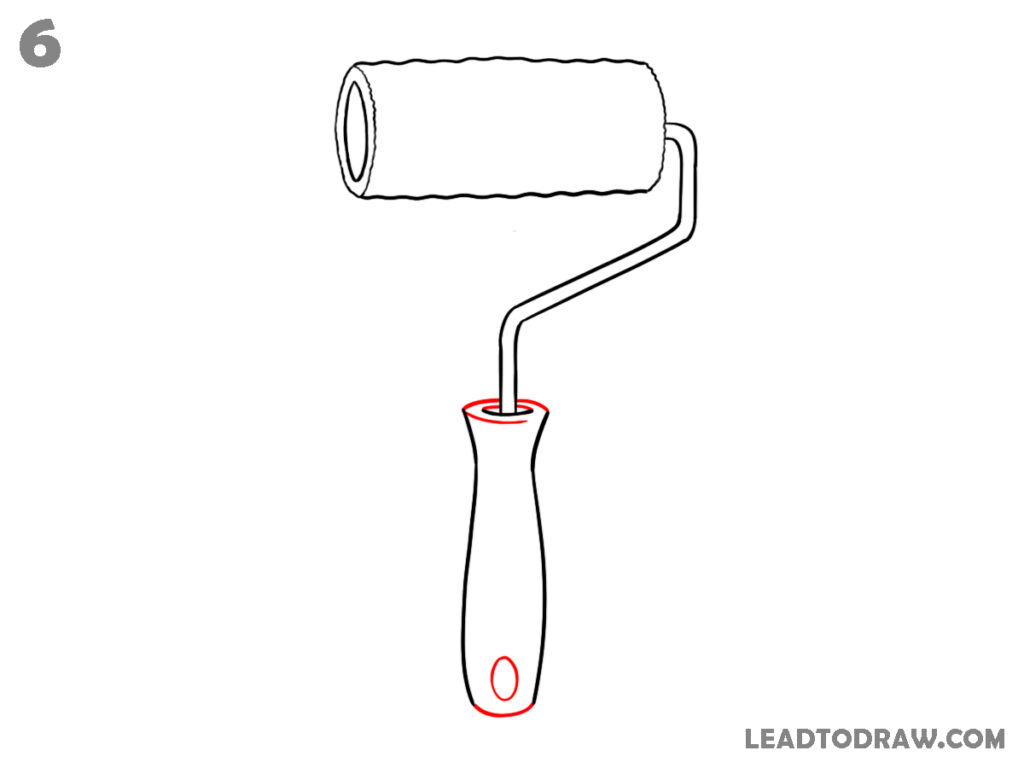
Complete the handle by closing its lower end with a rounded curve. Add a small oval hole near the bottom center of the handle. Draw an inner rim around the roller opening on the left side and add a small top rim where the frame enters the handle, according to the image.
Step 7: Add Surface Texture and Small Details
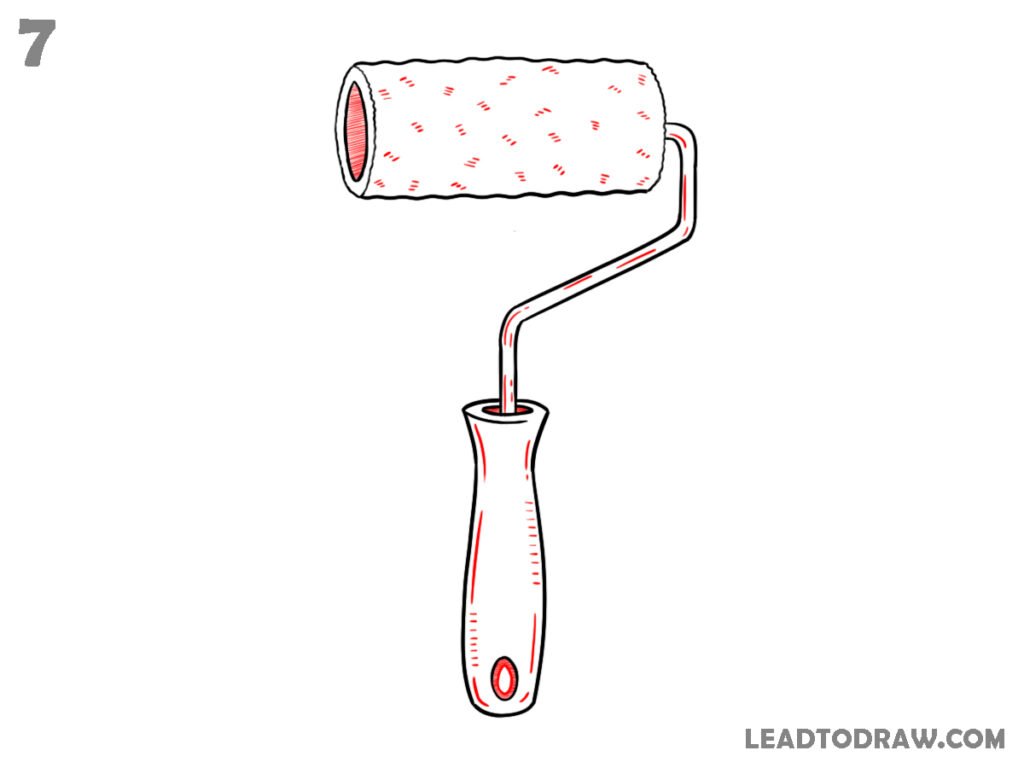
Add small, short texture marks across the surface of the roller cover. Scatter them evenly from one side to the other without forming straight rows. Draw a thin inner line along parts of the metal frame and add short detail strokes on the handle. Keep the oval hole and roller opening visible and defined.
Step 8: Check and Clean the Drawing
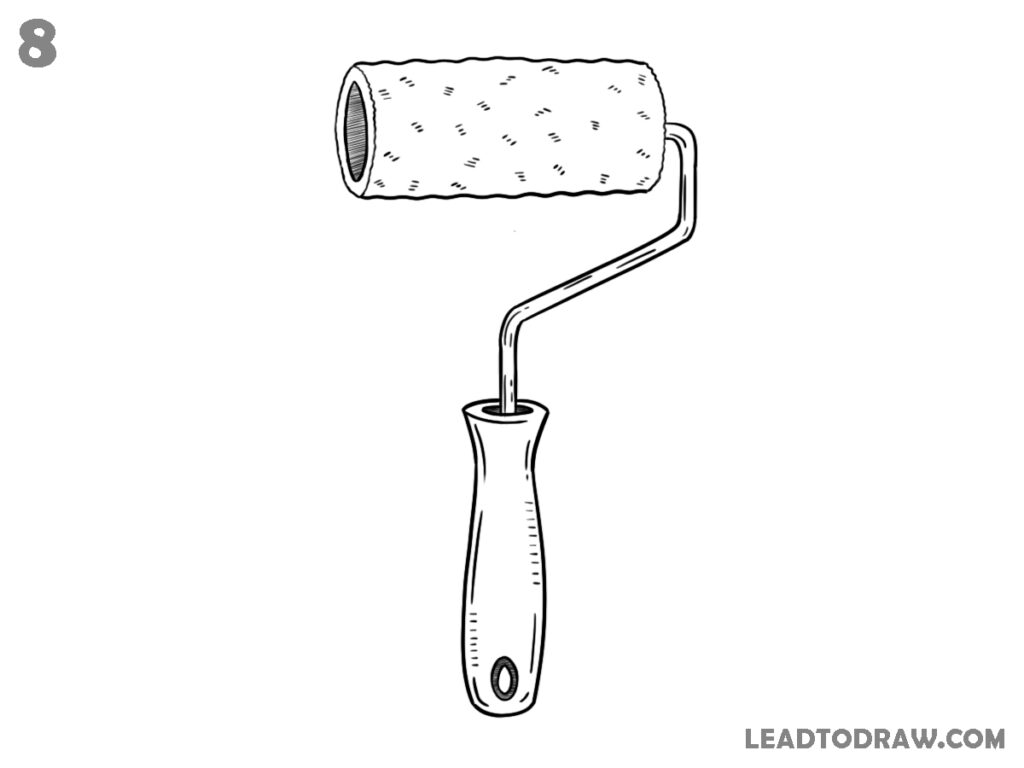
Check the full paint roller drawing and compare each part with the previous steps. Correct any uneven curves along the roller cover frame and handle. Remove extra construction marks or unwanted overlaps that remain. Refine the opening rings, texture marks, and handle details where needed. Finish with clean outlines and even spacing throughout the drawing.
For more similar drawing tutorials, explore the guides below.
- How to draw a gas mask in as easy way
- How to draw a wallet in 8 easy steps
- How to draw a tulip easy step by step
Conclusion
This guide on how to draw a paint roller followed the same sequence shown in the tutorial images. Starting from simple lines and ending with texture and final corrections, each stage built the shape gradually. Review the drawing carefully, check line placement and make small fixes where needed for a neat paint roller sketch at last.