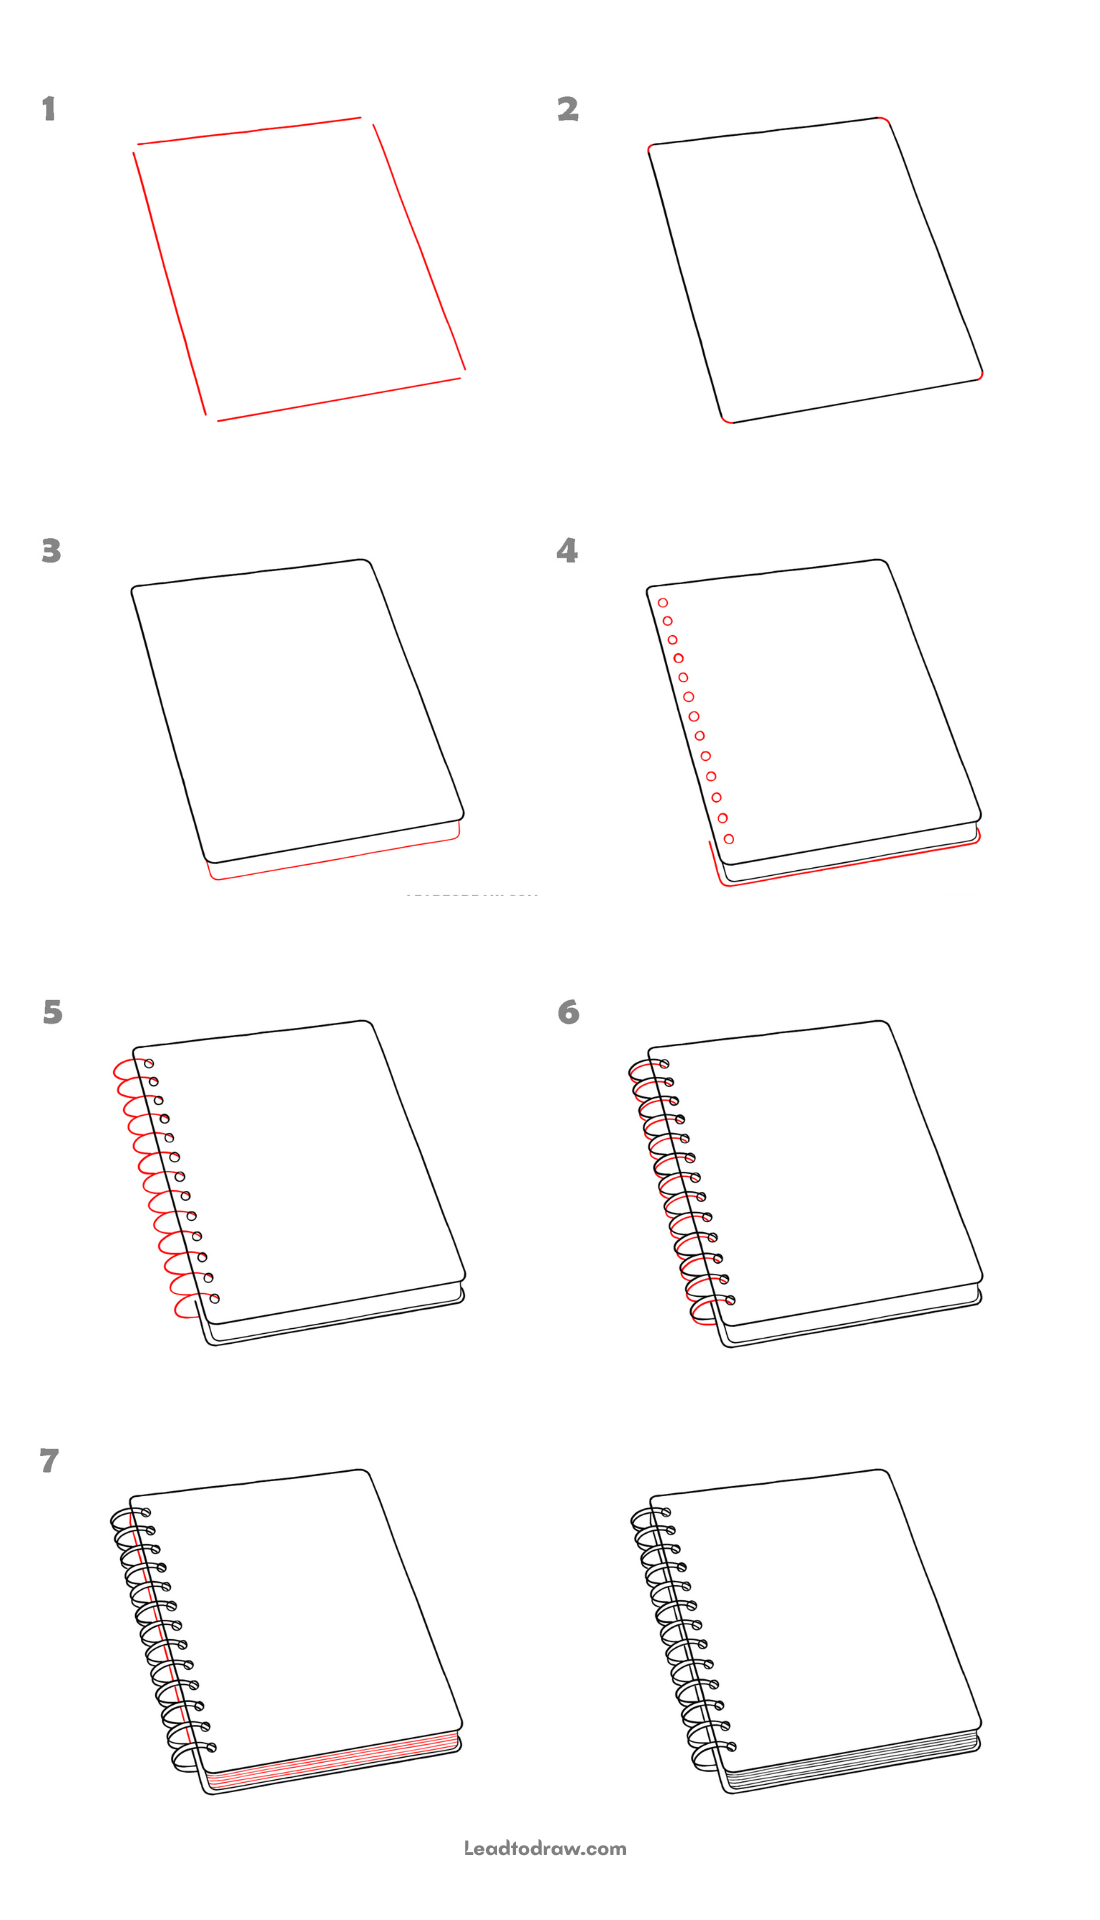
Learn how to draw spiral book with this easy step-by-step tutorial. Each image shows the next lines in red only to explain the drawing order. Follow every step carefully and draw the cover, spiral binding, and page edges using simple lines and smooth curves.
Lets Begin
Step 1: Draw the Book Shape
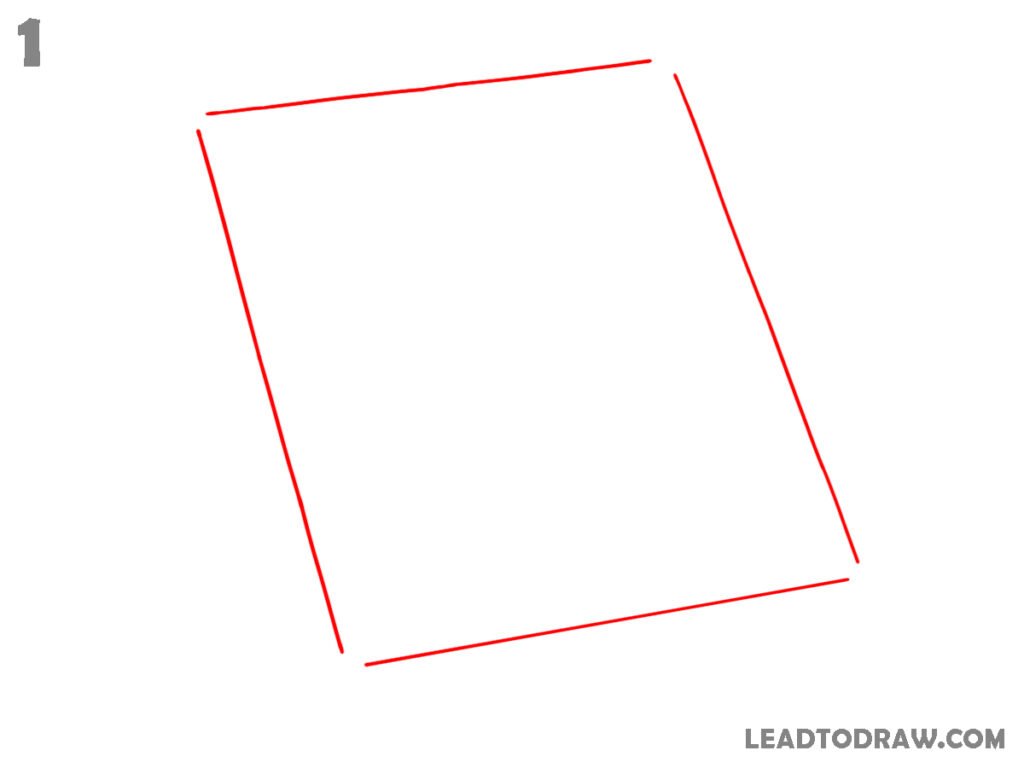
Start by drawing a slightly tilted rectangle using four straight lines. Keep the left and right sides slanting inward while the top and bottom edges stay almost horizontal. Leave the corners sharp at this stage. Make the overall shape look like the front cover of a spiral book placed at an angle.
Step 2: Round the Corners
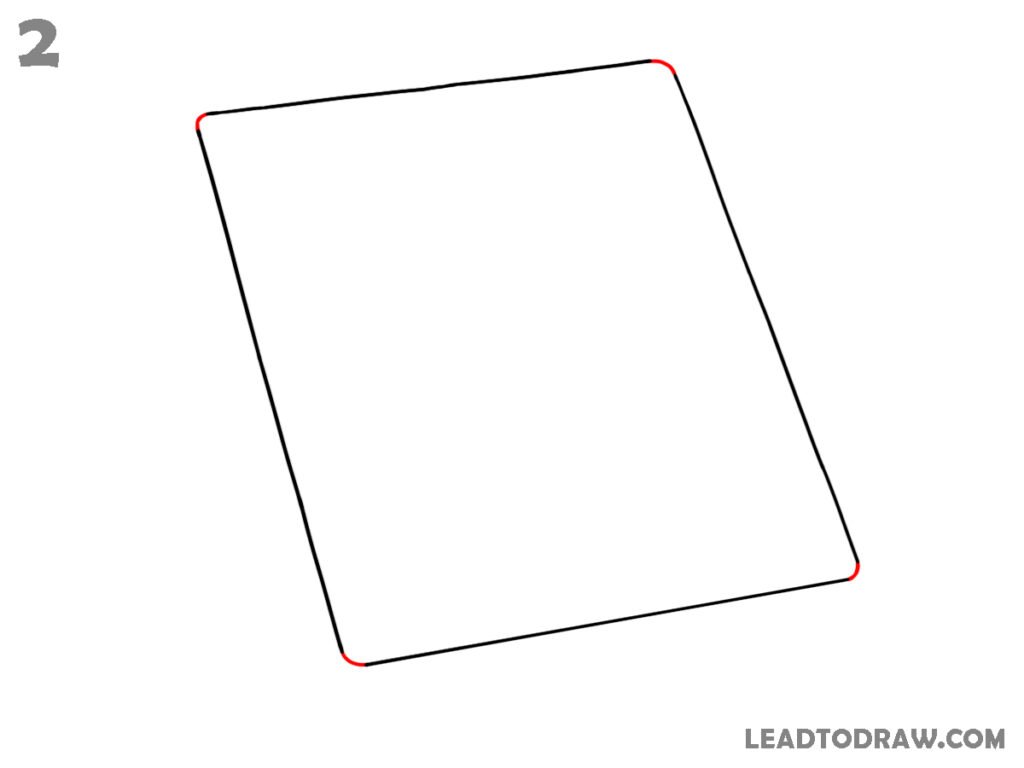
Round all four corners of the rectangle with small curved lines. Keep the curves smooth and even so the cover looks soft instead of pointed. Join every corner neatly with the existing edges. Maintain the same tilted position and keep the outer shape matching the previous outline while forming the cover.
Step 3: Add the Bottom Page Edge
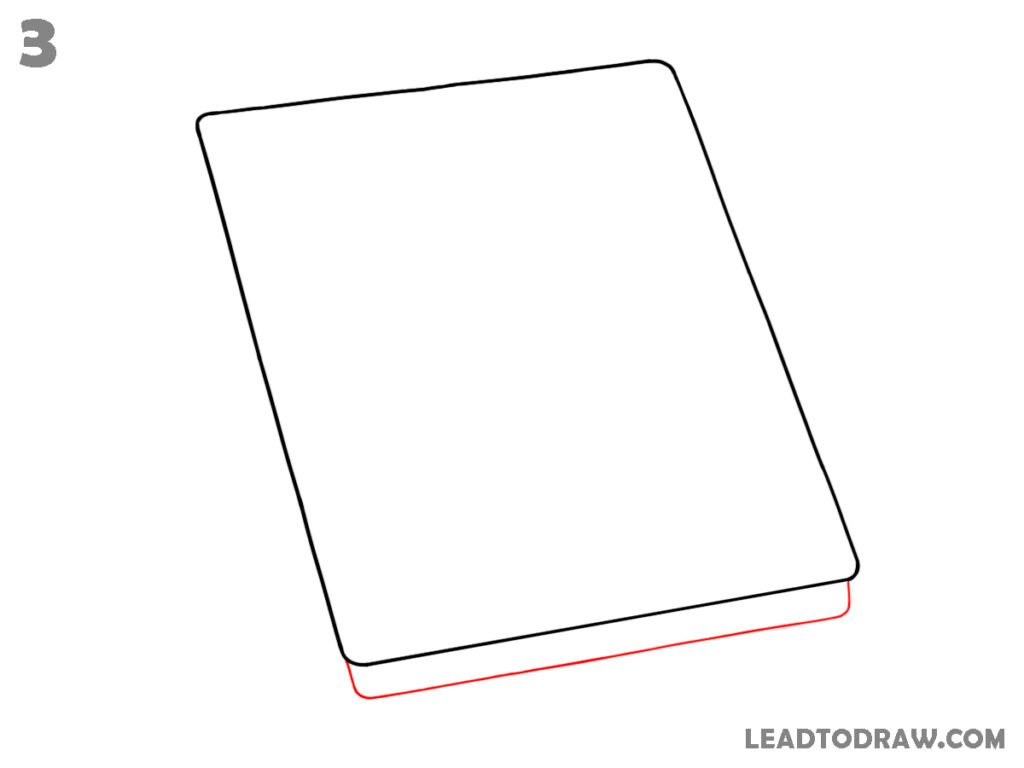
Draw another curved line below the bottom edge of the cover to create the thickness of the pages. Extend it slightly past the lower corners before connecting it with short curved ends. Keep the spacing narrow so it looks like a stack of pages under the front cover of the book.
Step 4: Draw the Spiral Holes
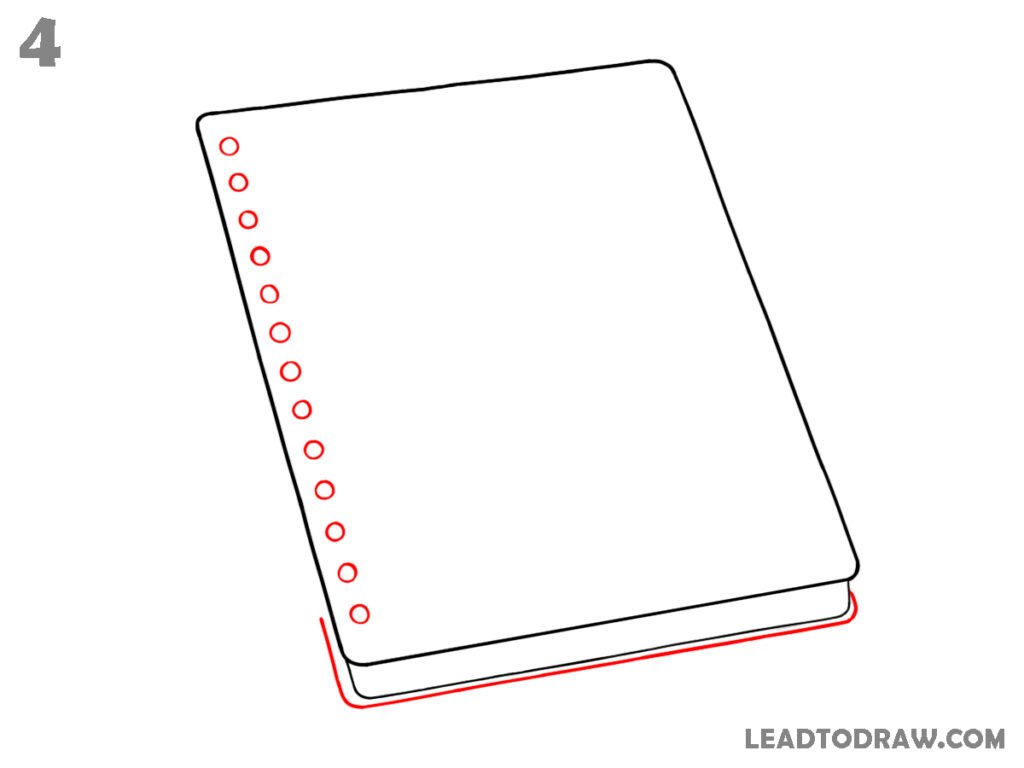
Add a vertical row of small circles near the left edge of the cover. Space each circle evenly from top to bottom. Then draw the lower left edge of the page stack following the same shape as the cover. Keep the page thickness matching the lower edge already drawn.
Step 5: Draw the Spiral Loops
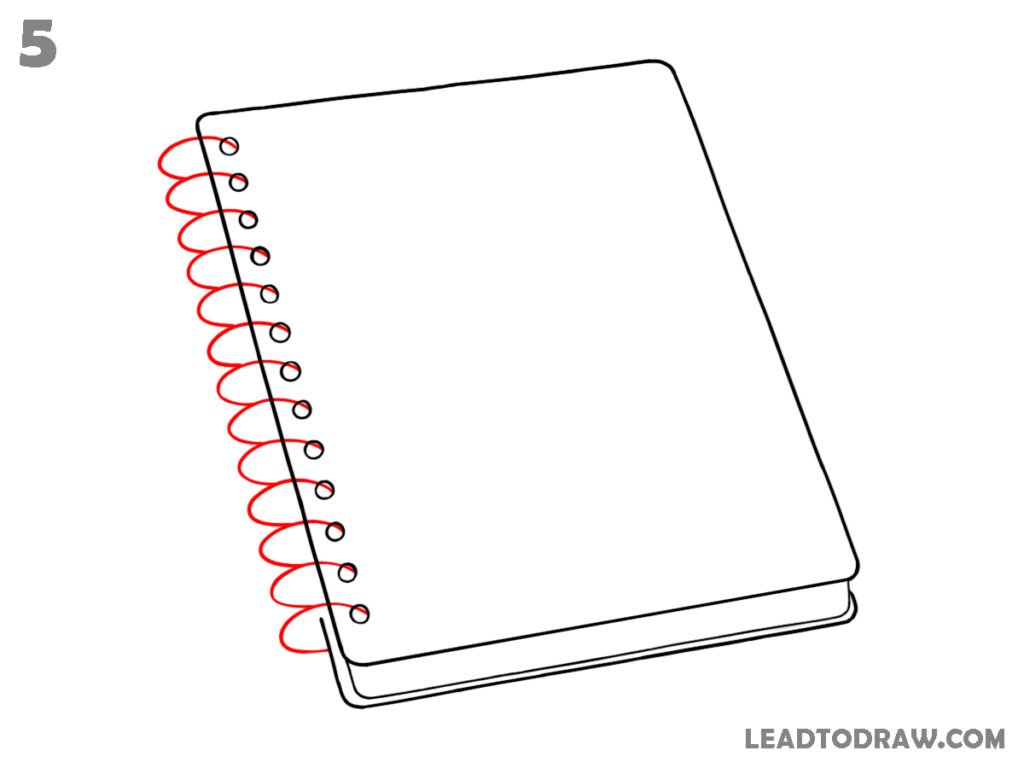
Draw large curved loops around every hole along the left side of the book. Each loop should curve outside the cover before returning to the next hole. Continue the same pattern from the top to the bottom. Keep every loop similar in size with even spacing between them.
Step 6: Complete the Spiral Binding
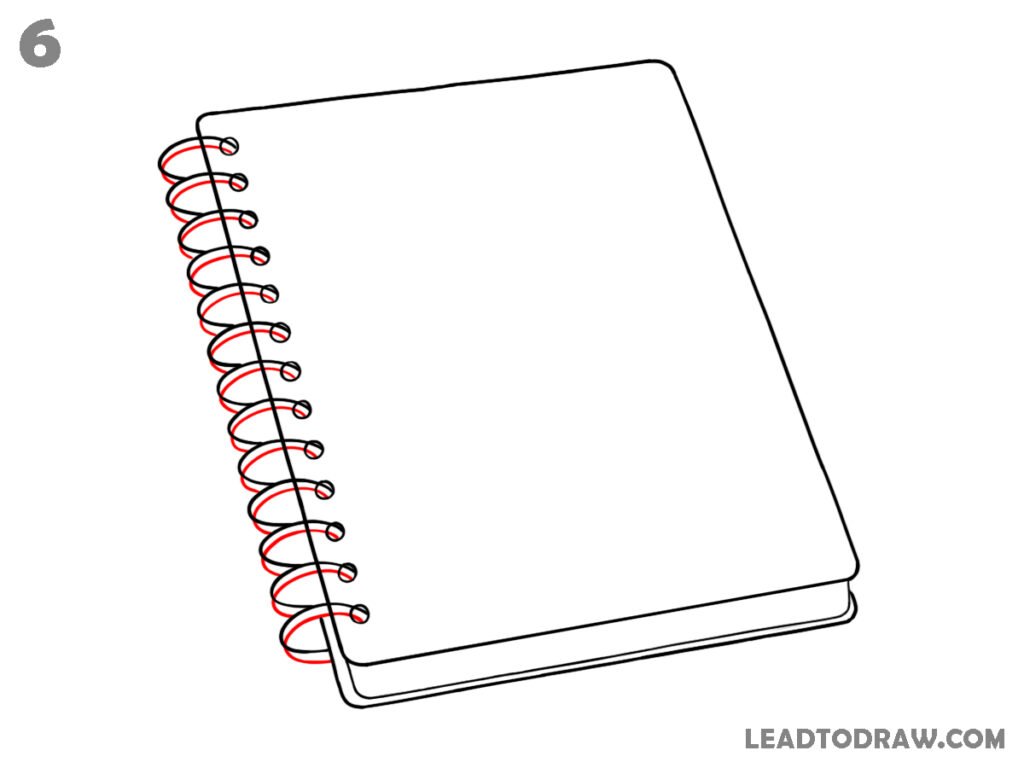
Finish the spiral by adding the matching inner curves so every loop forms a complete ring passing through the holes. Continue the same pattern until the entire left side is connected. Keep the rings smooth and evenly shaped while following the position of each hole without changing their spacing.
Step 7: Draw the Page Lines
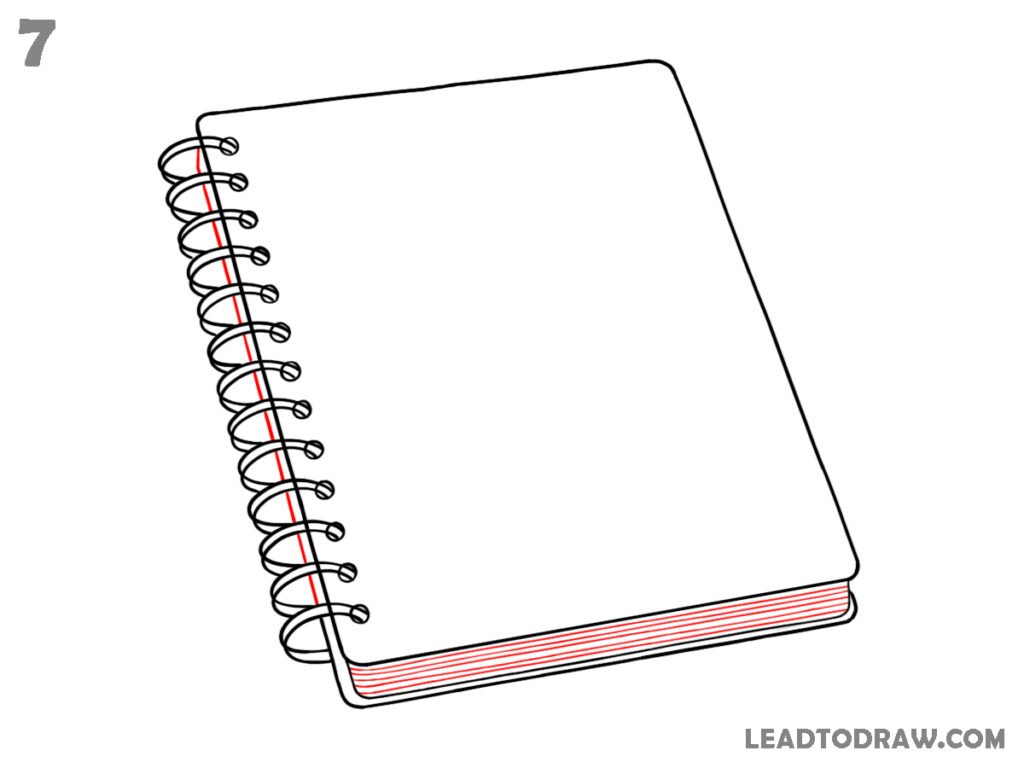
Add several thin curved lines along the bottom page edge to show individual sheets inside the spiral book. Keep every line following the same curved direction and leave small, even gaps between them.
Step 8: Check and Finish the Drawing
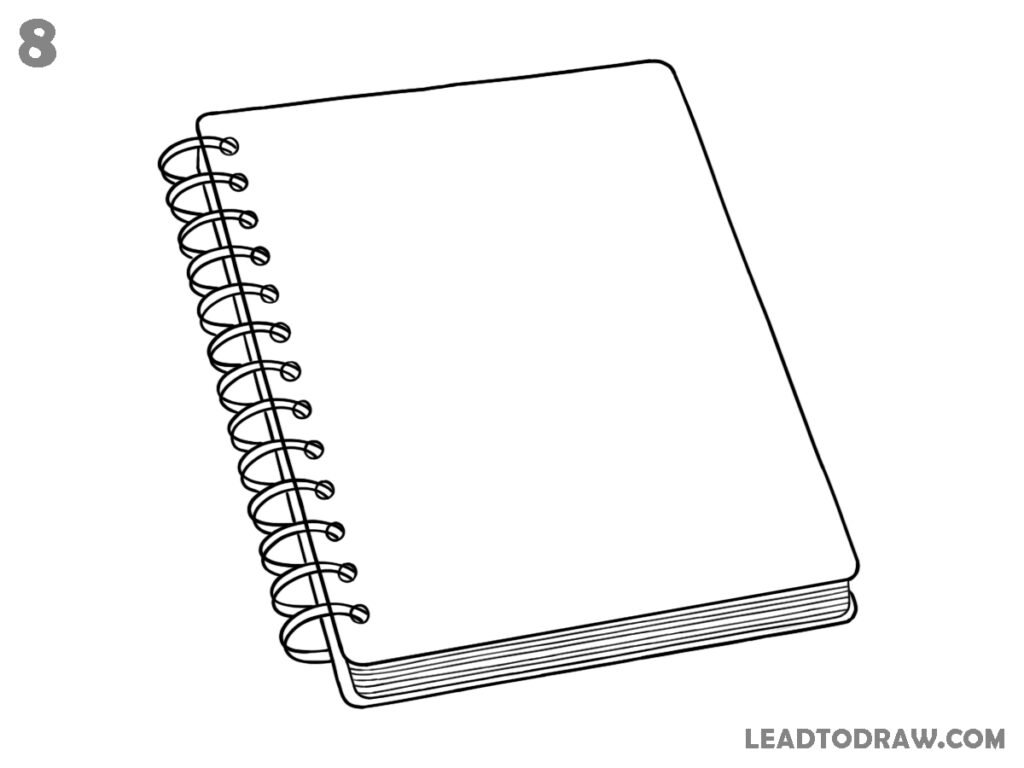
Look over the entire spiral book drawing and compare all parts carefully. Correct any uneven edges, page lines, spiral rings, or small circles if needed. Erase any unwanted sketch marks that remain around the drawing. Keep the outline clean and smooth so the spiral book matches the final image before finishing.
For more similar drawing tutorials, explore the guides below.
- How to Draw a Mailbox in 8 Easy Steps
- How to Draw a Sailboat in 8 Simple Steps
- How to Draw a Jean Jacket Step by Step
Conclusion
This tutorial showed how to draw spiral book by following simple shapes in the correct order. Start with the cover, add the page thickness, draw the binding holes, complete the spiral rings, and finish with page lines. Check the drawing carefully, remove extra marks, and keep the final outline neat.