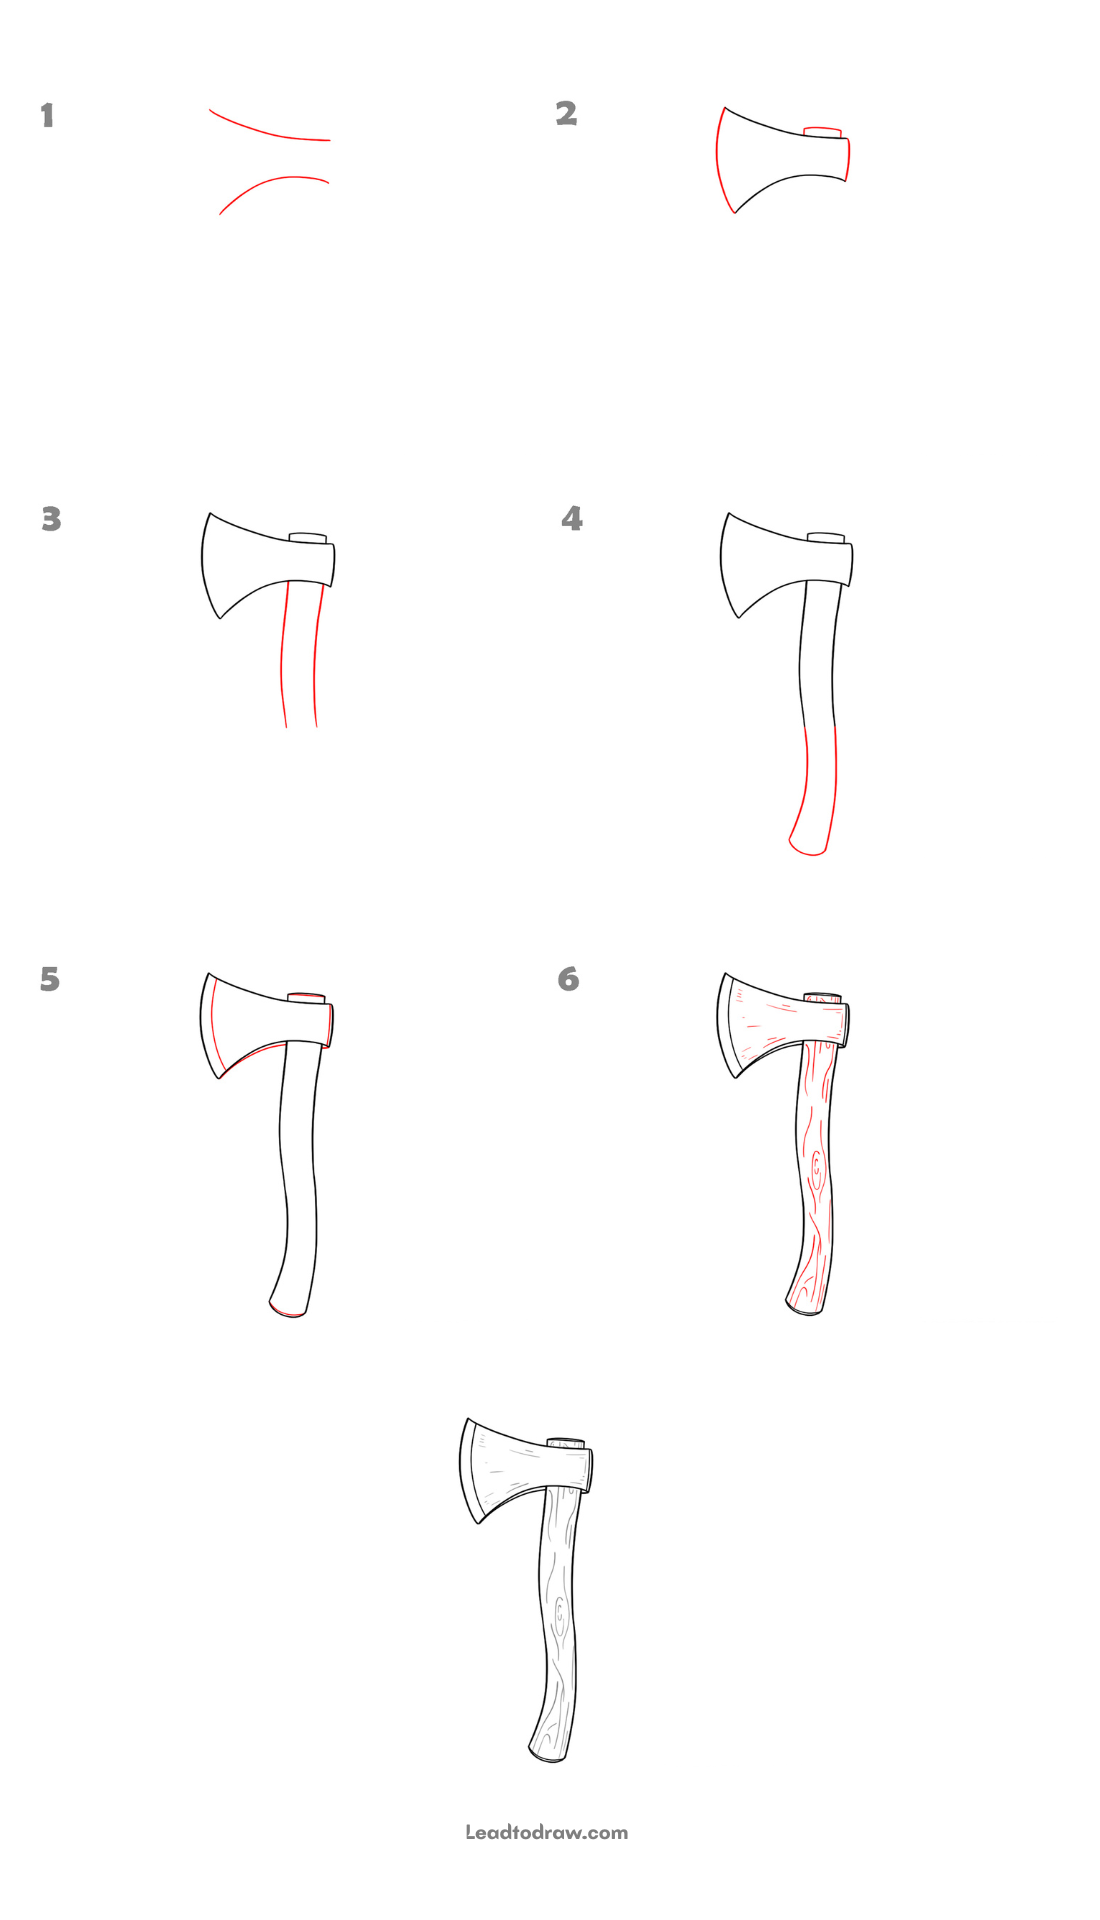
Learning how to draw an axe step by step is simple when the drawing is made in parts. This tutorial starts with curved guide lines, builds the axe head and handle, then adds small wood and blade details. Follow each step in order and use the final picture to check the drawing.
Step 1: Draw Two Curved Lines
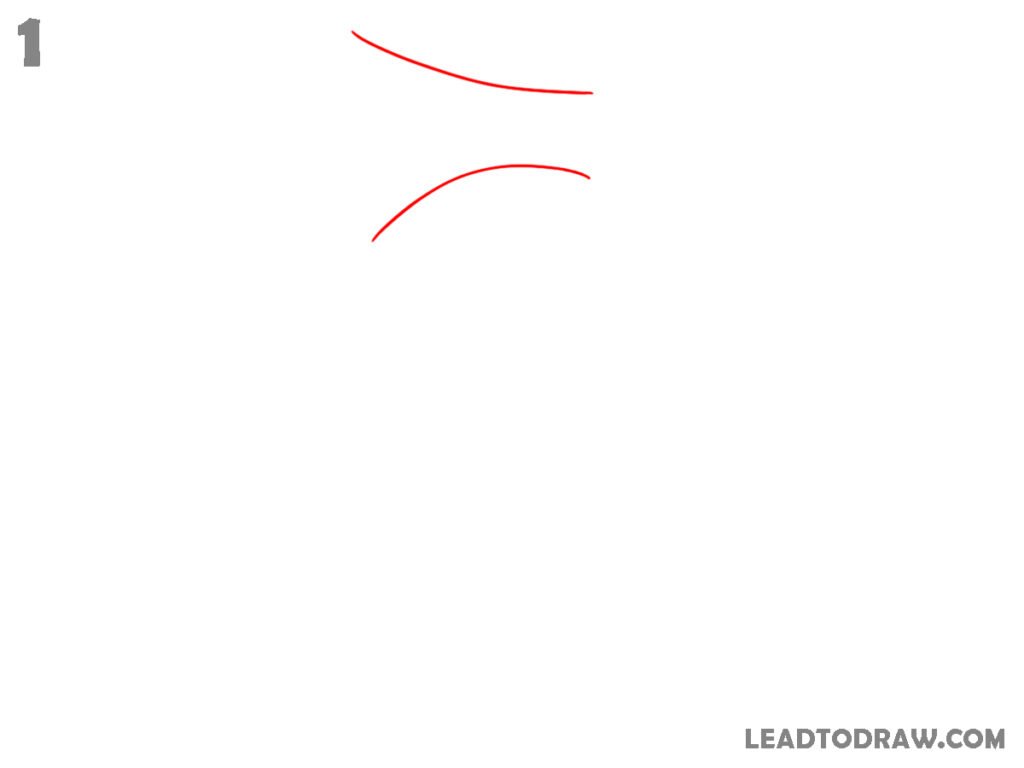
Start with two curved lines for the main axe shape. Draw one smooth curved line near the top, bending slightly downward toward the right side. Add another curved line below it, bending upward toward the right side. Leave enough space between both lines for the axe head and keep their ends separated.
Step 2: Form the Axe Head
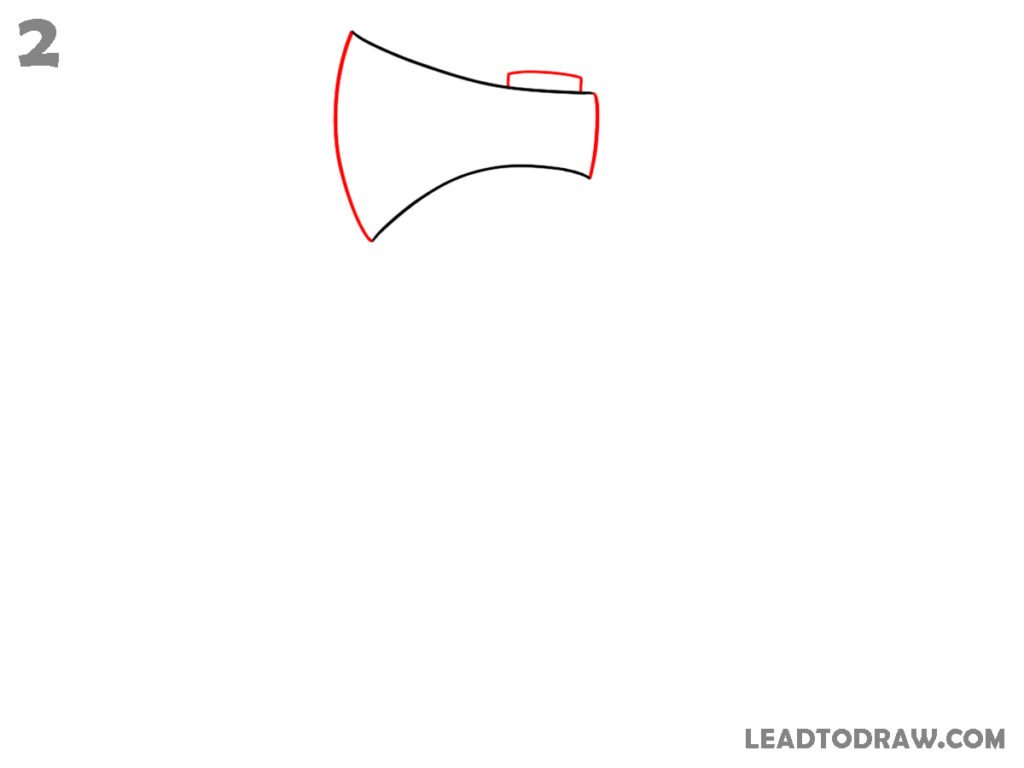
Use the two curved lines to form the axe head. Join the left ends with a curved outer edge, then connect the right ends with a short vertical edge. Add the small rectangular part on top near the right side. Keep the upper and lower curves connected to the sides to complete the main head outline.
Step 3: Draw the Handle
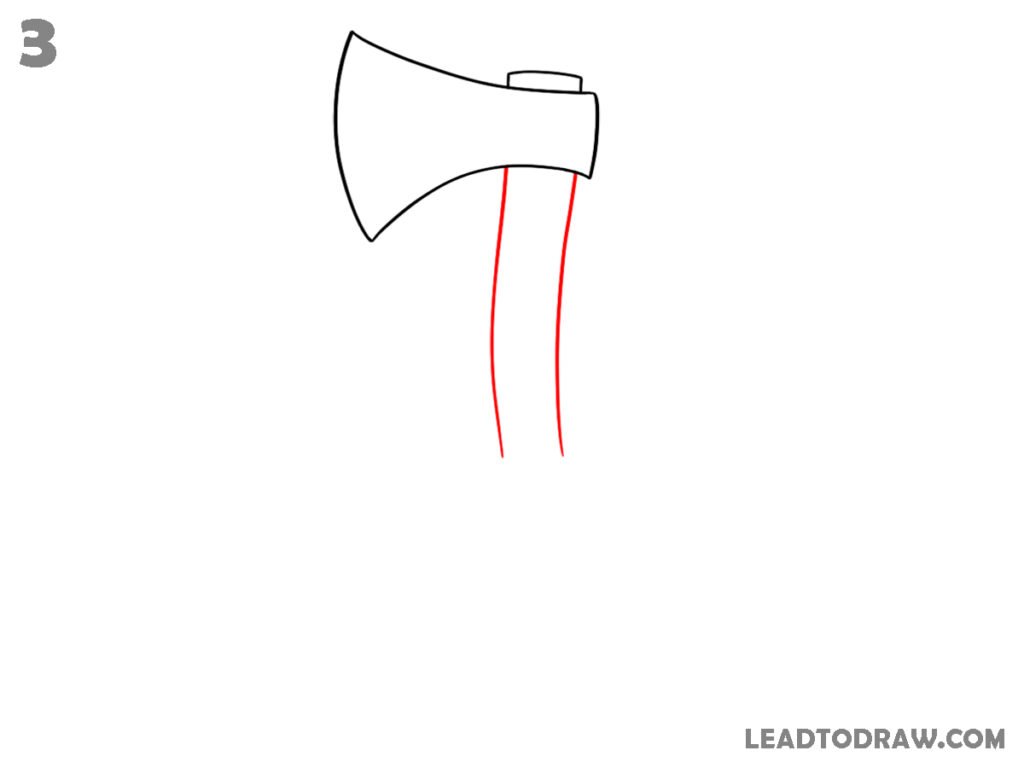
Begin the axe handle below the head. Draw two long, slightly curved lines starting underneath the axe head and extending downward. Keep the lines close together while allowing a gentle bend through the handle. Place the first line under the middle area and the second line beside it to form the handle sides.
Step 4: Complete the Handle
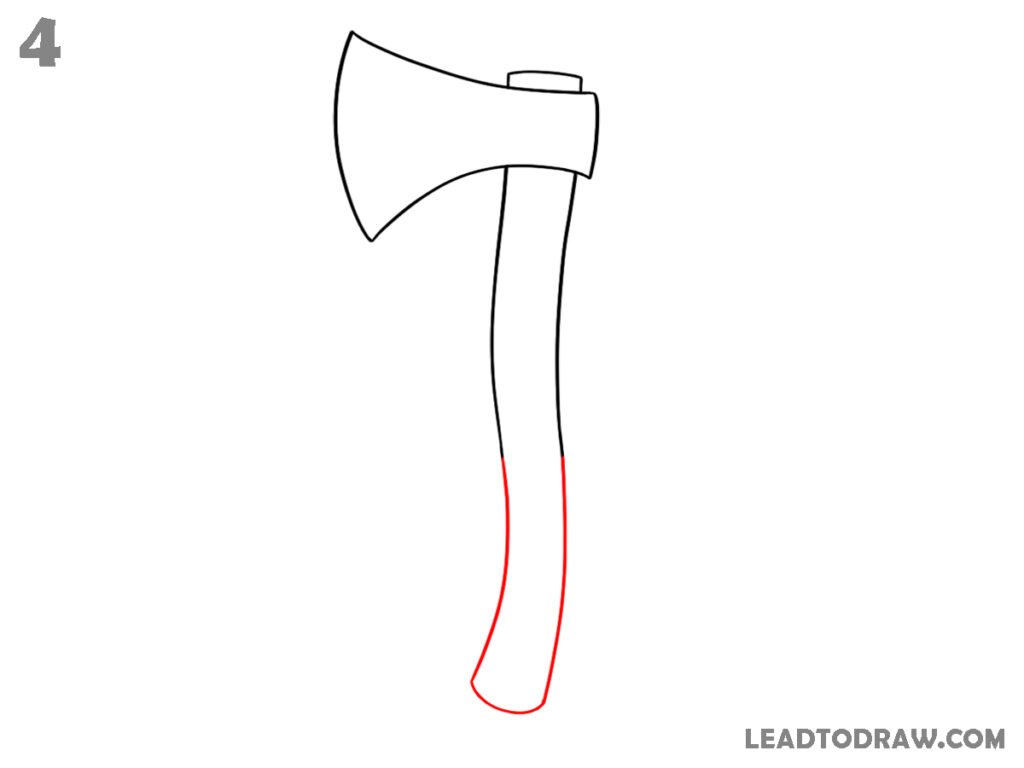
Complete the lower end of the axe handle by continuing the side lines downward and joining them with a rounded curve. Keep the handle slightly curved instead of making it straight. The bottom should form a smooth rounded end, while the upper part connects directly below the axe head neatly in place.
Step 5: Add the Blade Outline
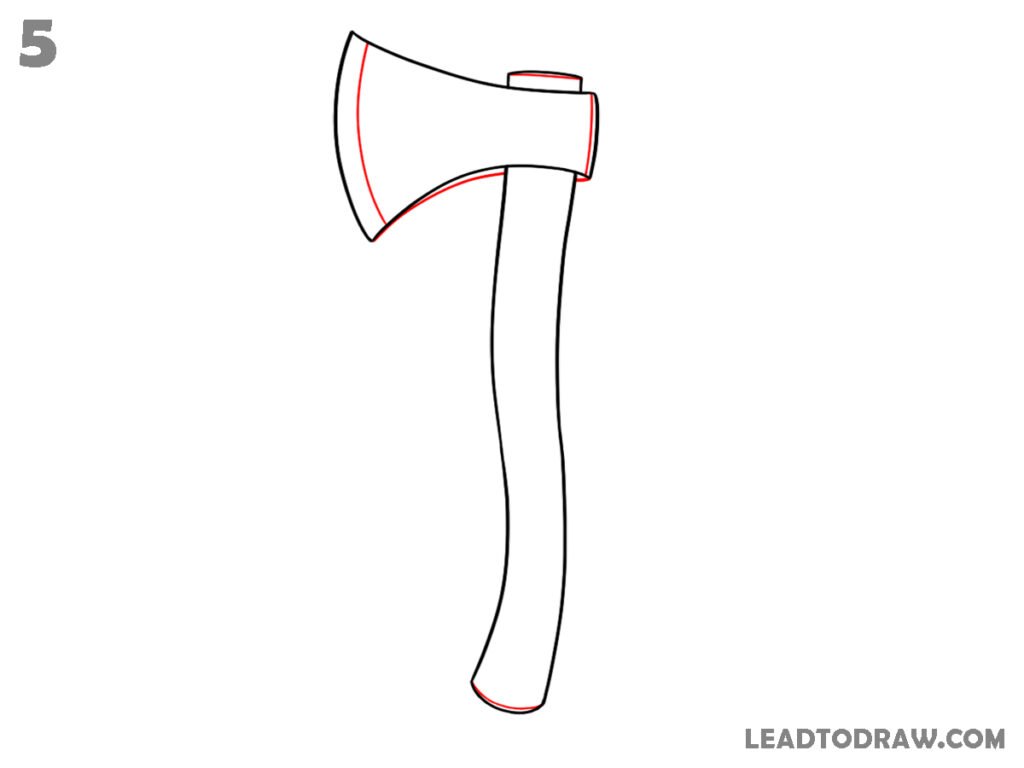
Add the remaining outline details to the axe. Draw the inner curved line along the left side of the axe head and continue it toward the lower blade area. Add the small top detail and the short edge at the right side. Finish the lower blade curve so the axe outline is complete.
Step 6: Add Wood and Blade Details
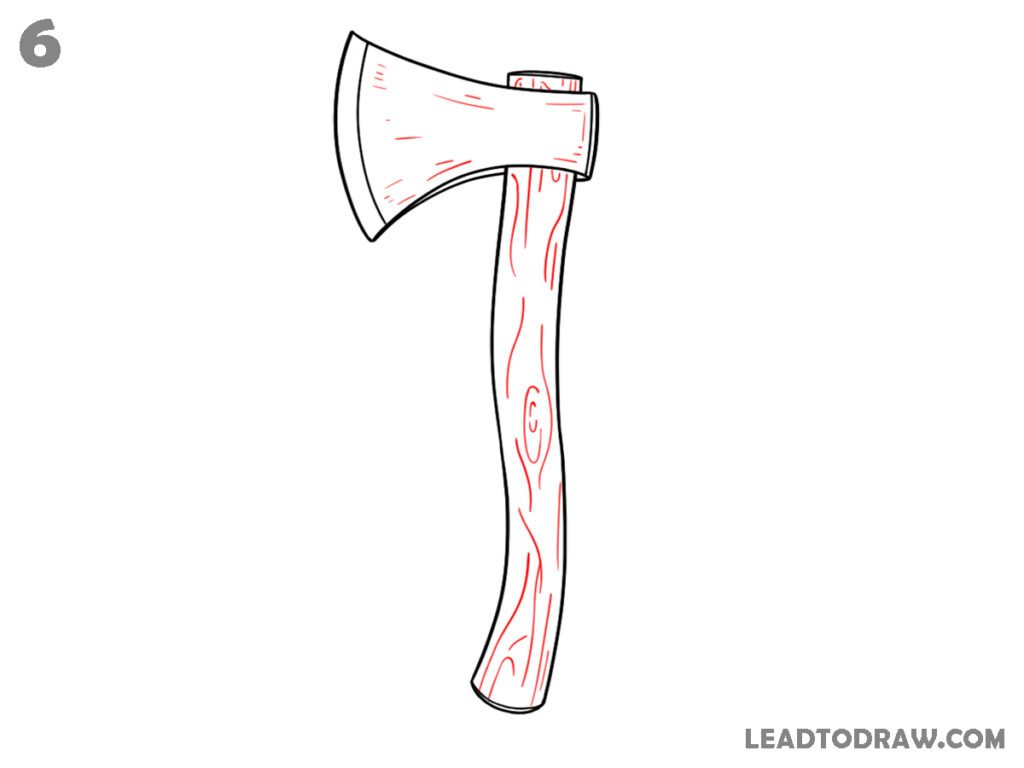
Add small texture lines to the axe head and handle. Draw several short marks across the head and a few longer irregular wood grain lines along the handle. Add a small curved grain mark near the middle of the handle and a few short marks near the bottom. Keep the details inside the axe outline.
Final Check
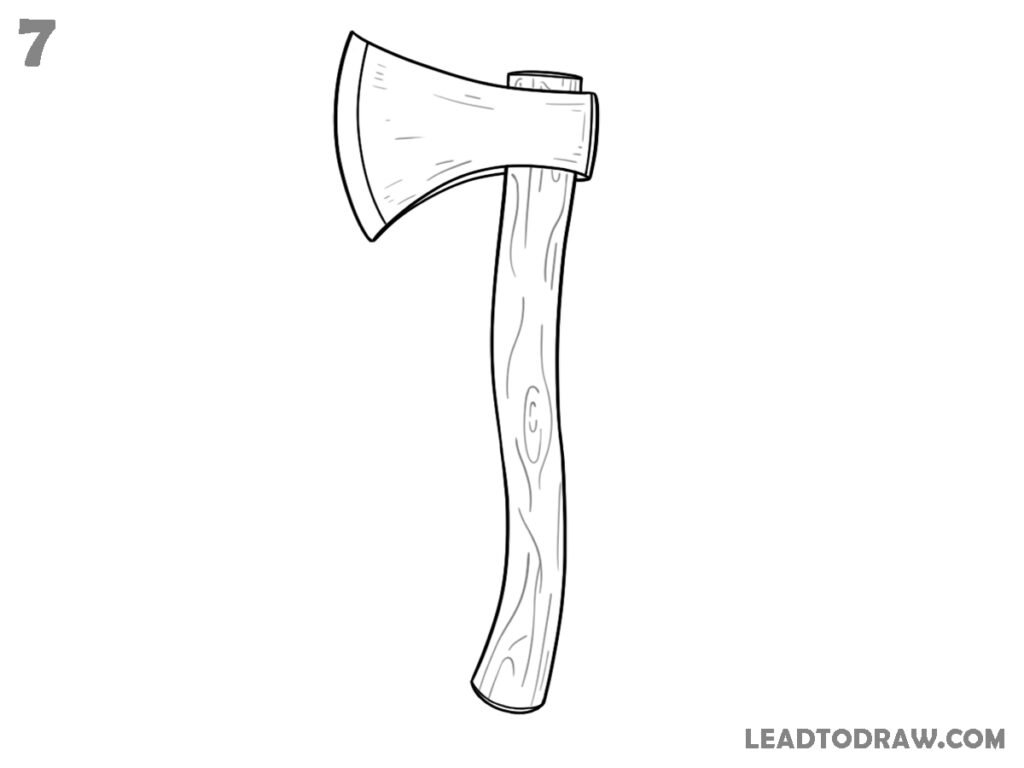
Check the axe drawing from top to bottom. Look at the blade, head, small top part, handle, rounded bottom, and texture marks. Correct any uneven or unwanted lines that are visible. Remove extra construction marks or stray lines, then leave the finished axe with only the needed black outlines and details at the end.
For more similar drawing tutorials, explore the guides below.
- How to Draw a Paint Roller in 7 Easy Steps
- How to draw a gas mask in as easy way
- How to Draw a Mailbox in 8 Easy Steps
Conclusion
Now the axe drawing is ready with its head, handle, blade shape, and simple wood texture. Follow the same order whenever drawing it again. Start with the curved lines, build each section carefully, and add the small details at the end. Check the final outline and remove any extra marks before keeping the completed drawing neatly.