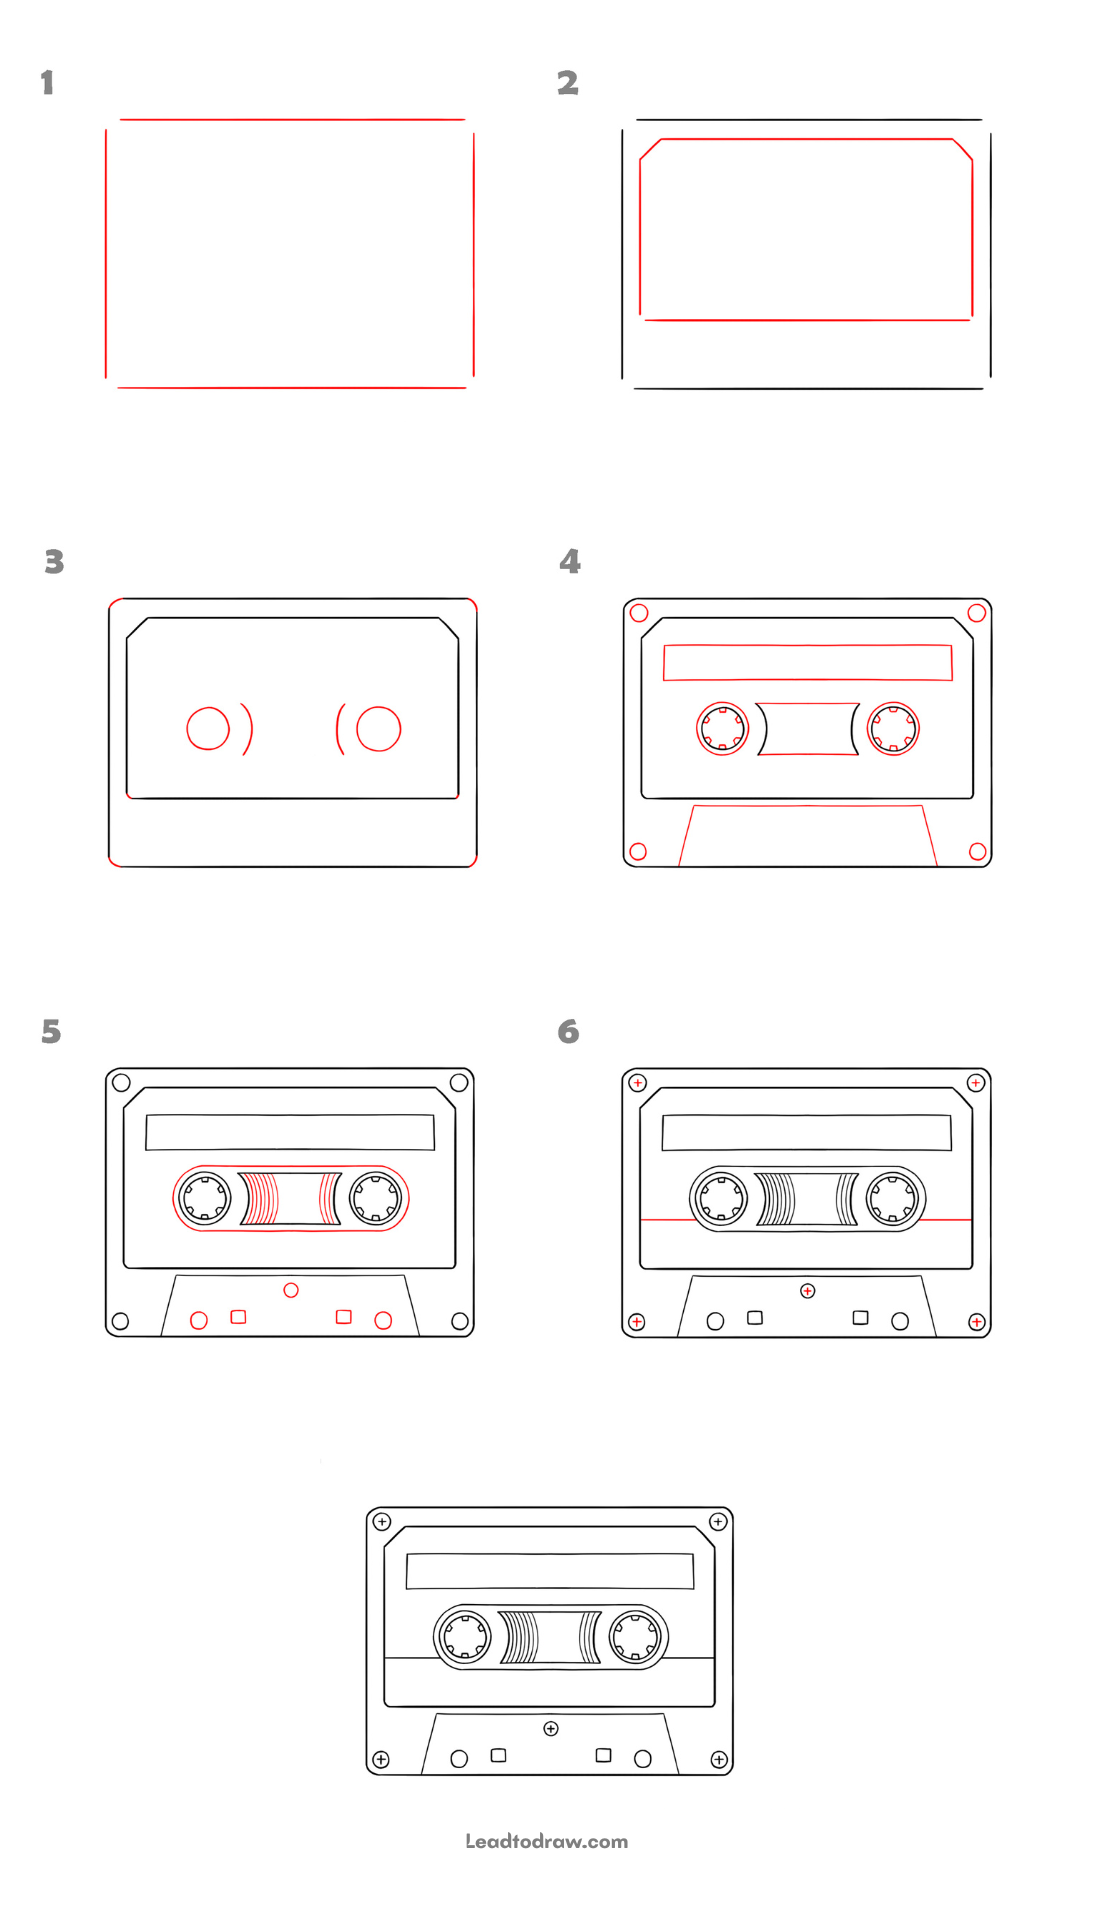
Learn how to draw a cassette tape with this step-by-step tutorial. The drawing starts with the cassette shape and adds the tape reels, label area, buttons, corner details, and winding lines. Follow each step in order to create a cassette tape drawing using basic shapes and lines.
Lets Begin
Step 1: Draw the Outer Shape
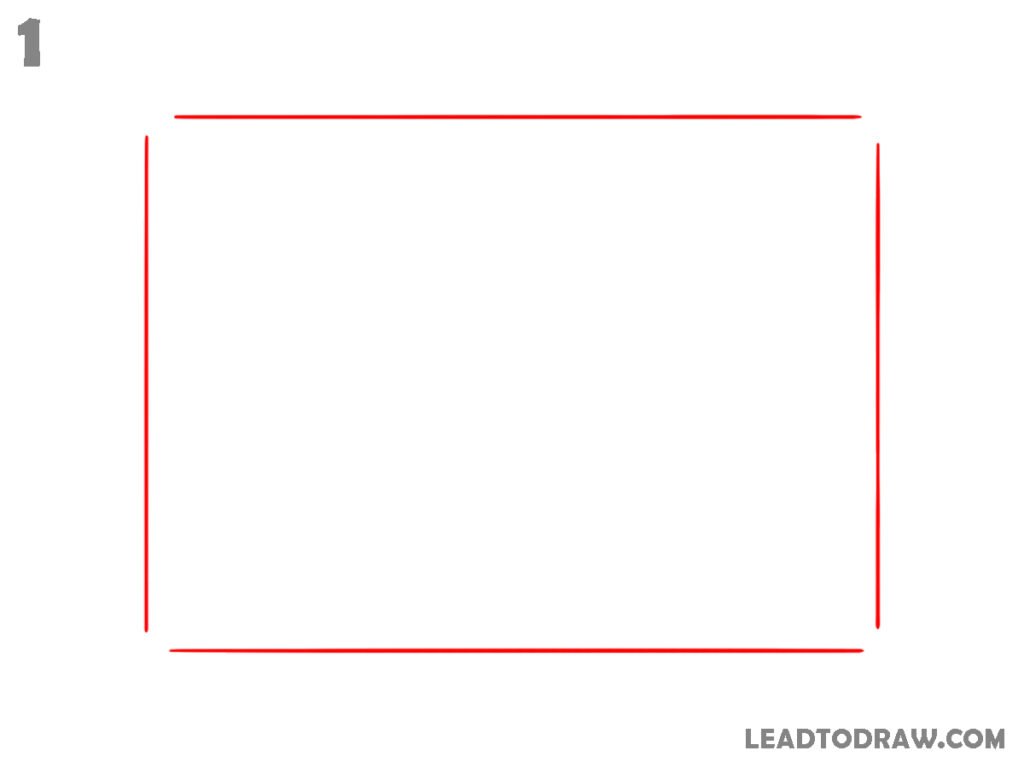
Draw the cassette base with a wide rectangular outline. Make the top and bottom edges horizontal, then connect them with two straight vertical sides. Keep the shape open at the corners as shown, with the left and right sides ending at the same heights. This forms the main outer guide for the cassette body.
Step 2: Add the Inner Face
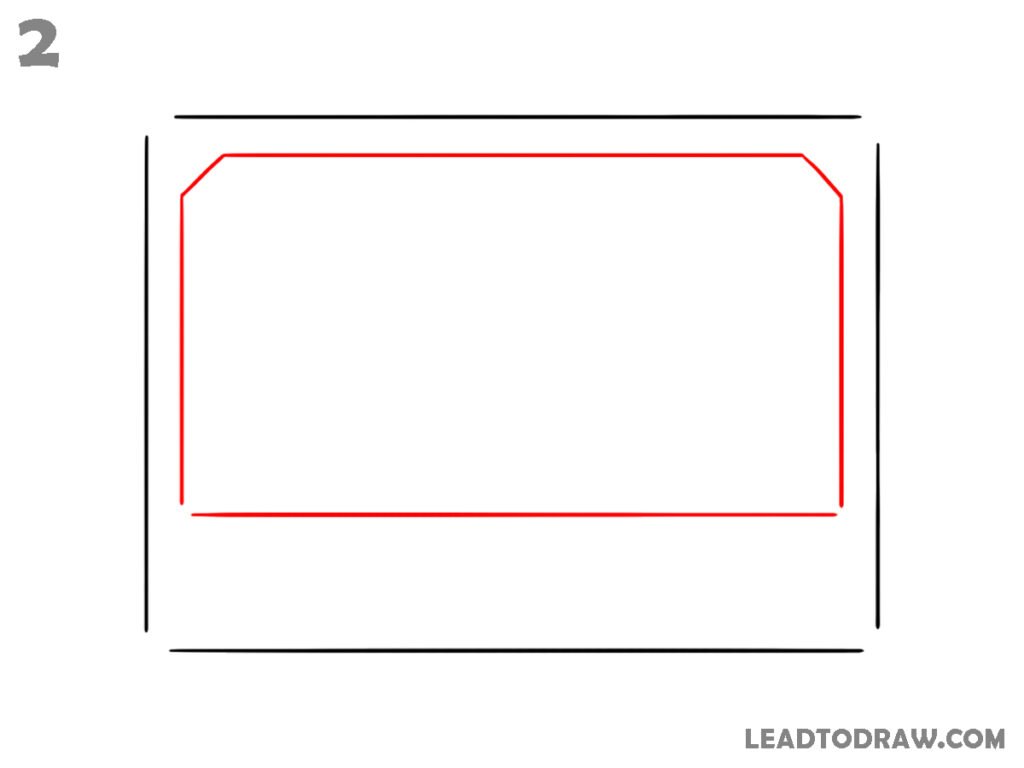
Inside the outer rectangle, draw the cassette face with a smaller outline. Keep the top edge horizontal and cut both upper corners with short diagonal lines. Continue down with straight side edges, then connect the bottom with one horizontal line. Leave a clear space between this inner shape and the outer rectangle.
Step 3: Draw the Tape Reels
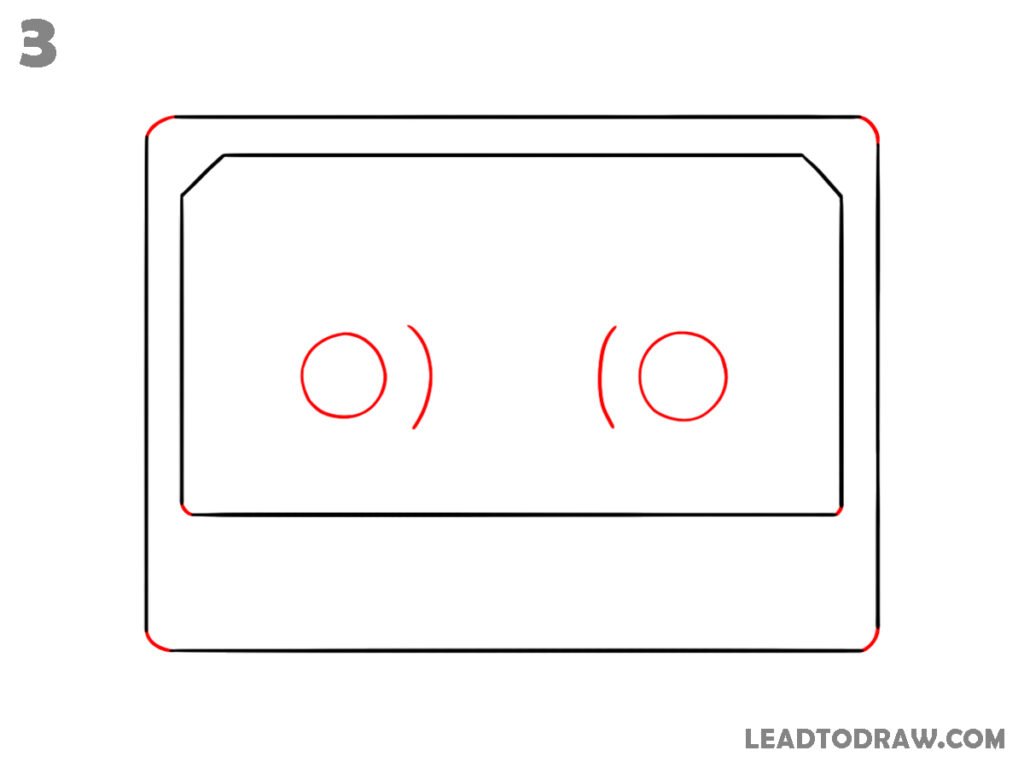
Add the two tape reel openings inside the cassette face. Draw one circular opening on the left and another on the right at the same height. Add a short curved line beside each reel, following the shape shown. Then round the outer cassette corners and connect the lower inner edge with the visible line.
Step 4: Add the Main Details
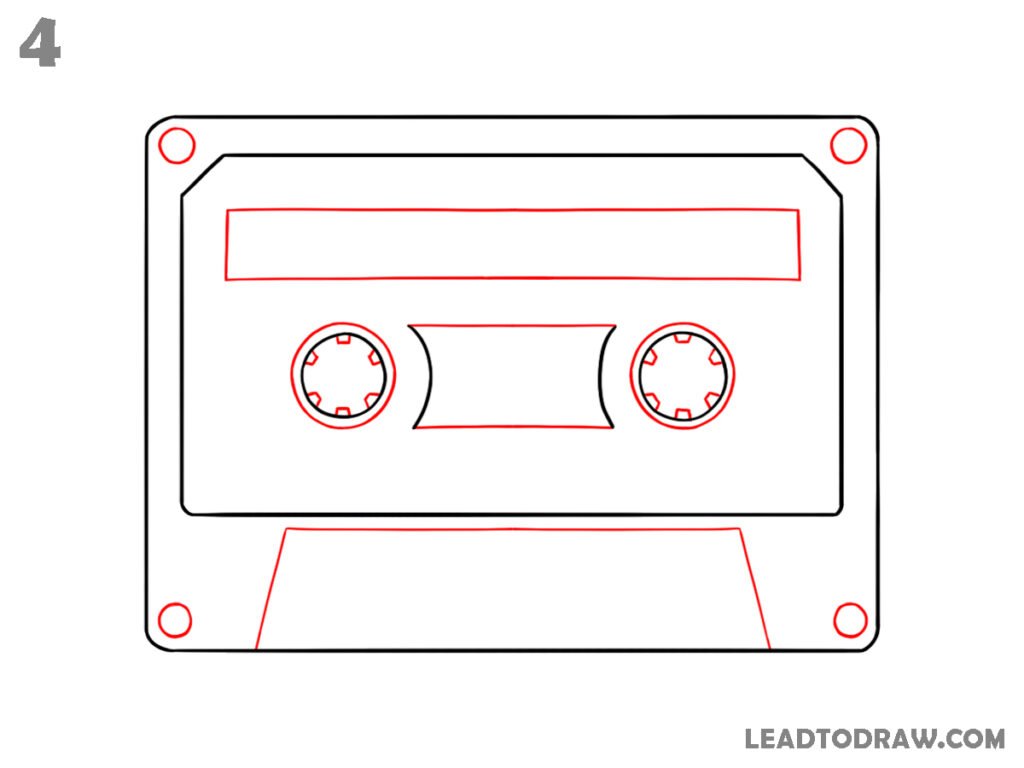
Draw the cassette details inside the face. Add a long narrow rectangle near the top, then place four round holes near the outer corners. In the middle, draw the tape window with two circular reel areas and curved side edges. Add the lower trapezoid panel beneath the cassette face, using slanted sides and a straight top edge.
Step 5: Add Reel and Panel Details
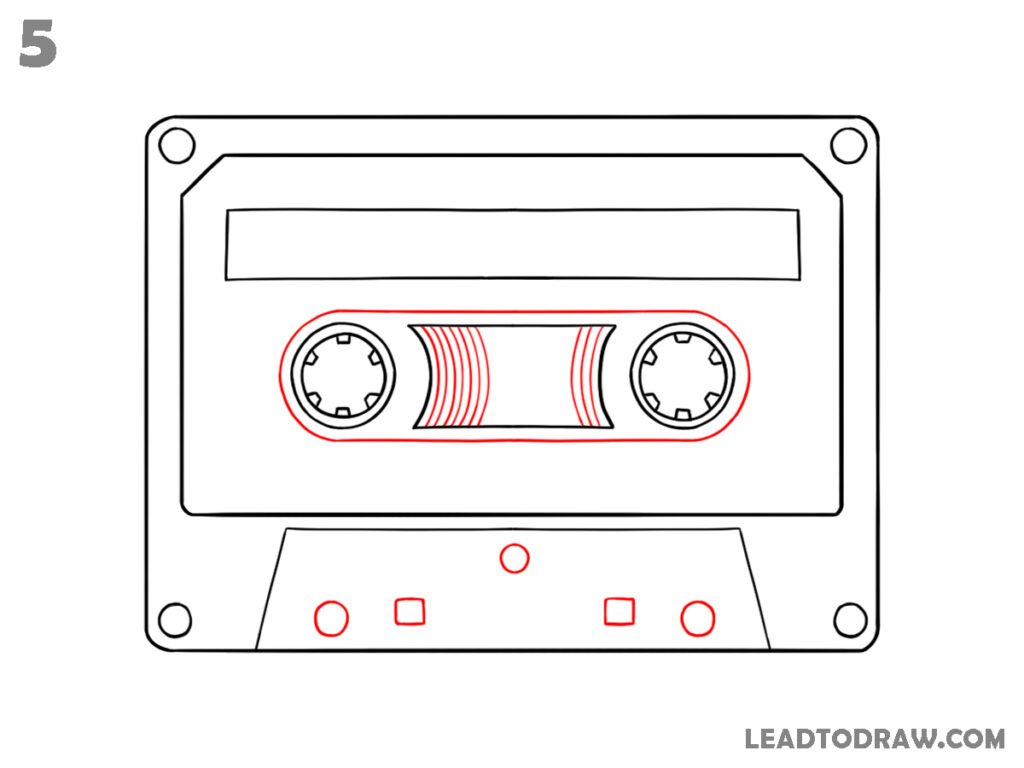
Add the reel and lower panel details. Inside each reel, draw a smaller circle with several short angled marks around its edge. Add curved repeated lines between the reels to show the tape winding area. Then place two small circles and two small square buttons along the lower panel, with one small circle above them.
Step 6: Add the Final Markings
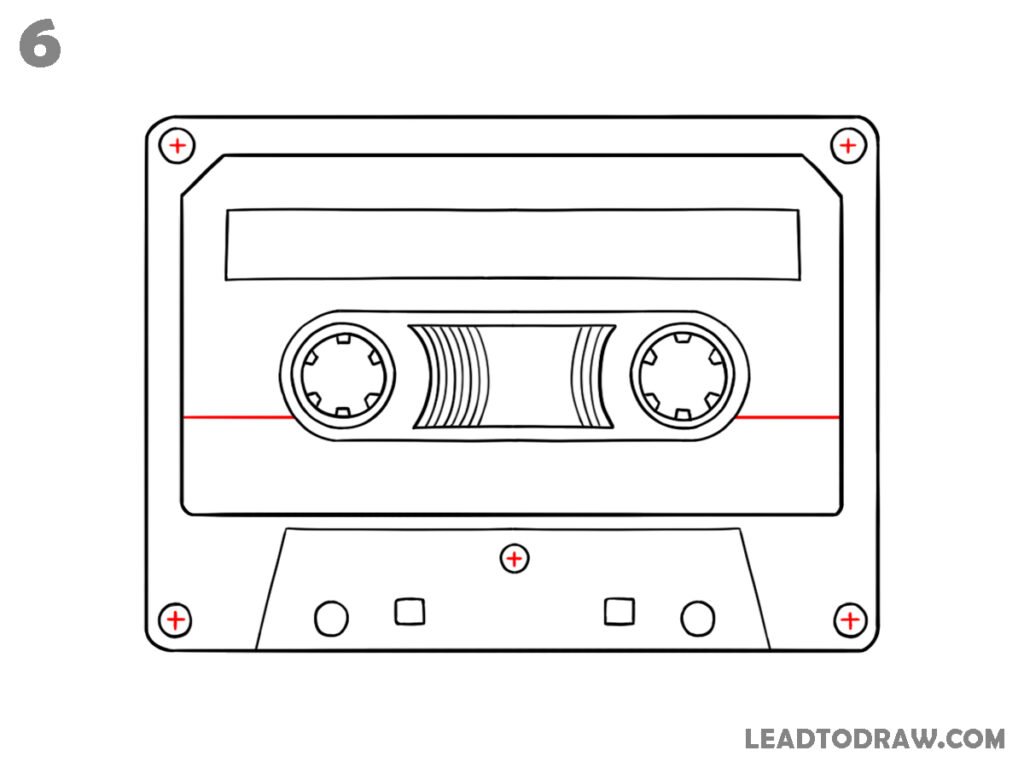
Add the final cassette markings and line details. Draw small plus signs inside the four corner holes and one plus sign in the centre of the lower panel. Add the long horizontal line across the lower part of the cassette face. Complete the visible tape winding curves and keep the reel markings as shown.
Step 7: Check the Drawing
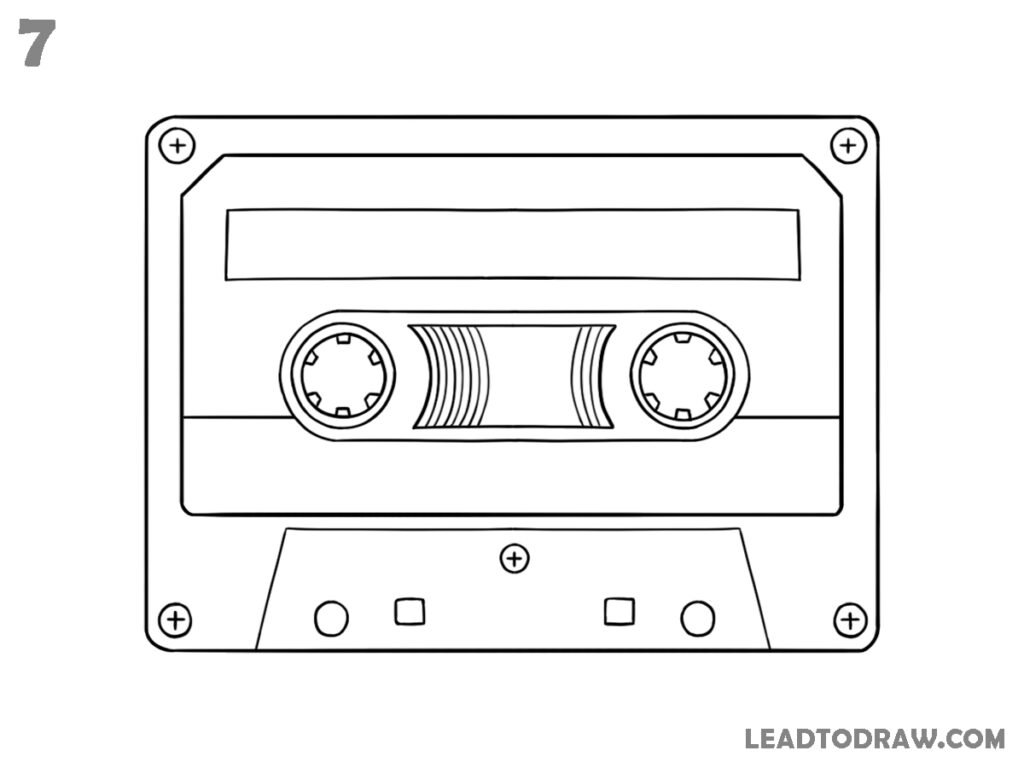
Check the cassette drawing from top to bottom. Correct any uneven lines, missing reel marks, corner details, buttons, or small plus signs. Make sure the outer body, inner face, tape window, winding lines, lower panel, and all visible openings match the finished drawing. Clean away any unwanted marks and leave the final outline ready.
For more similar drawing tutorials, explore the guides below.
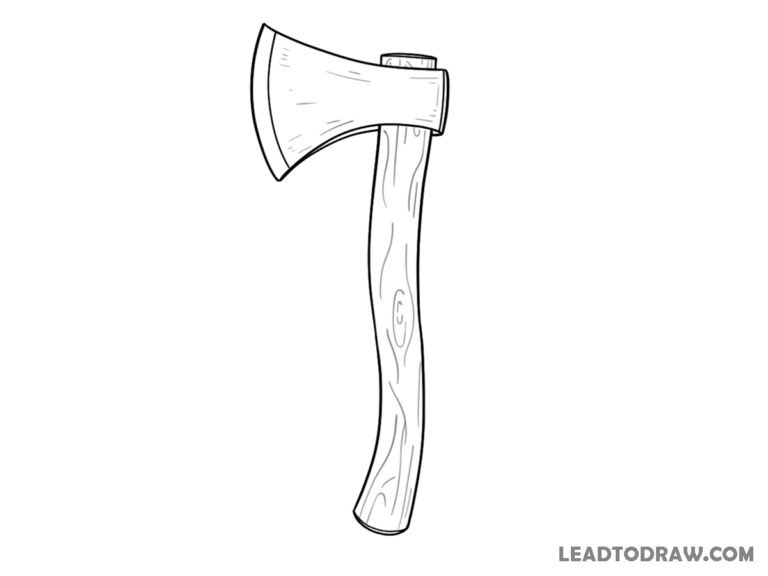
- How to Draw an Axe Step by Step
- How to draw a gas mask in as easy way
- How to Draw a Mailbox in 8 Easy Steps
Conclusion
Now the cassette tape drawing is ready with its reels, tape window, label area, corner holes, buttons, winding lines, and lower panel. Check the outline once more and remove any unwanted marks. This method can also help create other retro object drawings by starting with basic shapes and adding small details before finishing the drawing neatly.