Learn how to draw water drops step by step using simple lines and shapes. This guide shows each stage clearly, where new parts are added in every step. Follow the order carefully and draw along with each image to complete a neat water splash drawing with drops.
Lets begin
Step 1 – Draw Base Shape
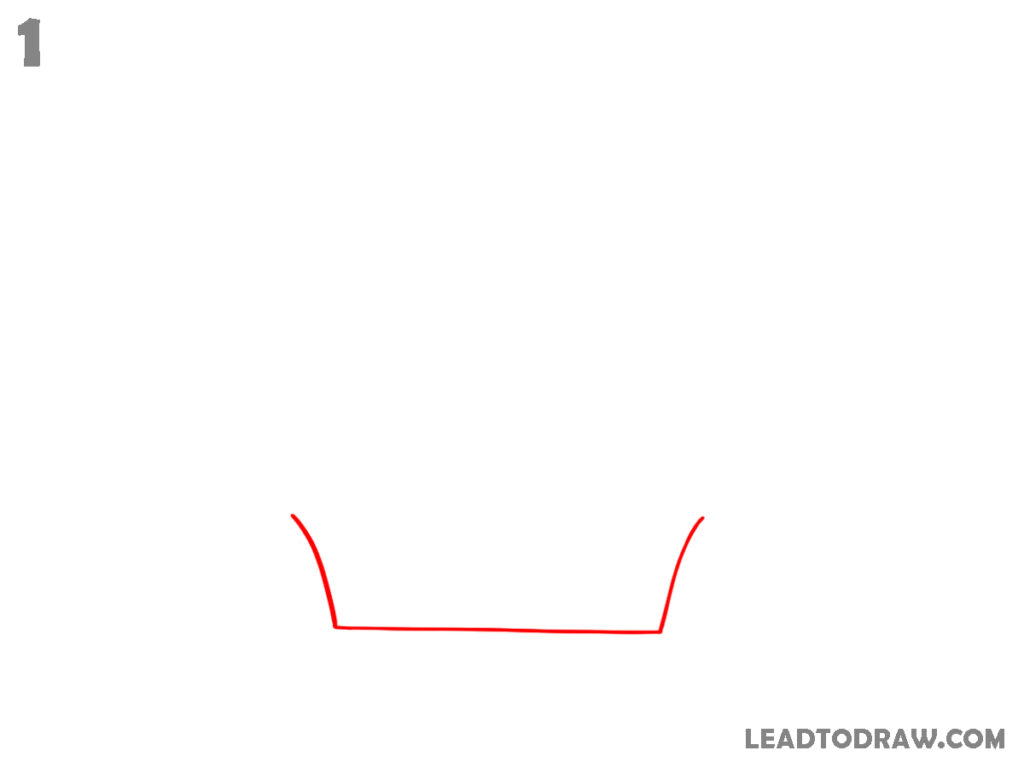
Start by drawing a wide, slightly curved horizontal line. From both ends, draw short upward slanting lines. These lines should bend a little outward, forming an open shape like a shallow container. Keep the edges soft and not sharp. This will act as the base form for the water splash drawing.
Step 2 – Add Top Waves
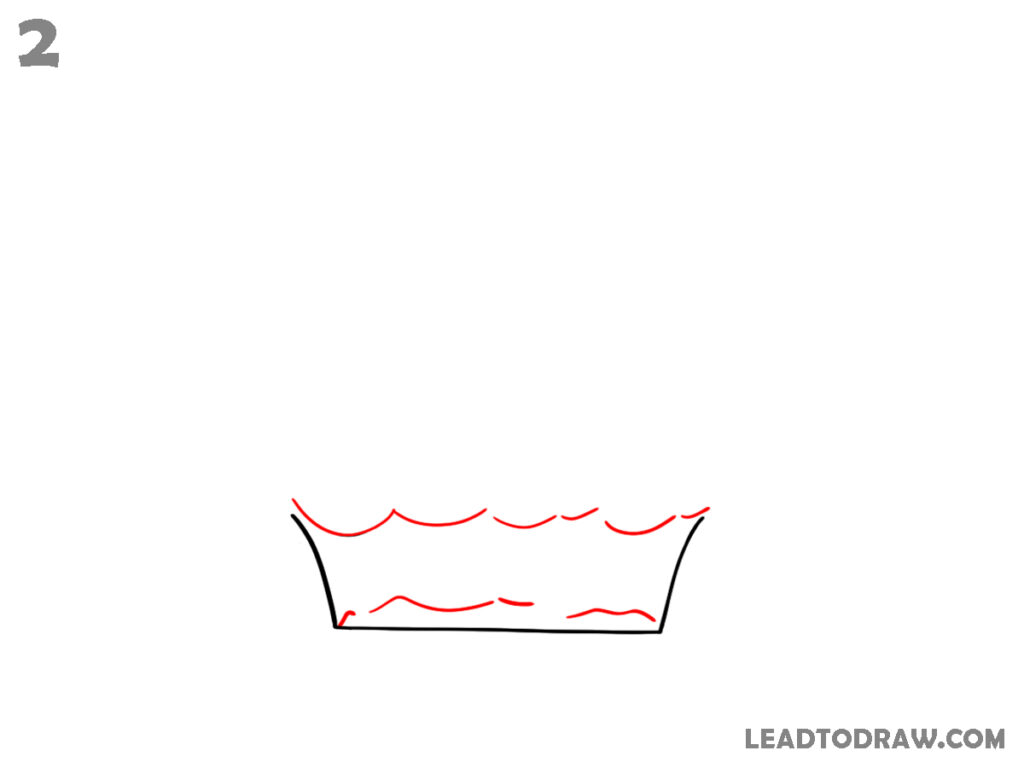
Draw uneven curved lines along the top opening of the shape. These curves should look like small waves touching each other. Also, draw a few small curved lines inside the base near the bottom. Keep the lines loose and natural. The sides remain the same as before, while these new wave shapes are added.
Step 3 – Refine Upper Splash
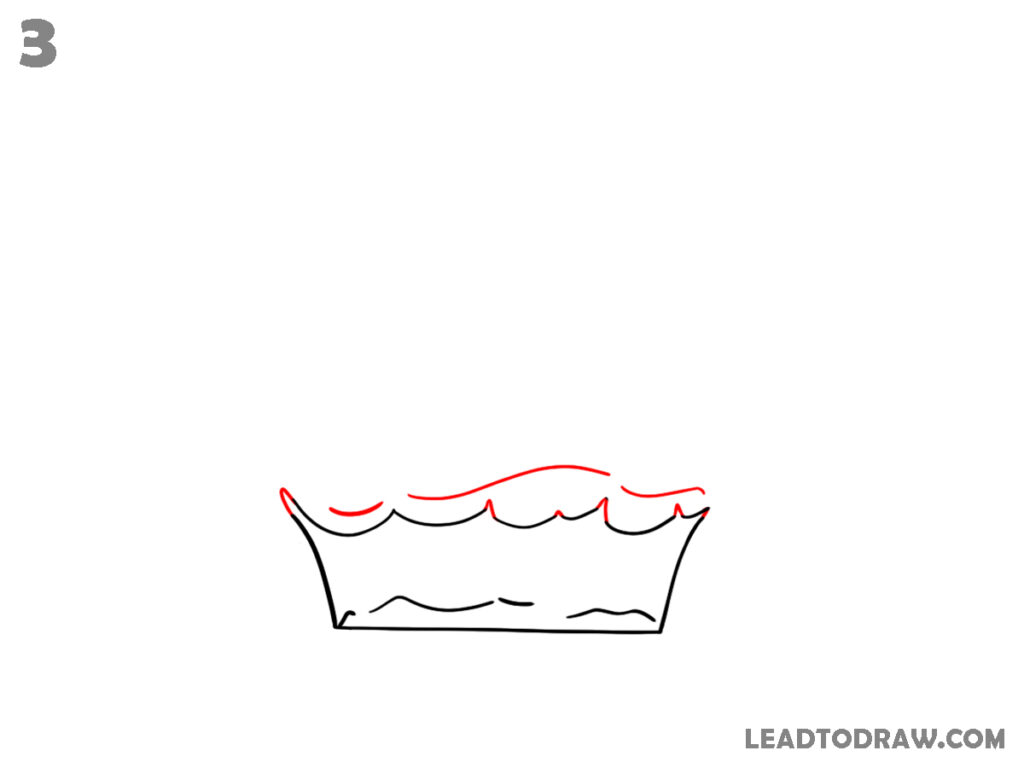
Add more curved lines above the existing top waves, making them slightly higher and more detailed. Extend the wave edges a little on both sides. Keep the flow smooth and connected. The inside lines remain unchanged. The overall shape now looks like a rising splash with a form on the top.
Step 4 – Add Side Details
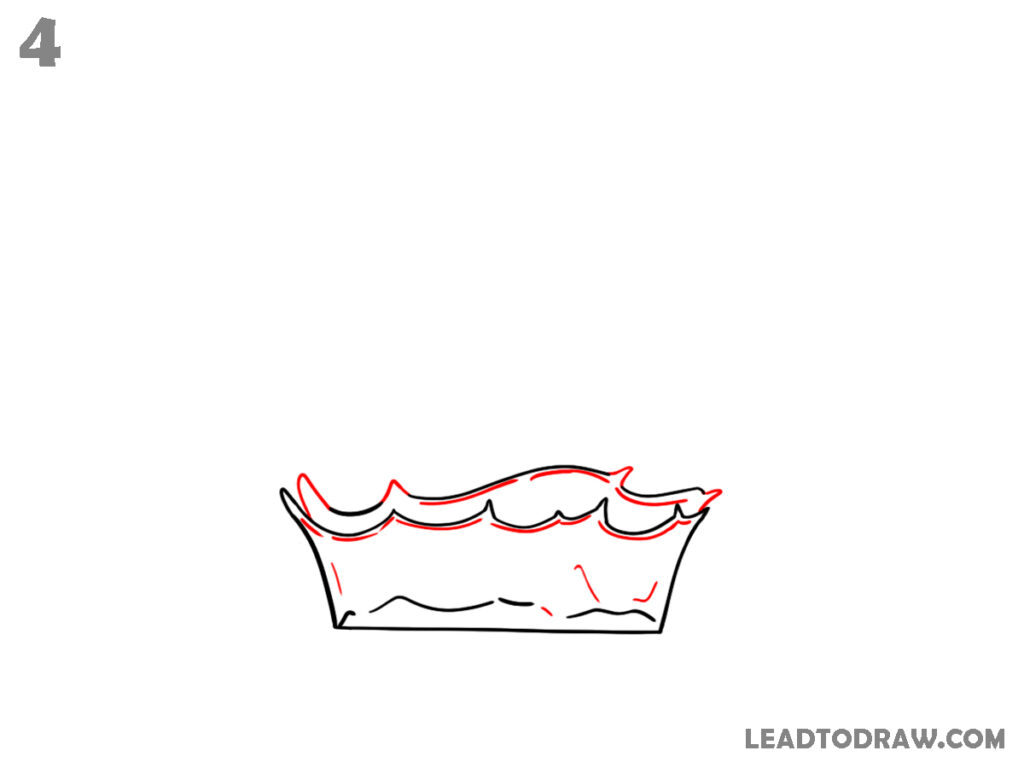
Draw small curved lines along the sides of the splash, slightly outside the main shape. Also, add a few short lines inside the splash body to show movement. Keep these lines light and not too many. The top wave area remains the same while these side and inner details increase the splash effect.
Step 5 – Draw Splash Drops
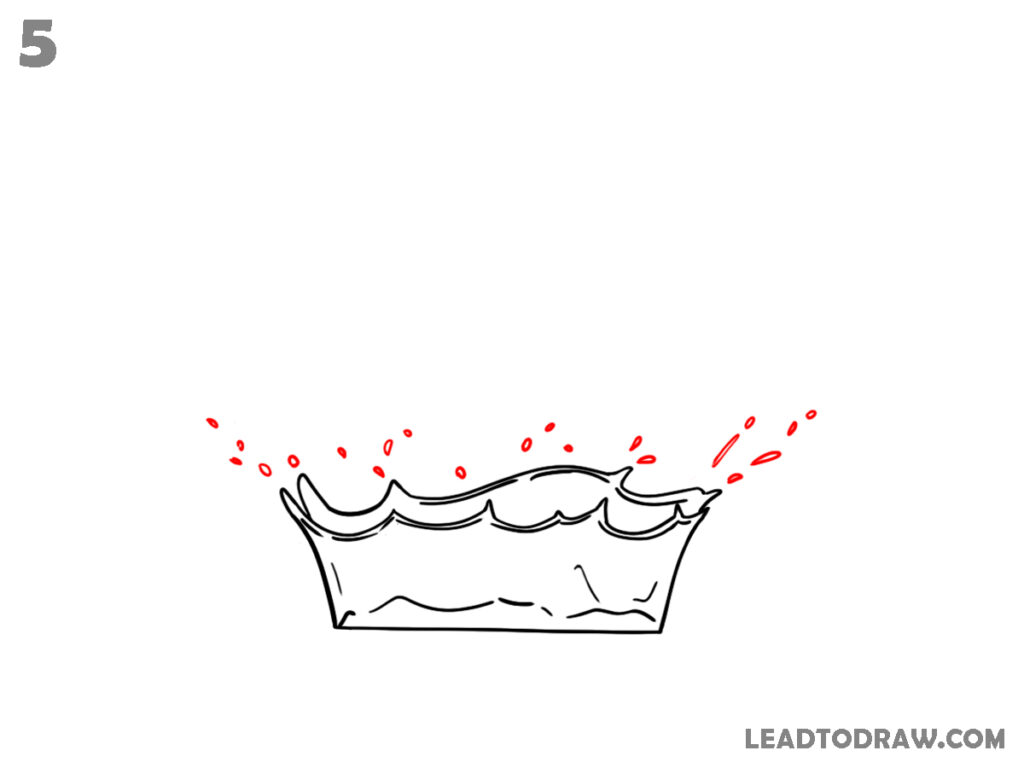
Add small dot-like shapes and tiny curved marks around the top of the splash. Spread them unevenly on both sides to show water moving outward. Keep the drops small and spaced. The main splash shape remains the same, and these outer drops give a more active water splash look.
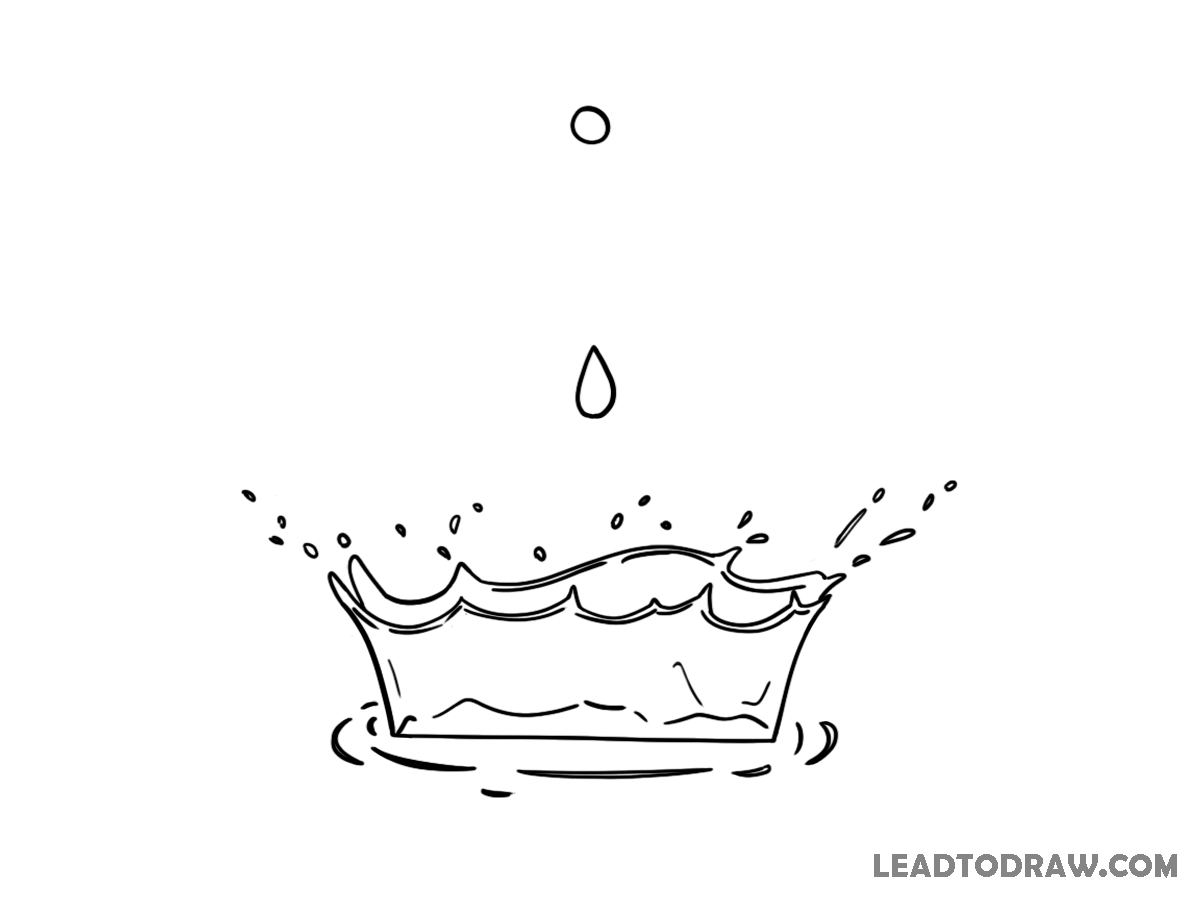
Step 6 – Add Falling Drops and Base Ripple
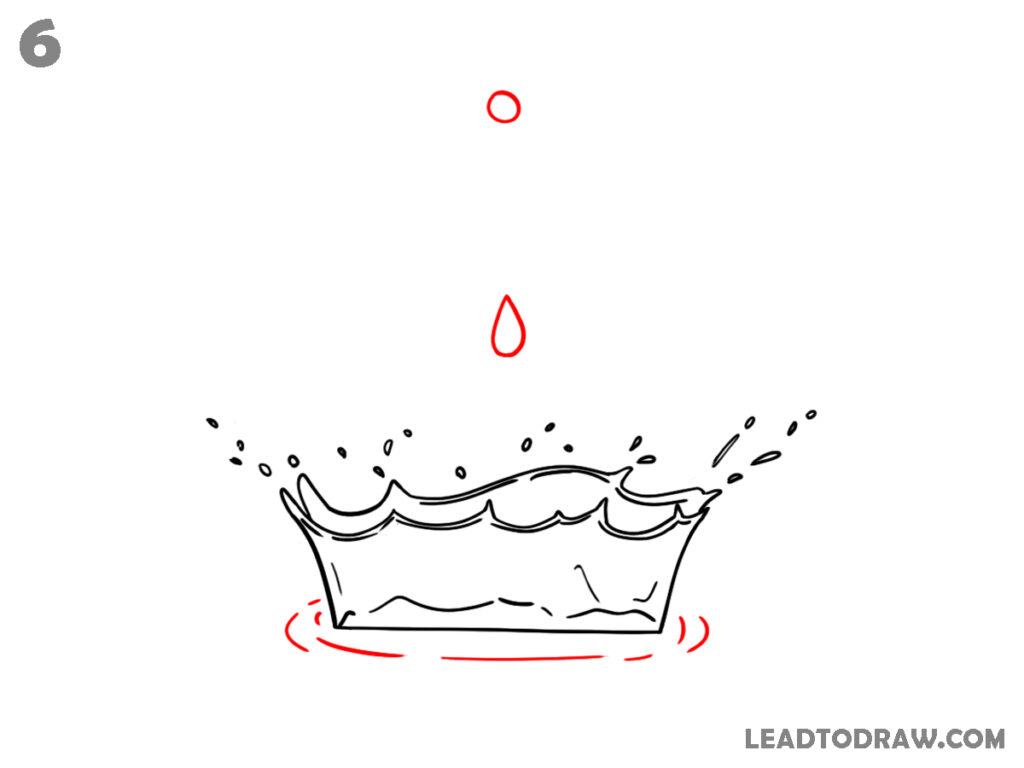
Draw one small circle above the splash and a drop shape below it, showing water falling down. At the bottom of the splash, draw curved lines forming a ripple shape. These lines should be under the base. Keep all earlier lines the same and add these new elements clearly.
Step 7 – Extend Ripple Lines

Add more curved lines around the bottom ripple to make it wider. These lines should follow the same shape and spread slightly outward. Keep the falling drops above unchanged. The splash and small outer drops remain as they are. Only extend the base ripple with extra curved lines.
Step 8 – Check and Clean Drawing
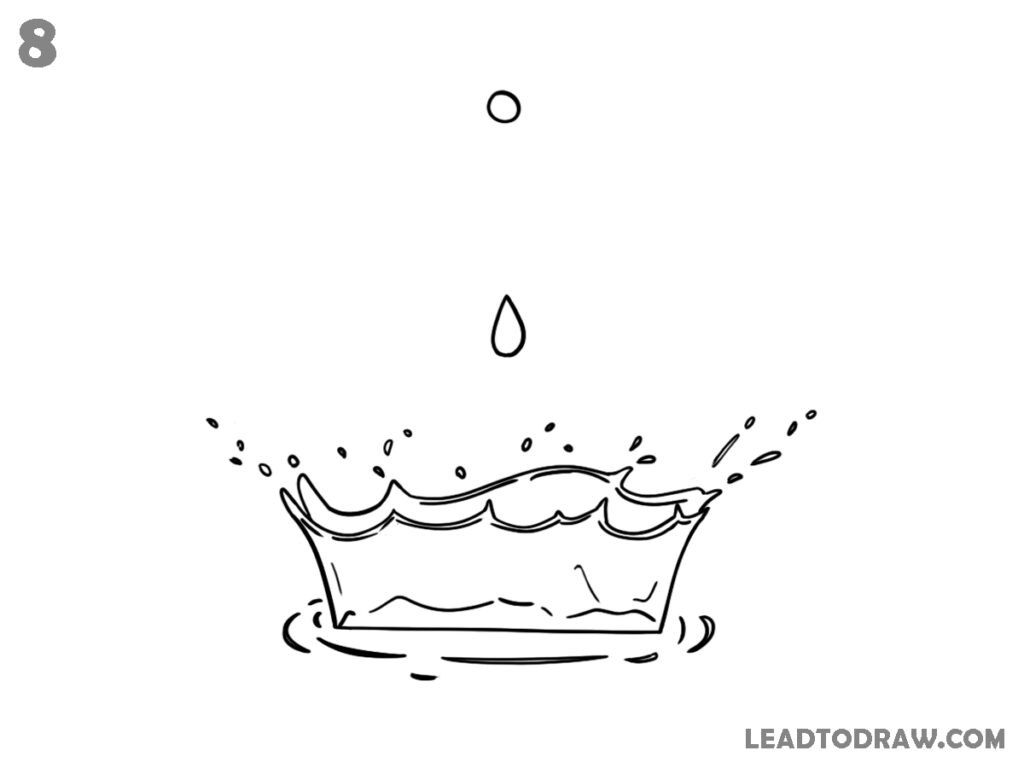
Go over the full drawing and darken the final lines. Remove any unwanted marks and extra strokes. Keep the splash edges clean and smooth. Make sure the drops, ripple, and main shape are clearly visible. Adjust any uneven lines slightly to match the drawing as shown in the image.
For more similar drawing tutorials, explore the guides below.
- How to draw grass easily in 3 different styles
- How to draw hibiscus flower step by step easily
- How to Draw a Rubik’s Cube in an Easy Way
conclusion
Now the water drops drawing is complete, with splashes, falling drops, and a ripple effect. Each step added simple lines to build the final look. Practice the same steps again to improve control over curves and shapes. Keep the lines neat and follow the order carefully for a clean, proper drawing every time.