Learn how to draw a butterfly easy with simple steps by following this guide. Each step adds small parts one by one, so drawing becomes clear for you. New lines are shown in red for understanding, while earlier lines stay in balck. Follow carefully and draw each shape as shown in every image.
Lets start
Step 1: Draw the top head curve
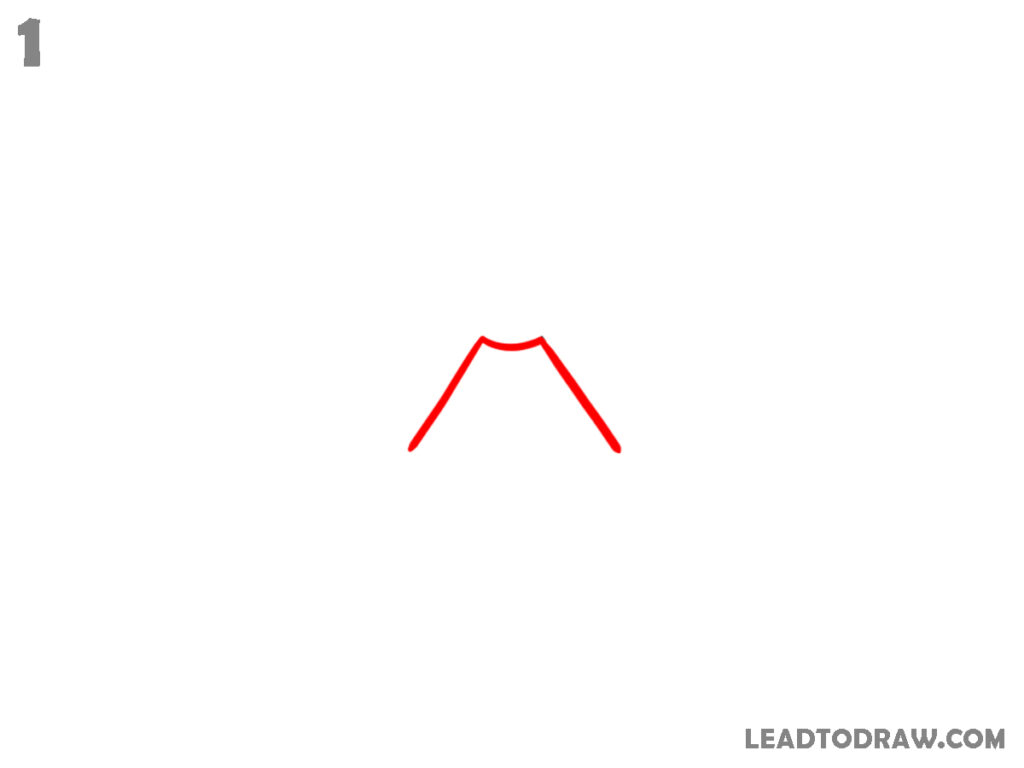
Start by drawing a small curved line in the center top area. From both ends of this curve, extend two slanting lines going downwards on left and right sides. Keep both sides equal in length and angle. This forms the initial top structure for the butterfly’s body and wing connection area.
Step 2: Add body and side lines
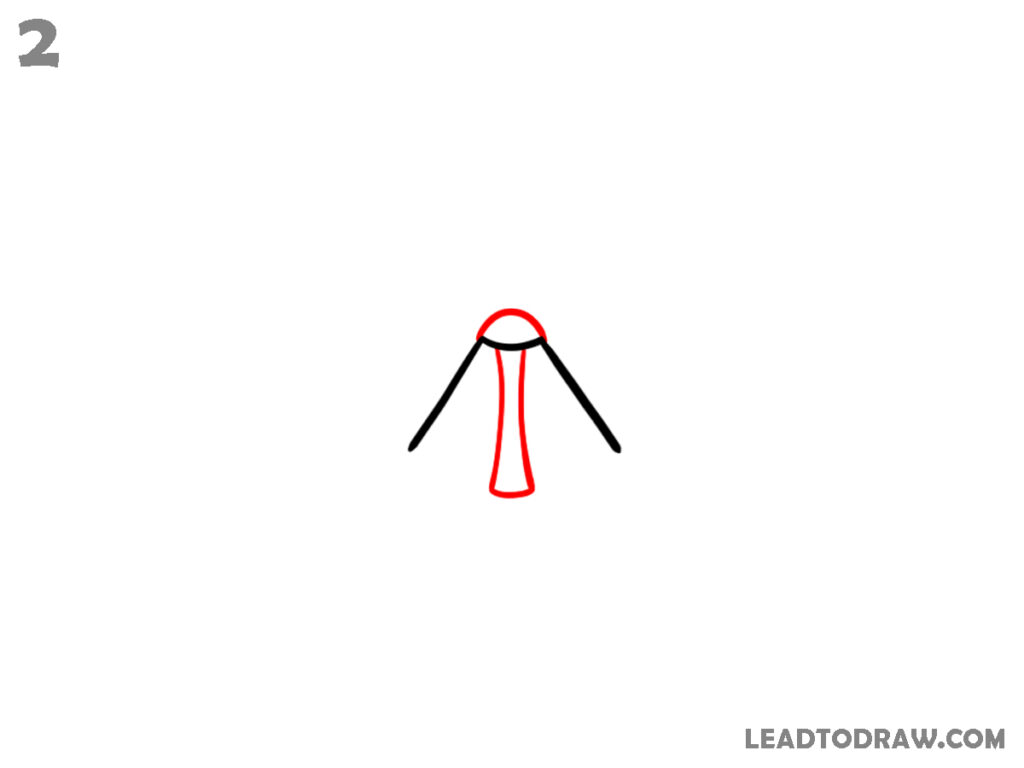
Draw a small rounded shape above the center curve to form the head. From below the center, draw a long narrow shape going down to create the body. Add two slanted lines on both sides from the top curve, forming the base for wings. Keep all lines neat and connected.
Step 3: Draw upper wings outline
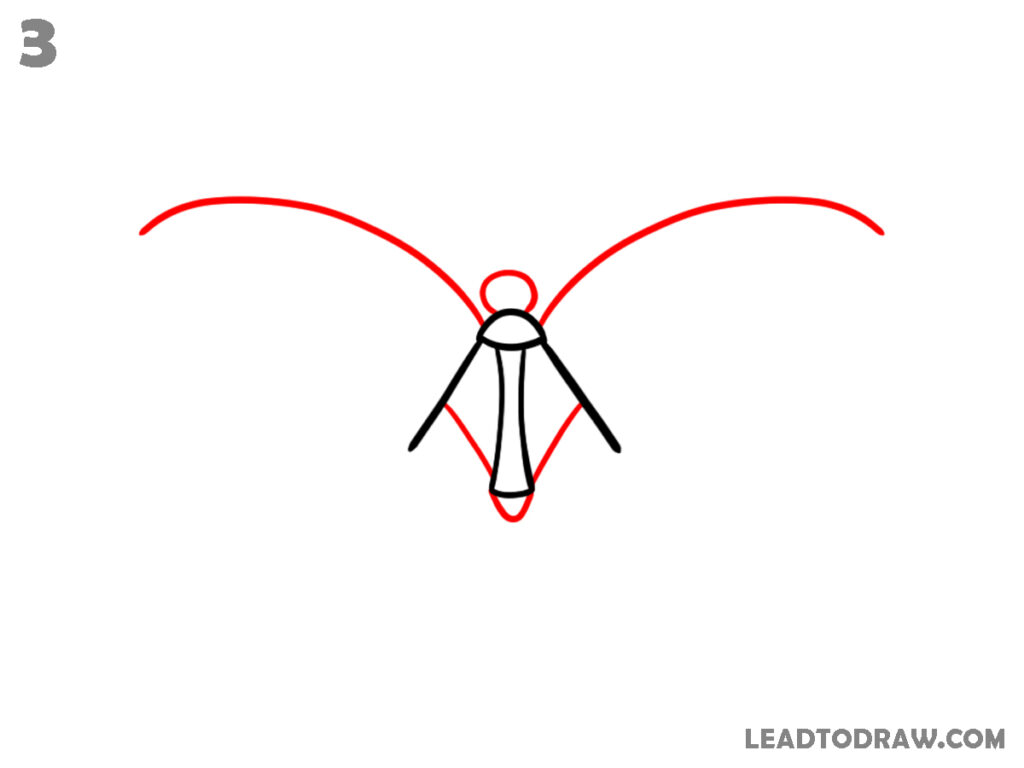
From both sides near the top, draw large curved lines going outward and then slightly downwards. These curves form the upper wings. Make both sides similar in size and shape. Also, add a small rounded shape just below the head to show the upper part of the body connection.
Step 4: Extend wings, lower body, and antenna
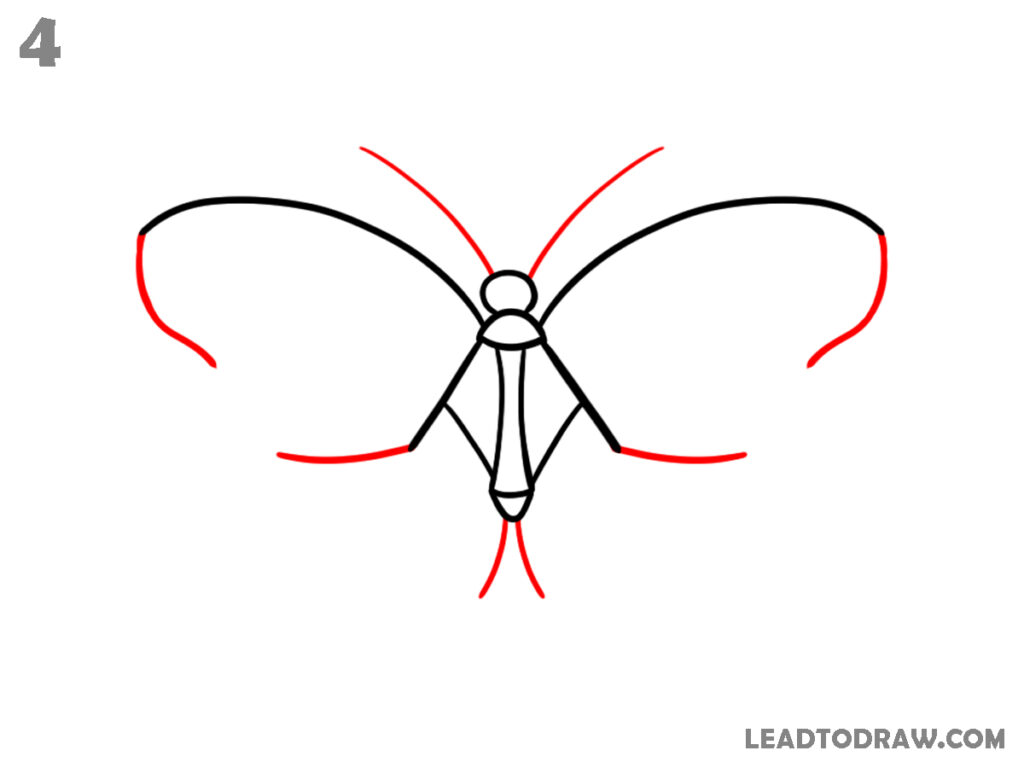
Continue shaping the wings by adding more curved lines below the previous ones on both sides. Draw two thin lines extending down from the body. From the head, add two long curved antenna lines going upward and outward. Keep all lines smooth and matching on both sides.
Step 5: Shape full wings and spots
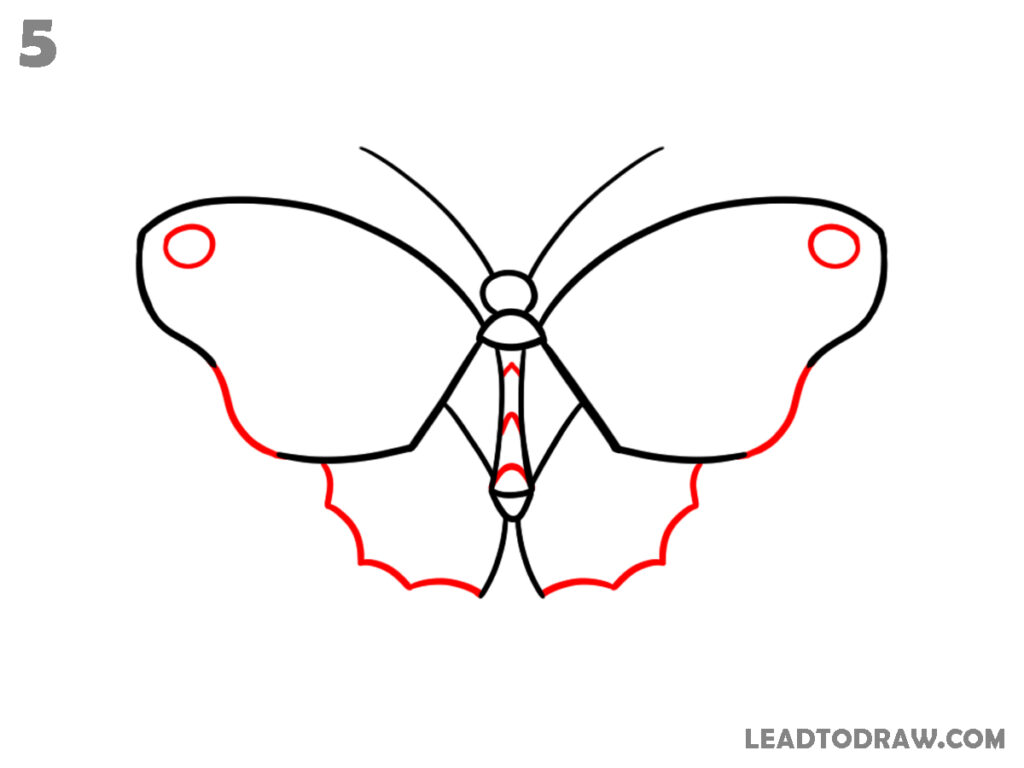
Complete the outer shape of both wings by connecting the curves. Add a small oval shape near the top corner inside each upper wing. Refine the lower edges with slight curves. Keep the body centered and extend the bottom part neatly. Ensure both wings match in size and shape.
Step 6: Add inner wing patterns
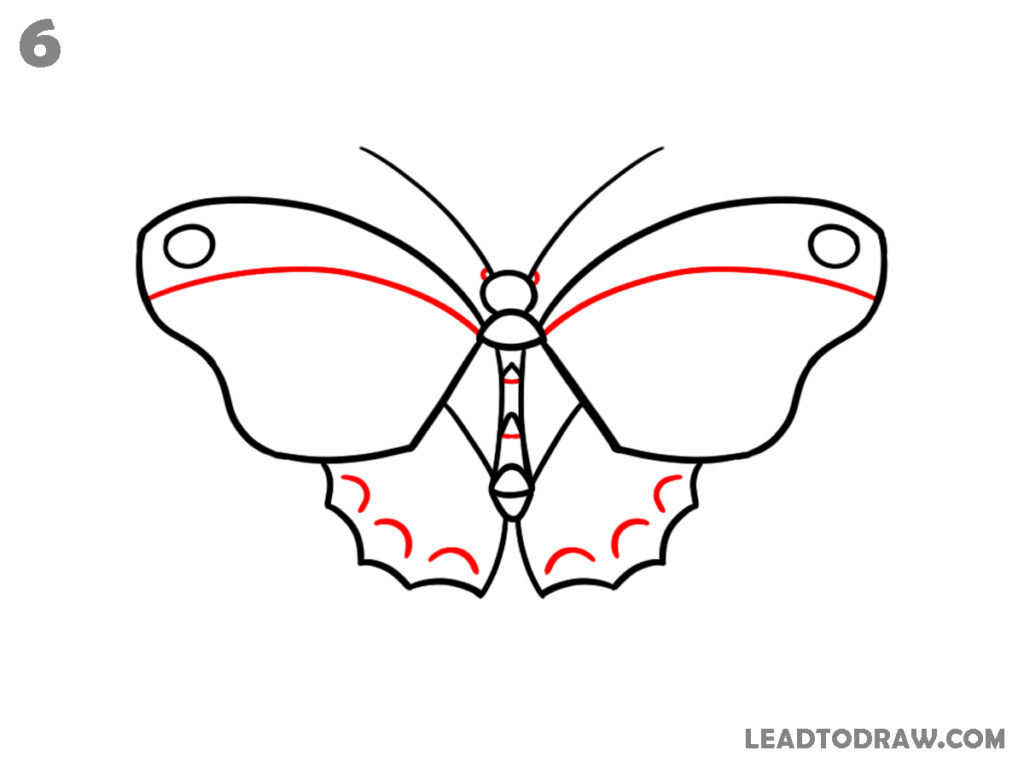
Draw a curved line across both upper wings from left to right. Add small curved shapes along the lower wing edges. These create simple patterns inside the wings. Keep spacing even. The body remains same. Maintain symmetry while drawing each small pattern on both sides carefully.
Step 7: Draw antenna tips and more details

Add small rounded tips at the ends of both antenna lines. Draw additional curved lines inside the upper wings for pattern detail. Add small shapes inside the lower wings. Extend a few pointed shapes at the bottom edges of the wings, keeping both sides similar and properly aligned.
Step 8: Add more wing designs
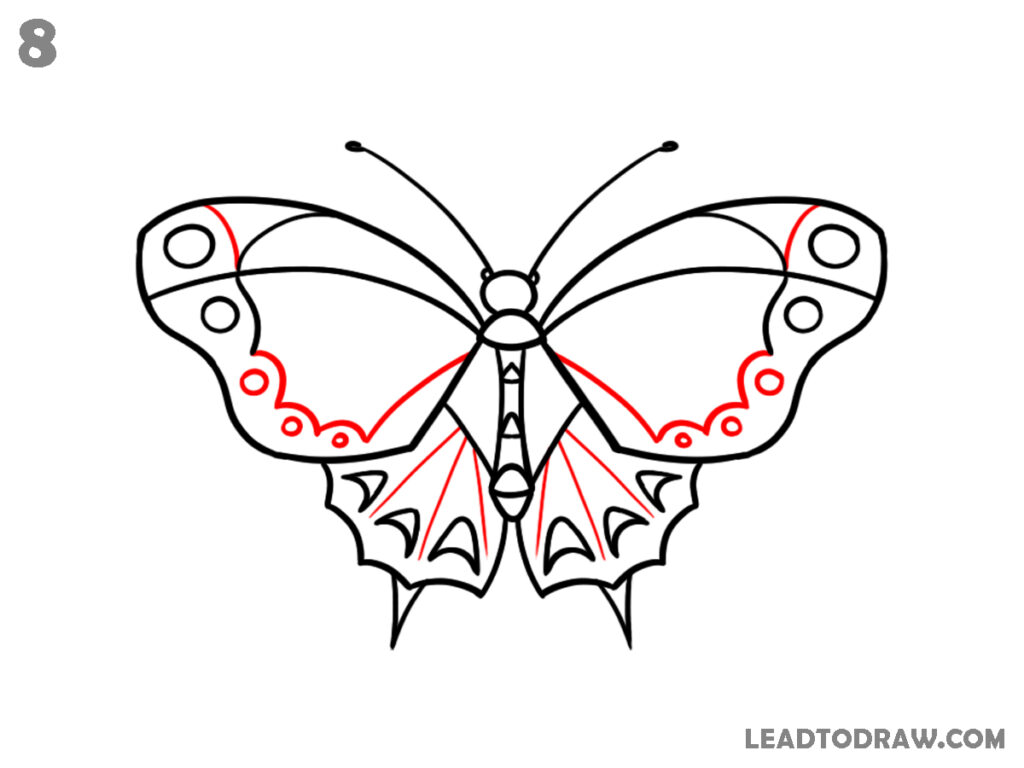
Draw small circular shapes inside both upper wings. Add curved and loop-like designs inside lower wings. Include a few sharp shapes near the bottom edges. Continue adding details evenly on both sides. Keep the patterns simple and balanced according to the shapes already drawn.
Step 9: Shade selected areas

Start shading inside the wings using light strokes. Fill the upper wings and some lower parts with soft shading. Add shading inside the body as well. Keep some areas unshaded for contrast. Follow the same pattern on both sides so the drawing looks even and properly filled.
Step 10: Check and clean drawing

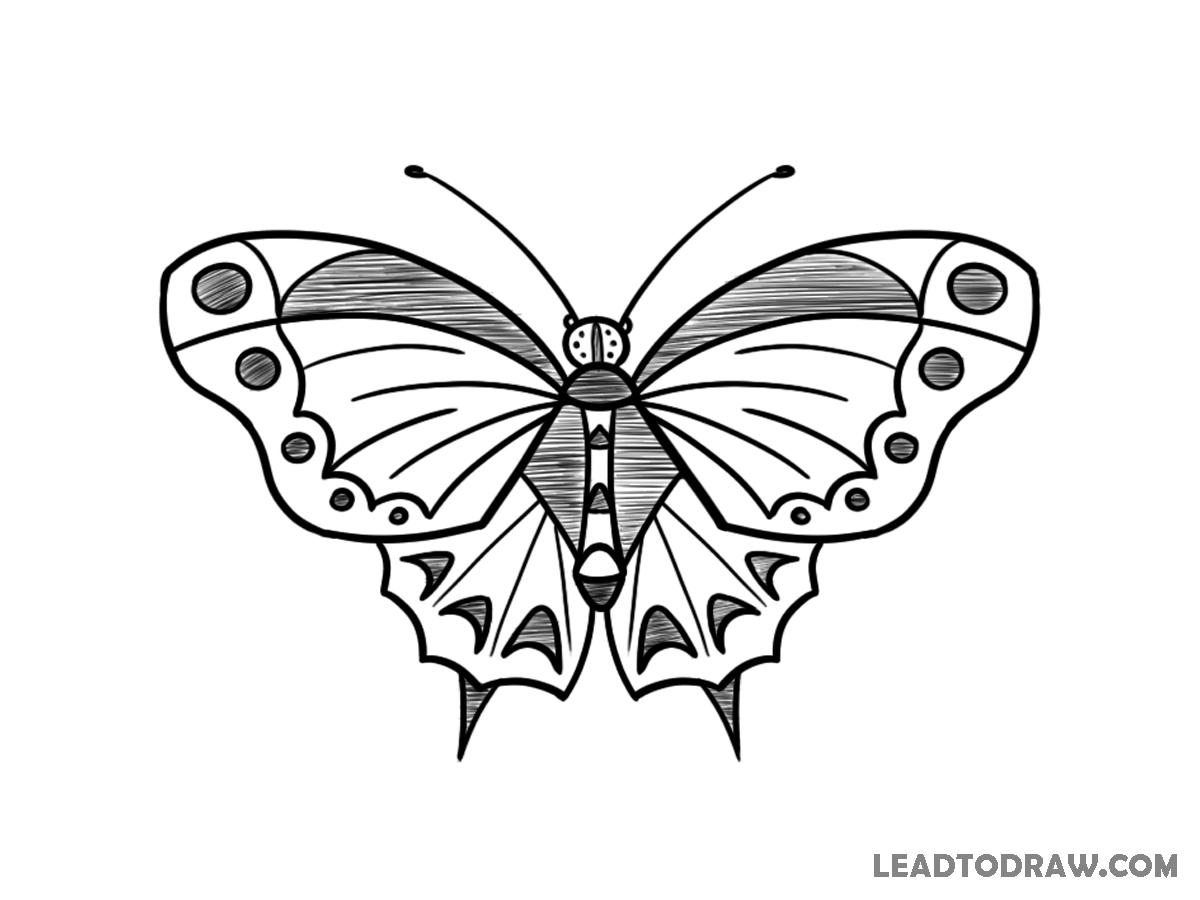
Look over the full butterfly drawing carefully. Darken the final lines and adjust any uneven curves. Clean extra or unwanted lines around the wings and body. Make sure all shapes are clear and connected properly. Keep shading neat and balanced. Finalize the drawing as shown without adding new parts.
For more similar drawing tutorials, explore the guides below.
- How to draw hibiscus flower step by step easily
- Easy Way To Draw A Seahorse Step By Step
- How to draw a tiger in an effective way
Conclusion
Now the butterfly drawing is complete by following each step in order. Check lines, adjust small mistakes, and keep shapes neat. Practice again slowly to improve hand control. This method shows how to draw a butterfly easy using simple shapes. Repeat steps carefully to get better results every time.